A still photo can say your product’s best line, greet a class, or host a short video without a camera crew. To make a picture talk, choose a clear face, add dialogue, generate the clip, then check it before you post.
Step 1: Choose a Photo or Create an AI Avatar
The photo sets the limits for how natural your talking picture can look. Pick a clear image with the face turned toward the camera, good light on the face, and the mouth easy to see.
For a product ad, you might use a person holding the item or an AI-made spokesperson in a shop setting. For a lesson, try a teacher avatar against a classroom scene. If you don’t have a suitable photo, make an avatar with an image generator, then save the image to your device. Describe the subject, setting, clothing, and framing in your prompt. Add the aspect ratio you need, such as vertical for a phone feed or widescreen for a video page.
Check the image before uploading. Avoid a hand over the mouth, a sharp side angle, or a busy background that competes with the face. Keep the same face and outfit if you plan to make a series of clips; it gives viewers a familiar host each time.
Before you commit to a source image, make sure you have permission to use it. That matters for customer photos, staff portraits, and any likeness that could be mistaken for a real person speaking.
Step 2: Write a Script and Choose a Voice
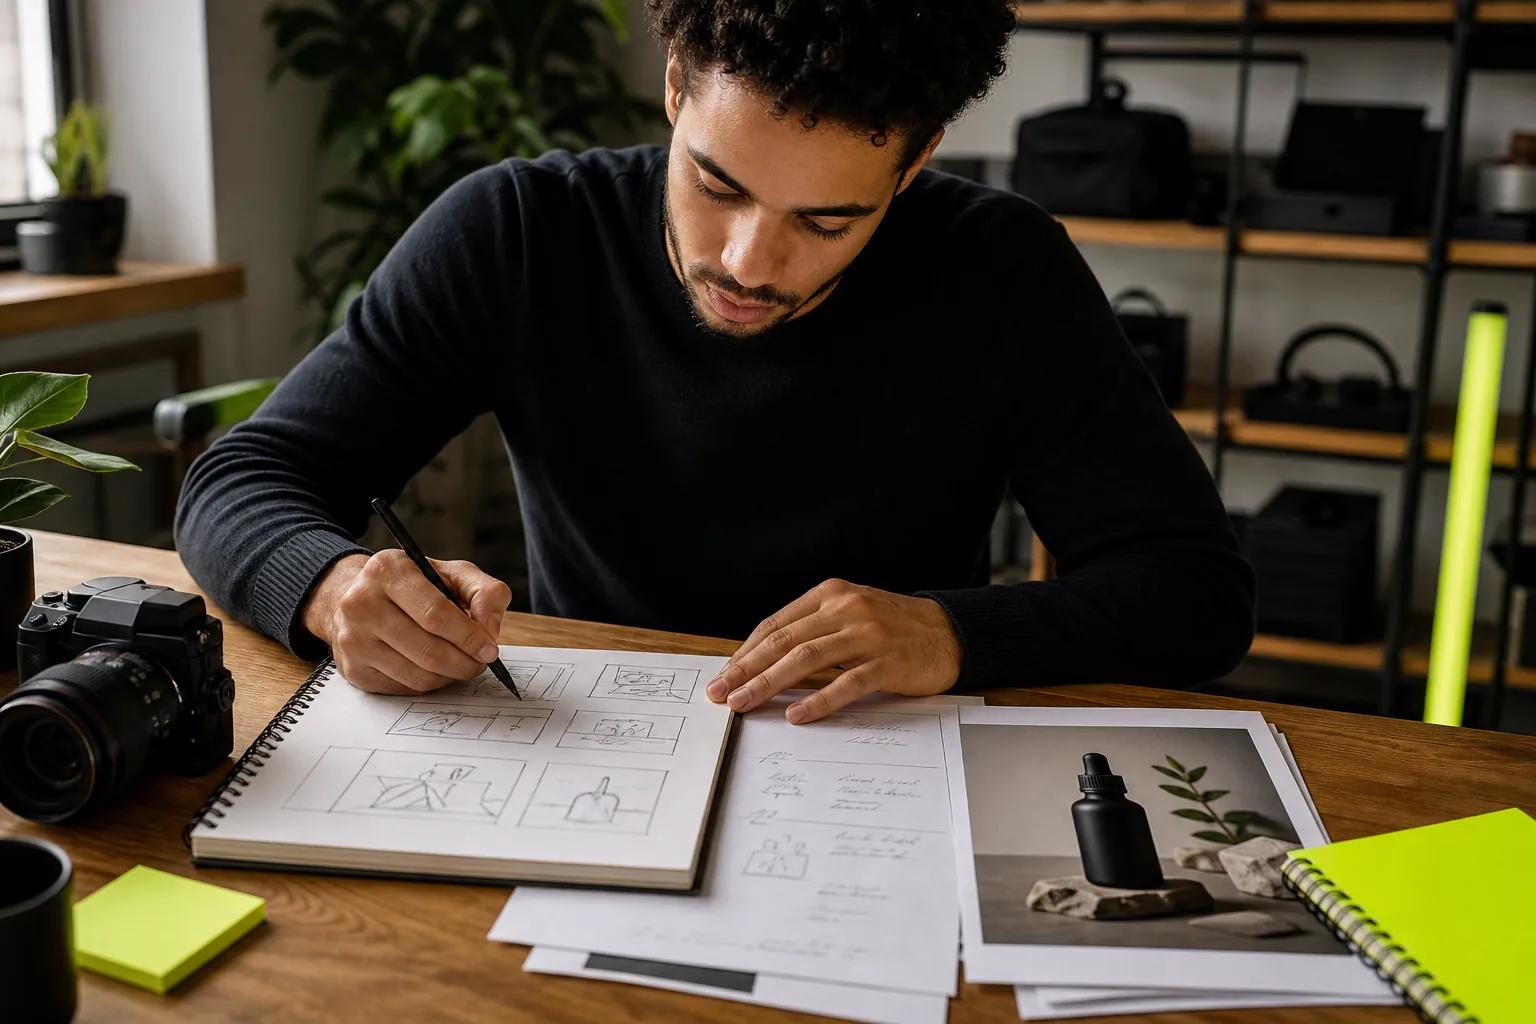
For a talking picture, the script should sound like something a person would say out loud. Start with one point and write a few short sentences. A product clip might open with, “Need a quick way to label pantry jars?” Then give one useful detail and a clear next step.
Read your draft aloud. If you run out of breath or stumble over a phrase, shorten it. Use everyday words, contractions, and names that are easy to say. Spell out an acronym if the voice tool reads it oddly. If the video is for an ad, put the main benefit near the start instead of saving it for the end.
Next, choose how to make the voice. Some tools let you type a script and select a generated voice; others let you upload recorded audio. When voice choices are available, preview a few. Listen for clear pronunciation and a pace that fits your message. If you need a regional or multilingual voice, test a short line first. Language support and voice options vary by tool, so don’t assume a setting will sound natural just because it appears in a menu.
Learn what to inspect in a guide to AI lip sync tools before picking a workflow. For the spoken line, use punctuation to mark pauses, then keep the sentence simple enough to fit a short clip.
A useful test script is: “Meet the new lunch box. It keeps snacks in one place, so packing is easier.” The line gives the speaker a few natural mouth shapes without cramming in a full sales pitch.
Step 3: Generate the Talking Video
Once your photo and script are ready, upload the image or set it as the first frame. Paste in the dialogue, choose a voice or audio track if the tool supports it, then select a format that matches where you’ll post. Use a vertical frame for a phone-first feed and widescreen for a landscape player.
In Wan Studio, you can use a prompt or upload an image as the first frame. Clip length and available resolution settings vary by model, so check the interface. Wan 3.0 is listed with clips up to 30 seconds. These are model-specific clip lengths, not a promise that every generation will match your needs.
Put spoken dialogue in quotation marks when you write a prompt, then state what the person is doing in plain terms. For example: “Welcome to our shop.” The presenter faces the camera, smiles, and lifts one hand in greeting. Keep the movement brief. A still portrait usually needs less action than a full scene.
Open Wan 3.0 to review its settings. If you’re making a string of ads, test one short clip first. That lets you check the voice, mouth movement, and image before spending time on several versions.
Give the generation a moment to finish, then play the whole result with sound on. Watch the mouth during each spoken phrase. A small mismatch may be easy to fix with a shorter line; a larger one may call for a new generation or a different source photo.
Step 4: Refine Expressions, Gestures, and Framing
Small choices in your prompt can make an animated face feel more suited to the message. Ask for a calm smile in a welcome video, or a focused expression in a how-to clip. Describe one gesture at a time, such as a nod after the main point. Too many requested movements can distract from the words.
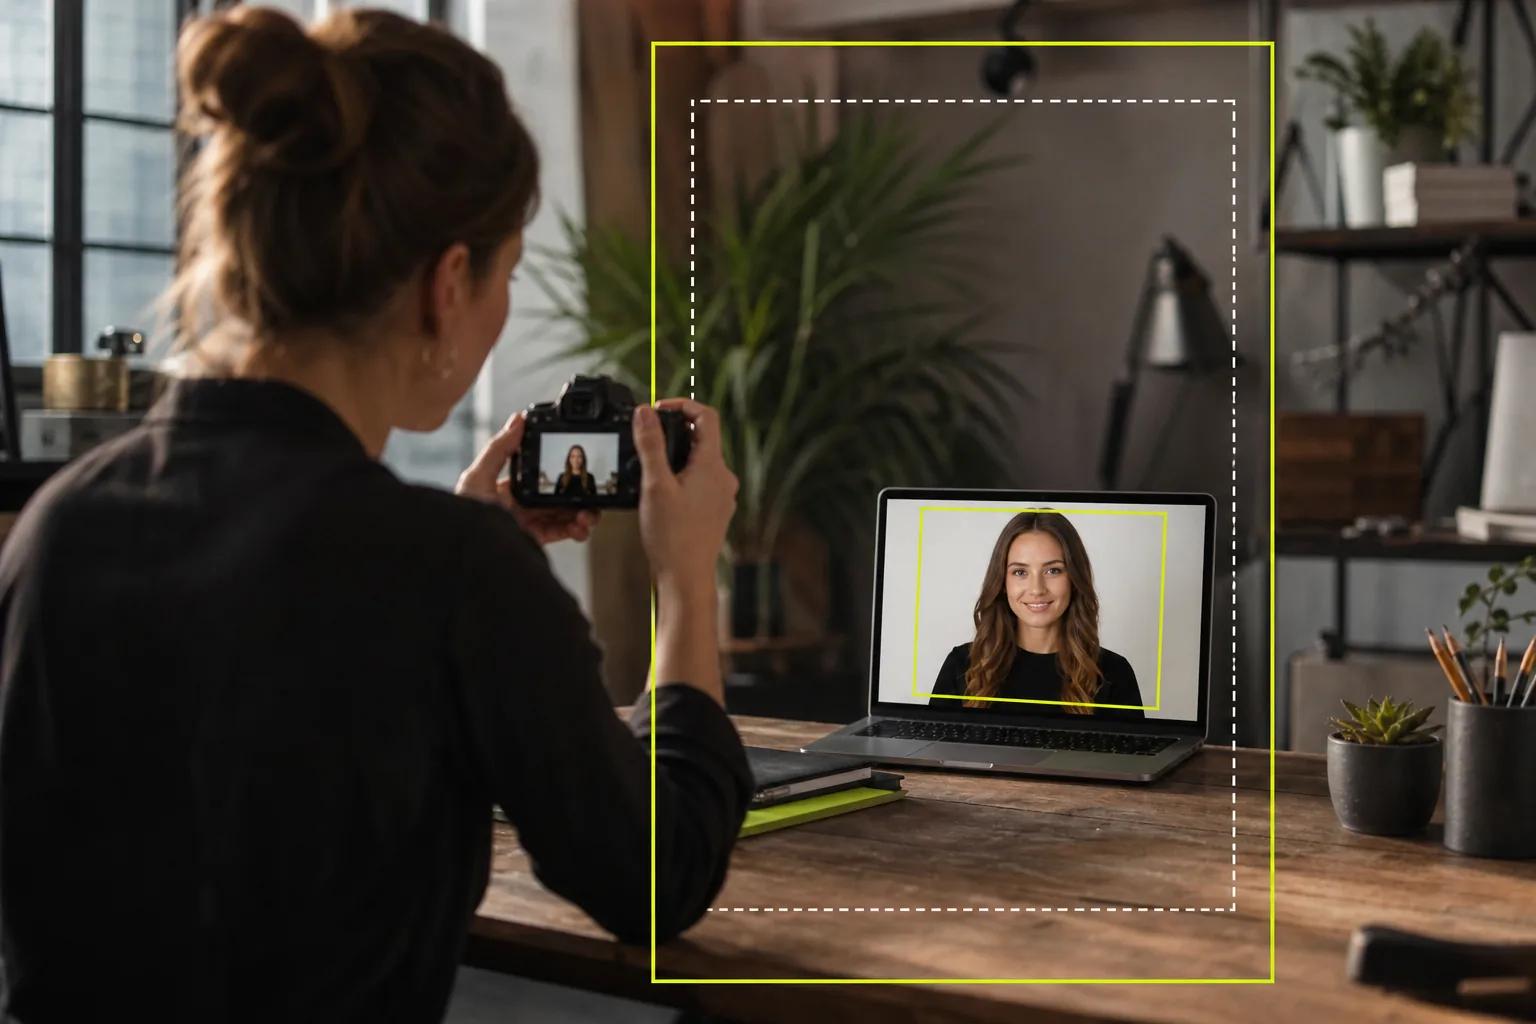
Be specific about the shot. You could ask for a steady camera, a chest-up view, and a warm shop interior. For a vertical social clip, keep the face near the center with space around it for captions. For widescreen, check that the face still reads clearly when viewed on a phone.
Controls differ between tools, so use the options shown in your selected workflow rather than assuming every tool has a separate emotion menu or gesture control. If using a selected model, review the model guide.
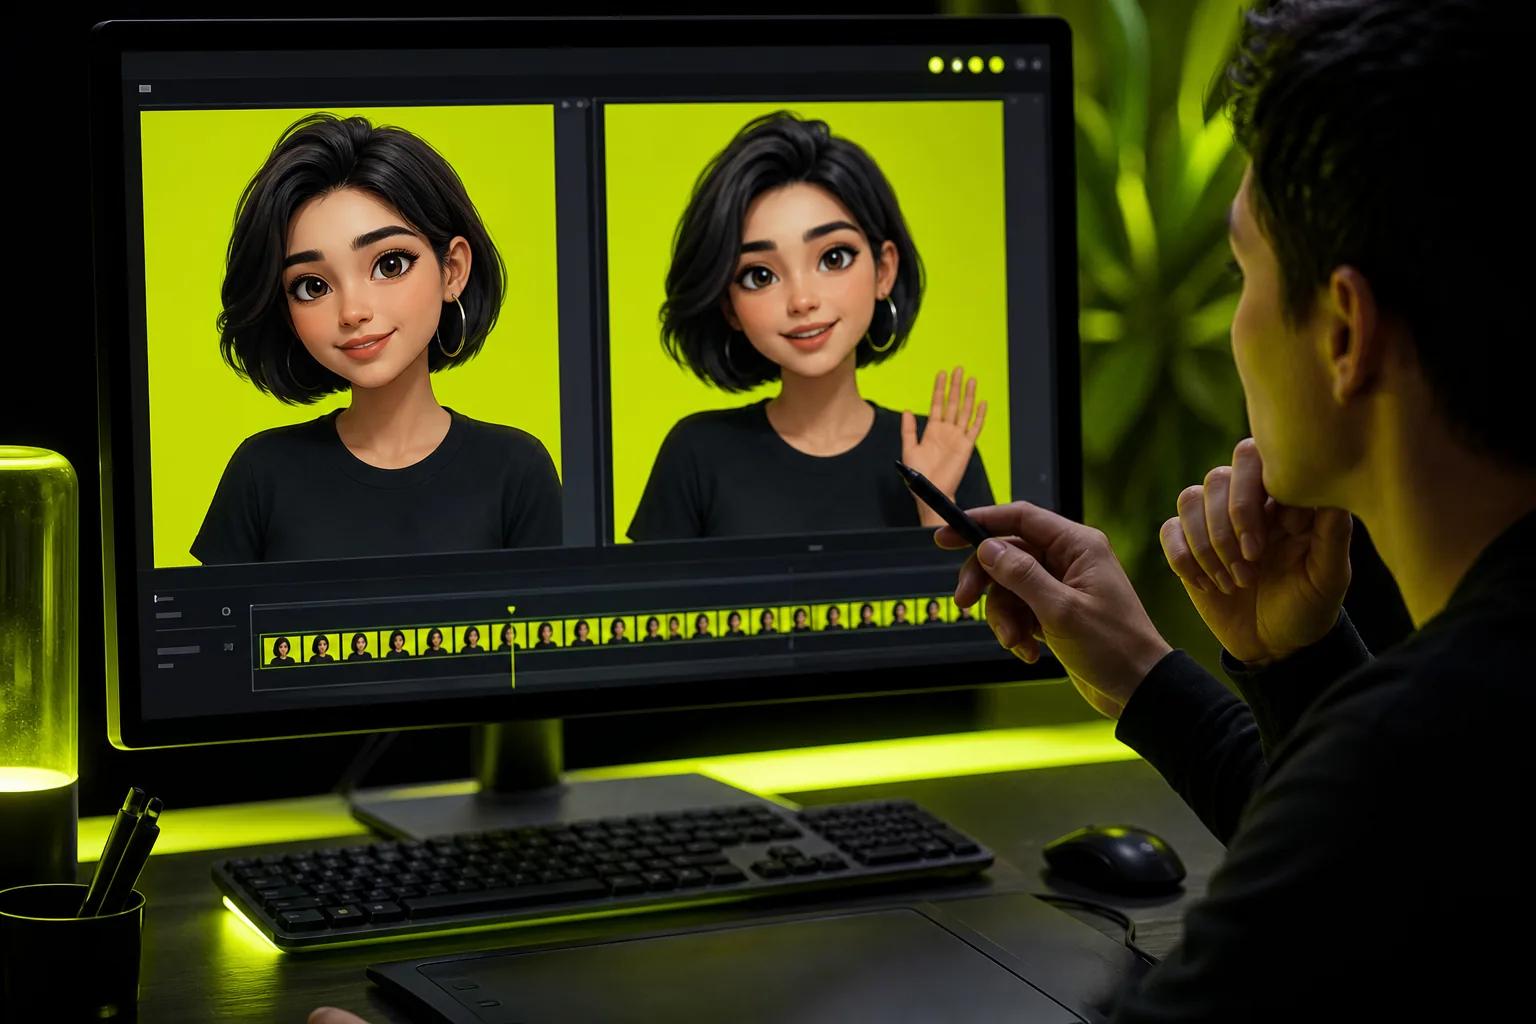
Review the face frame by frame near the start and end of the line. Watch for changes in hair, clothing, or face shape. If your business uses the same presenter across several posts, keep a copy of the original image and prompt. Reuse them as a reference where the tool allows it, then inspect each new result for changes.
When an expression looks too strong, remove extra mood words from the prompt. A plain instruction such as “friendly and relaxed” is often easier to judge than a string of several emotional cues.
Step 5: Edit, Check, and Publish Your Talking Picture
Before publishing, watch the clip once for the message and once for the details. Make sure the opening line is clear, the mouth movement follows the speech, and the voice is easy to hear. Check the whole frame for visual glitches or details that shift between moments.
Then make a clean edit. Trim any dead space at the start or end. Add captions so people can follow along with sound off, and keep them away from the face. If you add music, set it low enough that it doesn’t cover the dialogue. Avoid adding effects just because the editor has them. The words should stay in charge.
Match the export to the destination. Use a vertical crop for Reels, TikTok, or Shorts, and make sure captions remain inside the visible area. For a product ad, show the key offer or next step on screen long enough to read. For a lesson, split a long explanation into separate clips rather than squeezing every point into one.
Check usage rights for the photo, generated voice, music, and any other material before publishing. Keep the project file or prompt if you may need another version for a new format. That small bit of care can save a repeat of the work when you adapt a campaign later.
For a product team, a simple review list helps: correct claim, clear voice, readable captions, and crop suited to the platform. If one check fails, fix that item and replay the affected section before posting.
Frequently Asked Questions
How do I make a picture talk for free?
You can make a picture talk for free if the tool you choose has a free tier that covers your needed features. Upload a suitable image, add a short script or voice track, and generate a test clip. Check the free plan for limits such as watermarks, export limits, or access to certain voices before you plan a whole campaign around it.
What kind of photo works best for a talking video?
A clear, front-facing portrait with good light and an unobstructed mouth is a strong starting point. Avoid heavy shadows or an extreme side view, since the tool has less visible facial detail to work with. For a brand series, keep the same image or character reference so the speaker stays more consistent across clips.
Can I make an AI-generated person say my own words?
Yes, many talking-photo workflows let you enter your own script or provide audio, though the available input depends on the tool. Keep the lines short and read them aloud before generating. If the tool creates speech from text, test names and product terms first, then review the mouth movement and pronunciation in the output.
How long should a talking picture video be?
Keep it as short as the message allows. Wan Studio lists Wan 3.0 as supporting clips up to 30 seconds; check the selected model's limit before generating. Choose a length that fits the model and the platform, then split a longer explanation into more than one video.
Can I use a talking picture for a business ad?
Yes, a talking picture can work for a short product ad, a shop update, or a quick explainer. Use a photo and voice you have rights to use, and check that the spoken claim is accurate. Before posting, review lip sync, captions, sound levels, and the final crop so the message remains clear on a phone.
Conclusion
Start with one front-facing image and a short line, then generate a test before making a full campaign. Wan Studio’s model pages can help you pick a clip length and workflow; choose one model, try a simple prompt, and review the result before publishing.