How to make AI Reels is a hands-on process: start with one clear idea, then build a vertical clip around it. You can begin with a text prompt or a photo, generate motion and sound, and finish with captions and a quick phone-screen review. Here are five steps for turning a simple concept into a Reel without filming.
We analyzed 5 top-ranking how-to-make-ai-reels guides and found that none mention reviewing an exported reel on a phone before posting or commercial licensing for AI-generated footage. Only 1 of 5 mentions lip sync, limited to avatar presenters rather than generated dialogue.
Step 1: Choose a Reel Goal and Build a Simple Story
Decide what the Reel should do before you open a video tool. It might show how one product works, answer a question, or tell a tiny story. Write the goal in one sentence: “Show busy home cooks how this tool makes chopping easier.” That line keeps the clip focused.
Give the viewer something to notice before you introduce the brand. A product in use is often more watchable than a logo followed by a list of features. For a small coffee maker, you might open on a cup filling, then show the machine on a crowded counter. The product appears as part of the scene, not a sales pitch pasted over it.
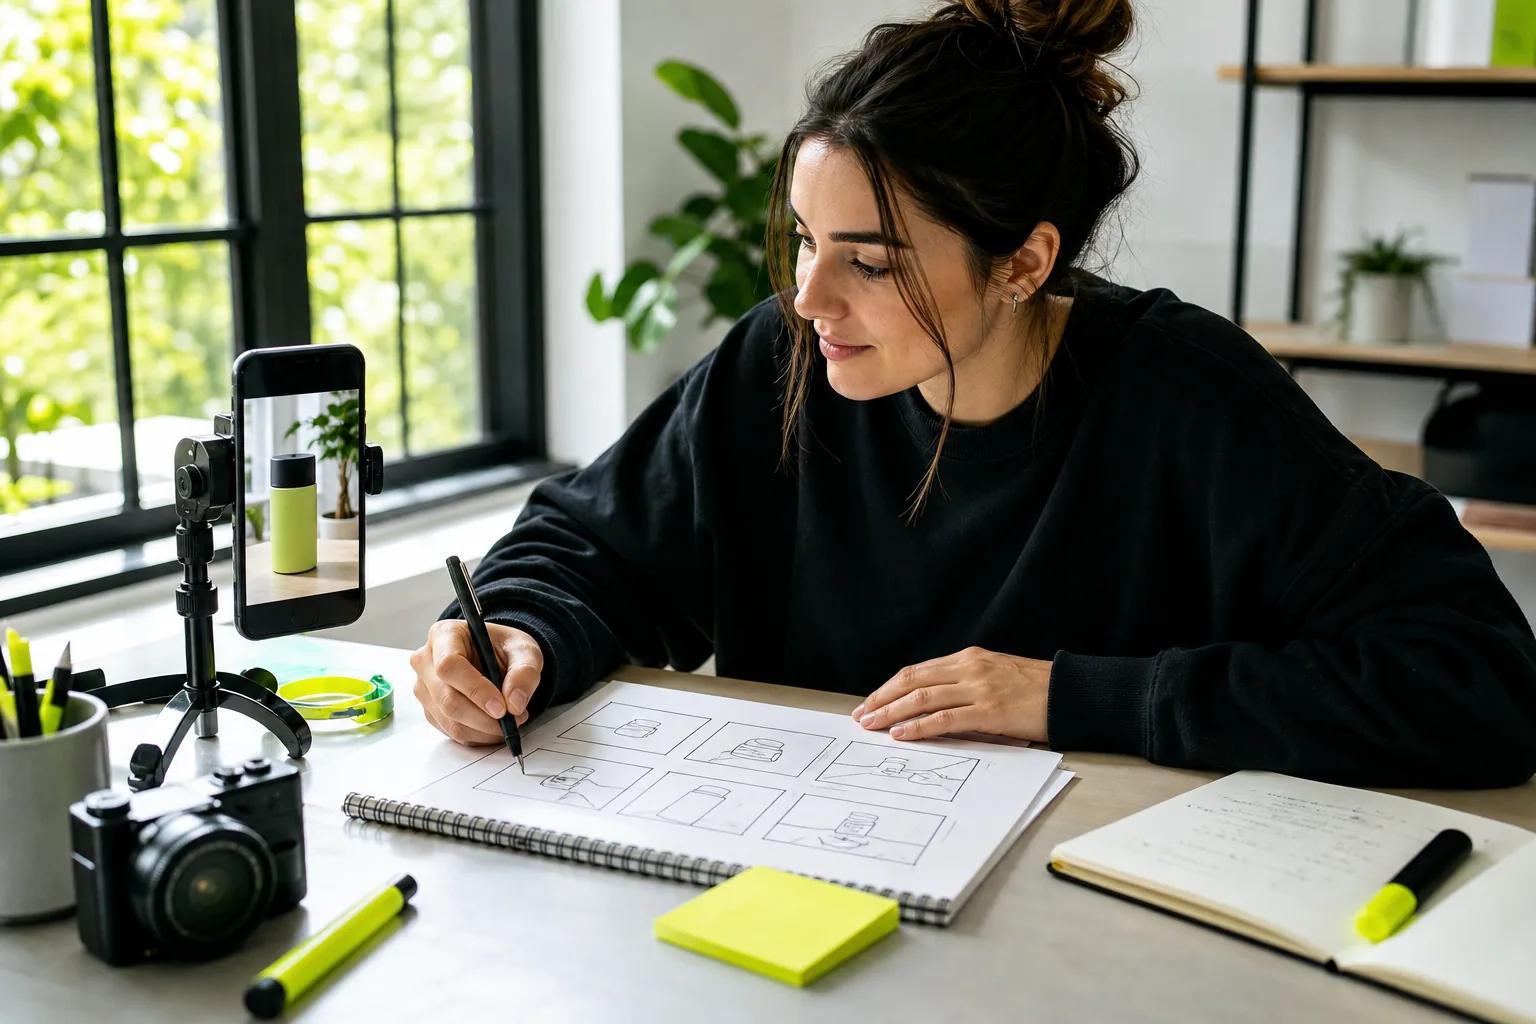
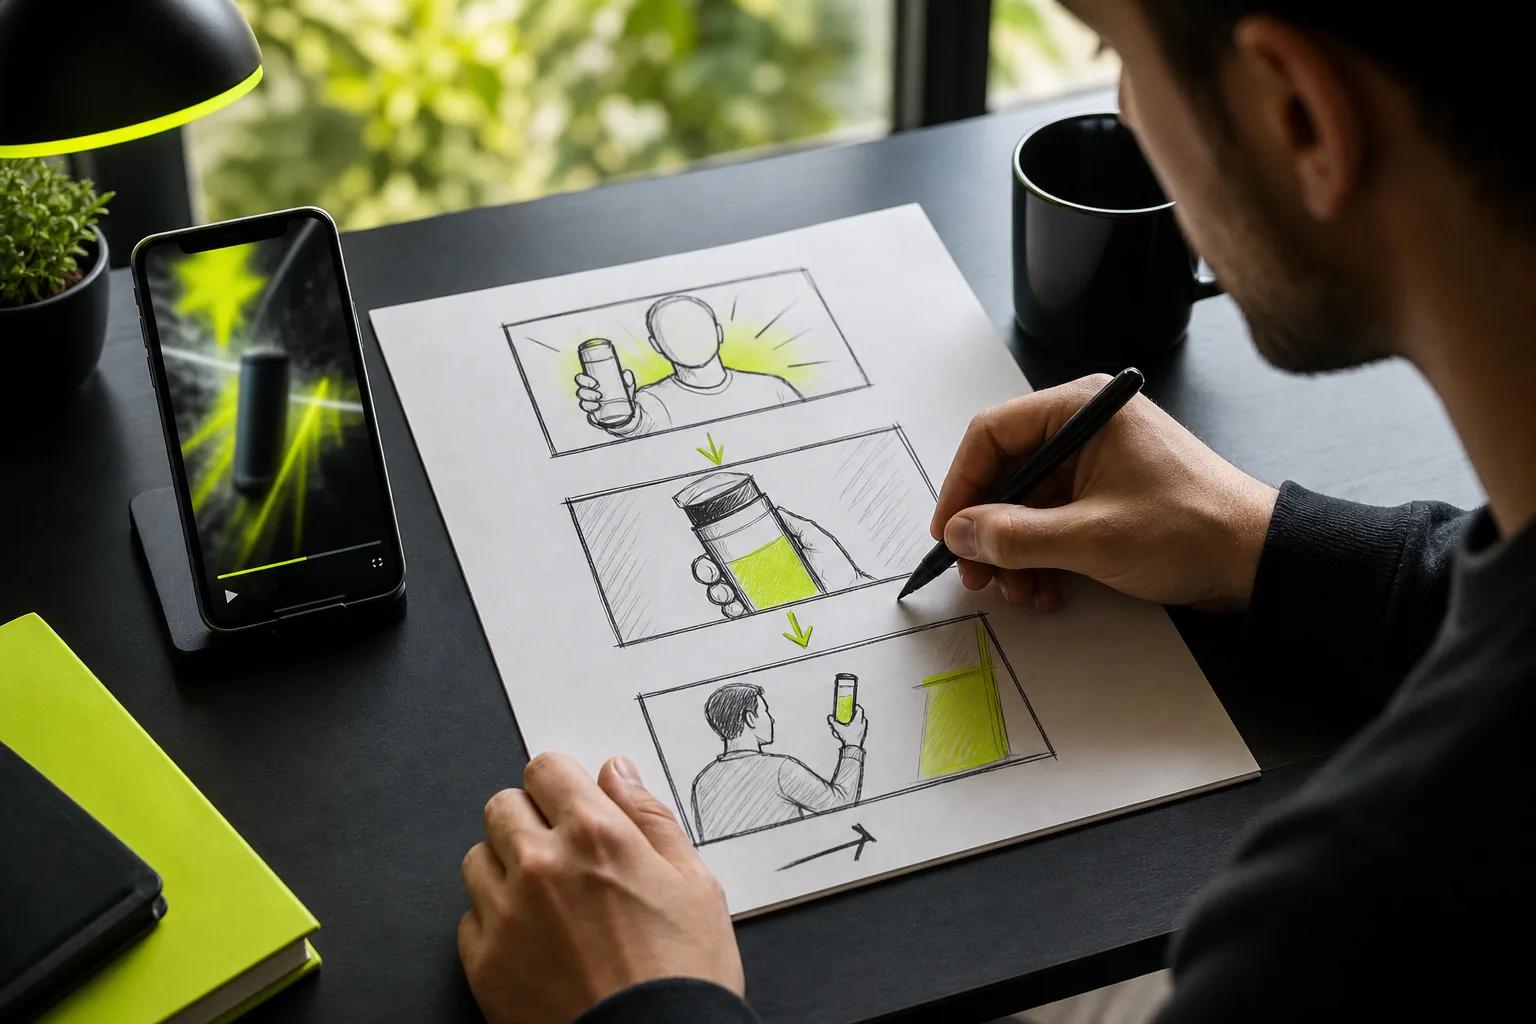
Sketch three beats: the hook, the proof, and the close. The hook earns a pause. The proof shows the point. The close leaves the viewer with one useful next move, such as checking the caption. If you need help with platform basics, this step-by-step guide to making Instagram Reels covers the wider planning and posting process.
Keep each beat easy to picture. “A bottle appears on a kitchen shelf” gives the model a clearer task than “make a fun ad.” Think in shots: a close-up, a camera move, then a new detail. You don’t need a long script. A few lines are enough to plan a short Reel.
For a product ad, make sure the proof matches what the product can actually do. If it’s an educational clip, pick one point rather than cramming in a whole lesson. Your best starting brief names the audience, the message, and the action you want them to take.
Step 2: Write a Prompt and Prepare Your Images
Write your prompt like a short shot brief. Name the subject first. Then describe its action, the setting, the camera move, and the look. Add a sound note if you want music or ambience. For dialogue, put the exact spoken words in quotation marks and say who speaks them.
Try this structure: “A ceramic mug on a sunny kitchen table. Steam rises as the camera slowly moves closer. Warm morning light. Soft room ambience.” For a character speaking, add: “The shop owner smiles and says, ‘Fresh coffee, ready in a minute.’” A focused prompt gives the model one main action to follow.
Choose the frame for the place you’ll post. A vertical 9:16 frame is a portrait format, with the height greater than the width. In Wan Studio, Wan 3.0 can use fixed 9:16 framing or adaptive framing. If you upload a first-frame image, the result follows that image’s aspect ratio.
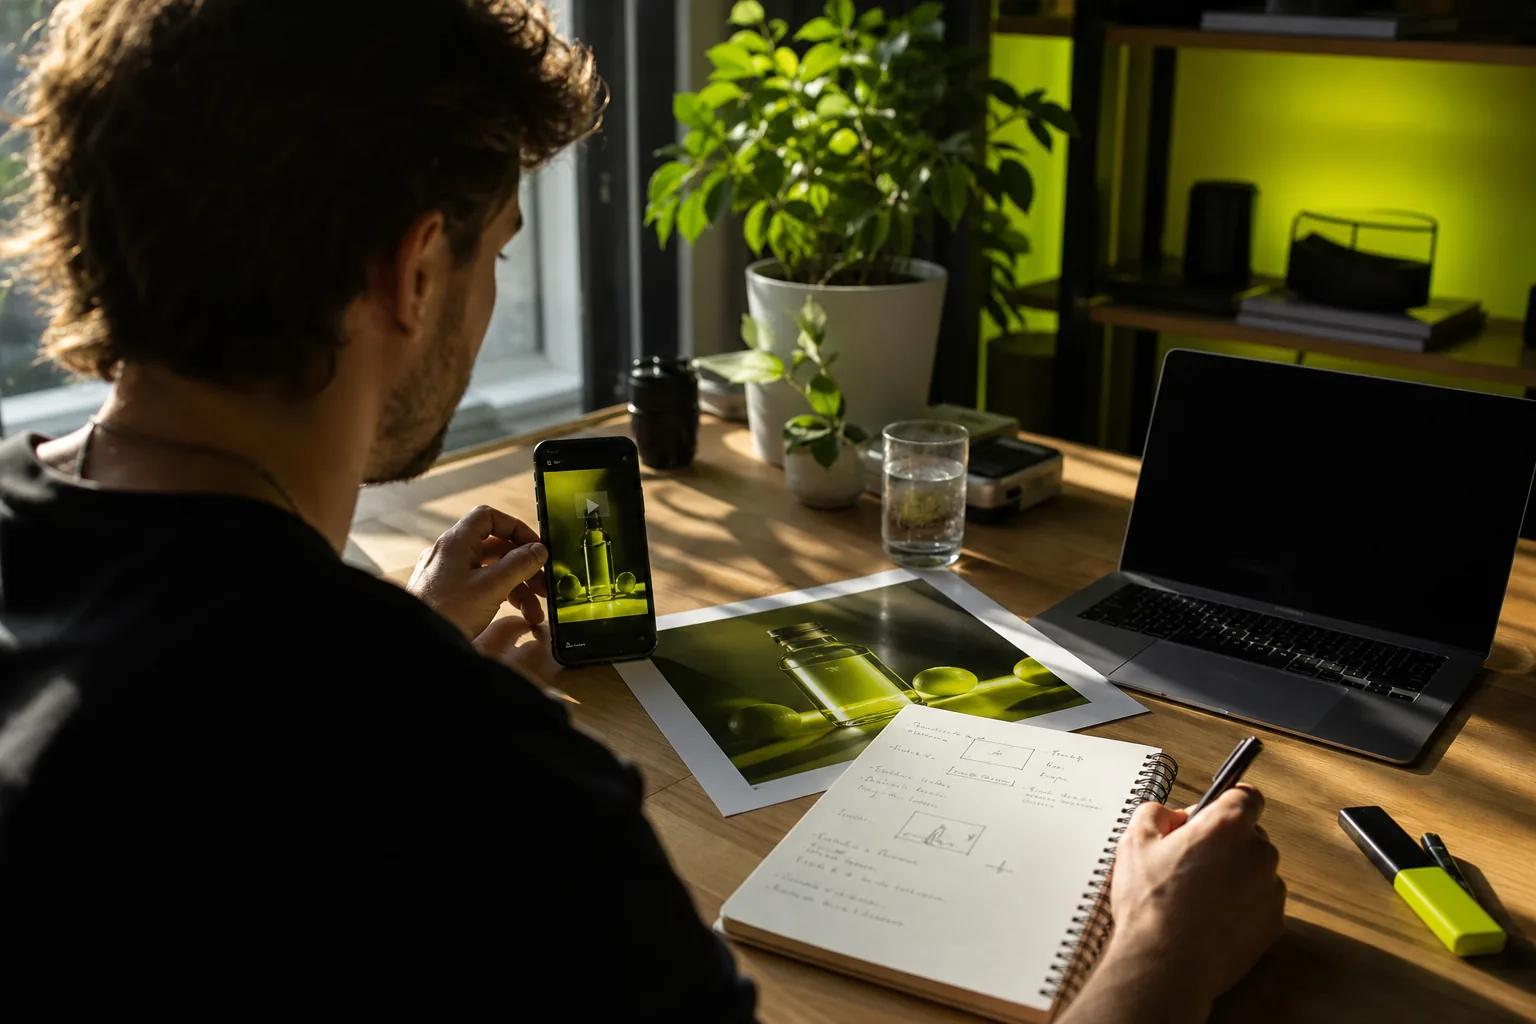
Use a source photo when a specific product or character needs to anchor the opening shot. Pick a clear image with the main subject fully in frame. Check the product’s shape and color before you animate it. If the source photo has a poor crop, fix that first rather than asking the video model to invent missing edges.
For more prompt examples and camera-move ideas, see these AI image-to-video prompt templates. In Wan Studio, you can use a text prompt or an image as the starting point. Wan 2.7 also supports reference images and clips on paid plans, which can help when a scene needs more than one visual reference.
Step 3: Generate Vertical Clips with an AI Video Tool
Open your video tool, choose the model and frame, then make a short draft. In Wan Studio, you can work in a browser with a text prompt or a first-frame image. Wan 3.0 is the default on paid plans. The free plan gives you a couple of Wan 2.5 videos each month at 480p, with no card required.
Set the ratio to 9:16 for a full-screen vertical post. Pick a duration that fits the idea, not the other way around. A product reveal may need only a few seconds. Wan 3.0 supports clips from 2 to 30 seconds, while Wan 2.5 supports 5- or 10-second clips. Wan 2.7 supports up to 15 seconds and offers reference-driven video modes.
Keep the first pass short and simple. If your prompt asks for a character to walk into a room, pick up a product, speak, and turn toward the camera, there are several chances for the result to drift. Split a complex story into clear shots or remove actions that don’t support the message.
Before you generate, check the settings for framing, duration, and resolution. The studio shows a live credit estimate before you commit. Shorter, lower-resolution drafts can help you test the prompt before spending credits on a sharper version. If you’re still exploring a visual idea, leave Wan 3.0’s framing adaptive; lock the ratio once you know where the Reel will appear.
Watch the draft once without pausing. Does the first shot make sense? Does the action finish? Then replay it and check the product, face, and camera move. Change one prompt detail at a time. That way, you can tell whether a new instruction fixed the issue or simply changed the scene.
Wan models can generate sound with the video. Since Wan 2.5, the model family supports native music, effects, and lip-synced dialogue. Wan 3.0 supports clips up to 30 seconds with consistent characters across shots, but it doesn’t take reference images or edit uploaded video. Choose Wan 2.7 when your job needs those reference or video-edit modes.
Step 4: Add Sound, Dialogue, Captions, and Finishing Edits
Listen before you add anything. Wan’s native audio can include music, ambience, sound effects, or dialogue, depending on your prompt and model. If the scene already has a useful sound, keep the mix simple. For a spoken line, check that the words are clear and the character’s mouth movement fits the speech.
Lip sync is not a feature you should assume every AI video tool handles. Wan’s native dialogue is tied to its model generation, rather than added as a separate voice track afterward. Still, review each take. If the line sounds awkward or the mouth timing distracts from the message, shorten the dialogue or generate a new version.
Add captions when the spoken message needs to work with the sound off. Keep each caption brief and place it where it won’t cover the face or product. Think about what viewers need to read as well as hear. Read the finished captions on a phone before you export.
Use an editor for precise text overlays, trims, or a final brand card if your workflow needs them. Don’t cover every open space with words. A caption that names the product benefit can help; a paragraph on screen will make a quick Reel feel like homework.
Wan Studio downloads generated videos as MP4 files with sound. If you add a separate music track or voice recording, confirm you have permission to use it. Keep source photos and audio rights in mind, especially for a paid campaign.
Make one change at a time during finishing. First fix the caption placement. Then listen to the mix. Once those are right, trim any pause before the hook or after the point lands. This keeps the edit focused on what the viewer sees and hears.
Step 5: Export, Review, and Publish Your Reel
Export a vertical file that suits the platform and the job. If a clear product detail matters, review the resolution closely before posting. Wan Studio’s free plan uses Wan 2.5 at 480p; paid plans include Wan 3.0 and 720p or 1080p output. Paid plans start at $14 per month and include a commercial licence.
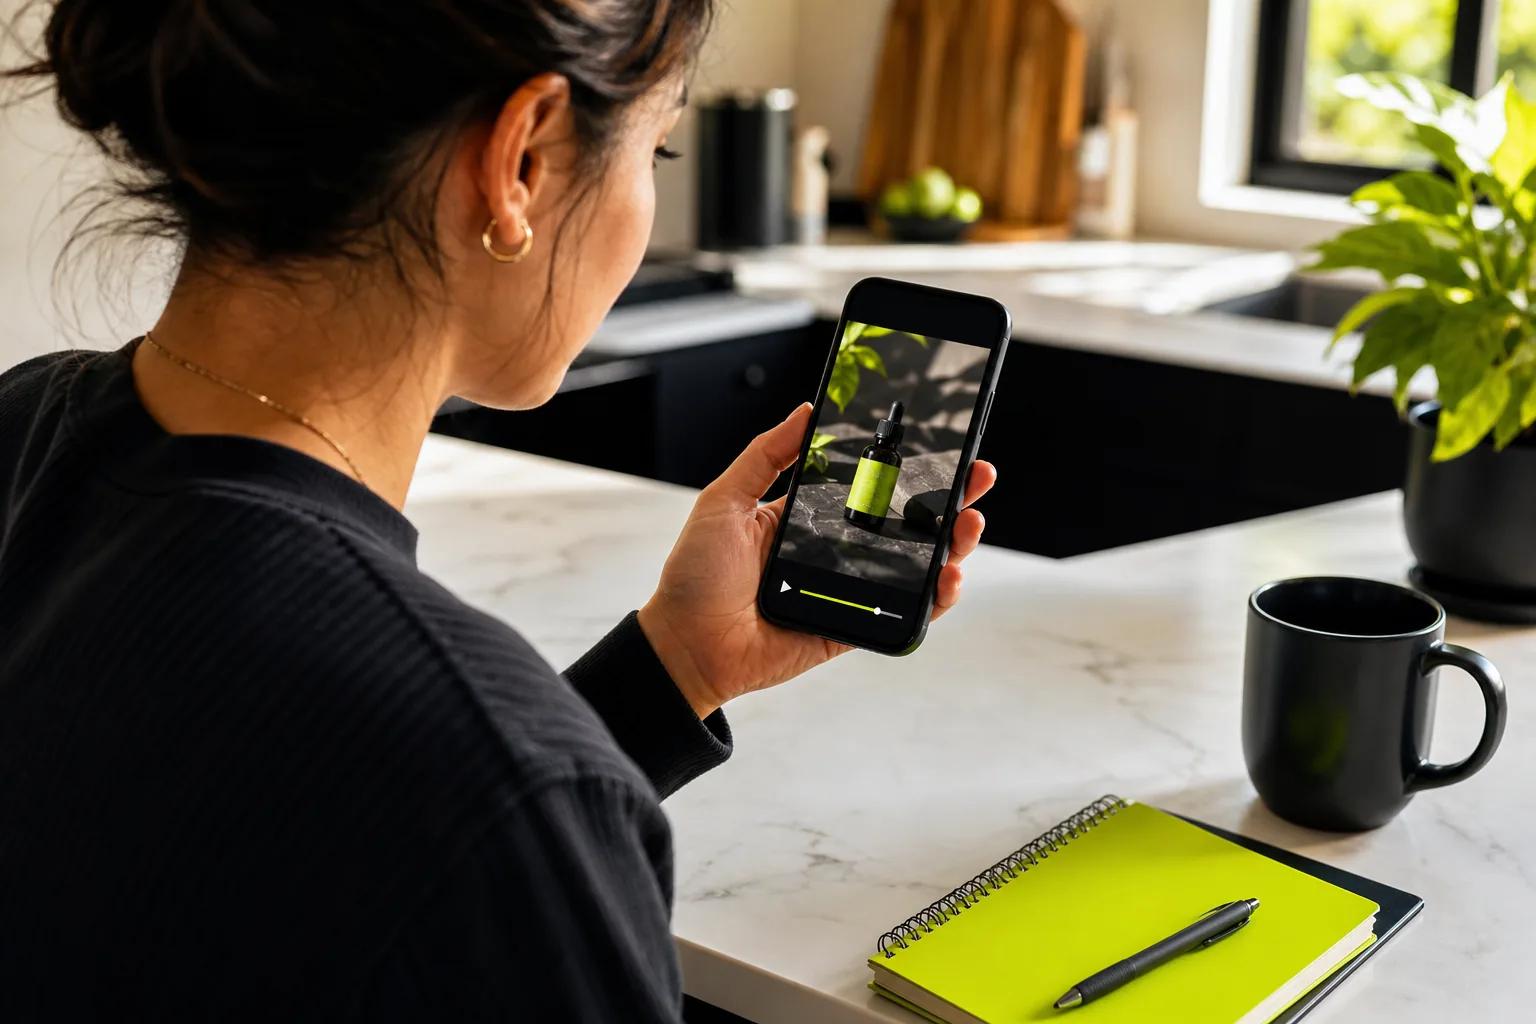
Watch the saved file on a phone. Check the opening frame first. Is the subject visible right away? Then check that captions sit clear of the app’s buttons and lower text area. Play the sound through the phone speaker, too. A mix that sounds fine on headphones may be hard to hear on a small device.
Look for errors before you publish. Check whether the product changes shape, a face looks odd, a spoken line is wrong, or a caption has a typo. Make sure the clip doesn’t suggest a product can do something it can’t. If an issue changes the meaning of the ad, regenerate or edit the clip rather than hoping viewers won’t notice.
Save the final MP4 somewhere you control. Wan Studio keeps generated media in its library for 30 days, so download anything you want to keep. If you’re making a version for another short-video channel, this guide to making YouTube Shorts with AI covers planning and publishing for that format.
Choose a cover frame that shows the subject clearly. Write a caption that adds context instead of repeating every word in the video. Then publish and note what you want to test next, such as a different opening shot or a shorter line. Change one part in the next version so you can judge the result.
If you’re trying a new workflow, start with a small test. Wan Studio’s no-card free plan lets you try Wan 2.5 before you decide whether you need a paid plan. A paid plan is needed for the commercial licence; don’t treat the free tier as permission for commercial use.
Frequently Asked Questions
Can I make an AI Reel from a photo?
Yes, you can animate a photo with an image-to-video tool. Use a sharp source image where the subject is easy to see, then describe the motion you want. In Wan Studio, a first-frame image anchors the opening composition, and the output follows its aspect ratio. Check the still before generating so the video starts with the right product or character.
Can AI Reels include dialogue and lip sync?
Yes, some AI video models generate dialogue and lip sync as part of the video. Wan 2.5, Wan 2.7, and Wan 3.0 support native sound and dialogue. Put the spoken words in quotation marks in your prompt, then watch the result and check that the speech is clear and the mouth movement fits.
What aspect ratio should an AI Reel use?
Use vertical 9:16 framing for a full-screen Reel. Set the frame before generation when the tool gives you that choice. Keep key visual details near the center, with room for platform controls and captions around the edges. If you start from an image, check its crop because some image-to-video tools follow the source image’s shape.
Can I use AI-generated Reels for ads?
Yes, but check the tool’s licence and your rights to the source material first. Wan Studio includes a commercial licence on paid plans. Its free plan is for trying the service, so don’t assume it grants commercial use. Also review claims, product details, and any added music before an ad goes live.
Conclusion
Keep your first AI Reel focused on one message and one visible action. Use a short draft to check the framing, motion, and sound before polishing the final clip. If you want to try the workflow without filming, start with a product photo or a simple prompt in Wan Studio, then review the exported file on your phone.