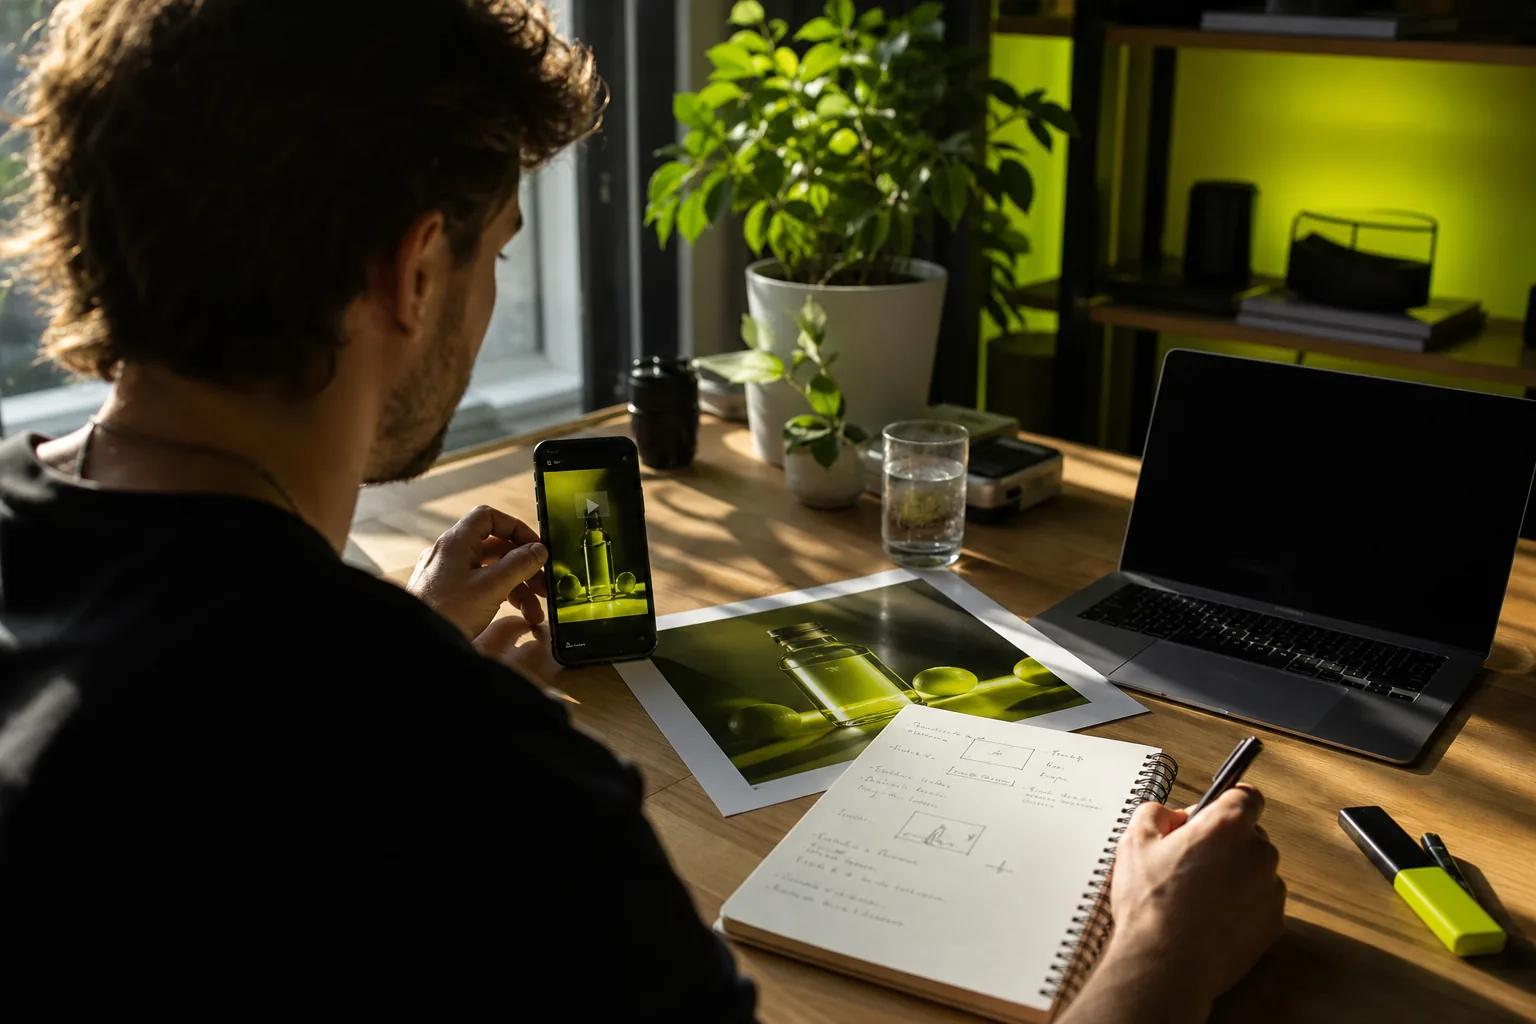
A clear product demo can show what a product does faster than a long feature list. If you’re figuring out how to create a product demo video, start with one buyer need, then build each shot around proof of how your product helps.
We analyzed 63 comments from YouTube and Reddit about product demo videos and found that 22% mentioned useful guidance.
This five-step workflow takes you from brief to final check. You can film, record a screen, or use Wan Studio to animate a product photo and generate a short video with sound.
Step 1: Set the Demo Goal, Audience, and Call to Action
Decide what one viewer should understand or do after watching. A shopper may need to see how a kitchen tool works, while an existing customer may need help with one setting. Those are different videos, even if they feature the same product.
Write a one-sentence brief: “This video shows [audience] how [product] helps with [need], then asks them to [action].” Keep the goal specific. “Learn about the product” is hard to judge. “See how to adjust the fit” gives you a clear shot to make and a result to check.
Choose one call to action (CTA) that fits the viewer’s next step. A product page might invite shoppers to view a color or buy. A tutorial could ask customers to try the feature. Keep the final prompt short enough to read on a phone.
If you’re weighing a filmed spot against an image-led one, this product video workflow can help you plan the shots and publishing step. The production method can change; the goal should stay fixed.
Make the format decision now. A talking demo needs a person or a generated character. A software walkthrough needs a screen capture or interactive demo. A product photo can be the first frame for image-to-video. If you’re posting to TikTok, Reels, or Shorts, plan for vertical 9:16 framing; a product page or landscape YouTube video may call for 16:9.
Pick one measure that matches the goal. For a shop page, track whether viewers click through to the product or make a purchase. For a social clip, look at views and watch time alongside the action you asked viewers to take. Treat those measures as feedback, not proof that the video alone caused a sale.
Wan Studio runs in a browser and can turn a prompt or image into a short video. Its free plan gives you a couple of Wan 2.5 videos a month at 480p, with no card required. Paid plans start at $14 a month and include a commercial licence. Match your plan to the job and check the live credit estimate before generating.
Milestone: You should have a named audience, one video goal, a destination format, and one CTA.
Step 2: Write a Short Script and Map the Shots
Write for the time you have, not for every fact you know. A social demo often works best when it makes one point quickly. A product-page walkthrough can take longer if viewers need to understand several steps. If the story needs more time, split it into a short series rather than racing through it.
Use a simple story shape: open on the problem or payoff, show the product doing one useful thing, then state the next action. A feature earns its place when a viewer can see what it changes. Instead of saying a lid has a locking feature, show the lid click shut and demonstrate what that prevents.
Write the spoken words beside the matching visual. A two-column script keeps the voice-over from describing an action that viewers can’t see. For each beat, note the subject, action, camera move, and any on-screen words. Read the script aloud and time it. If you have to rush, cut a point.
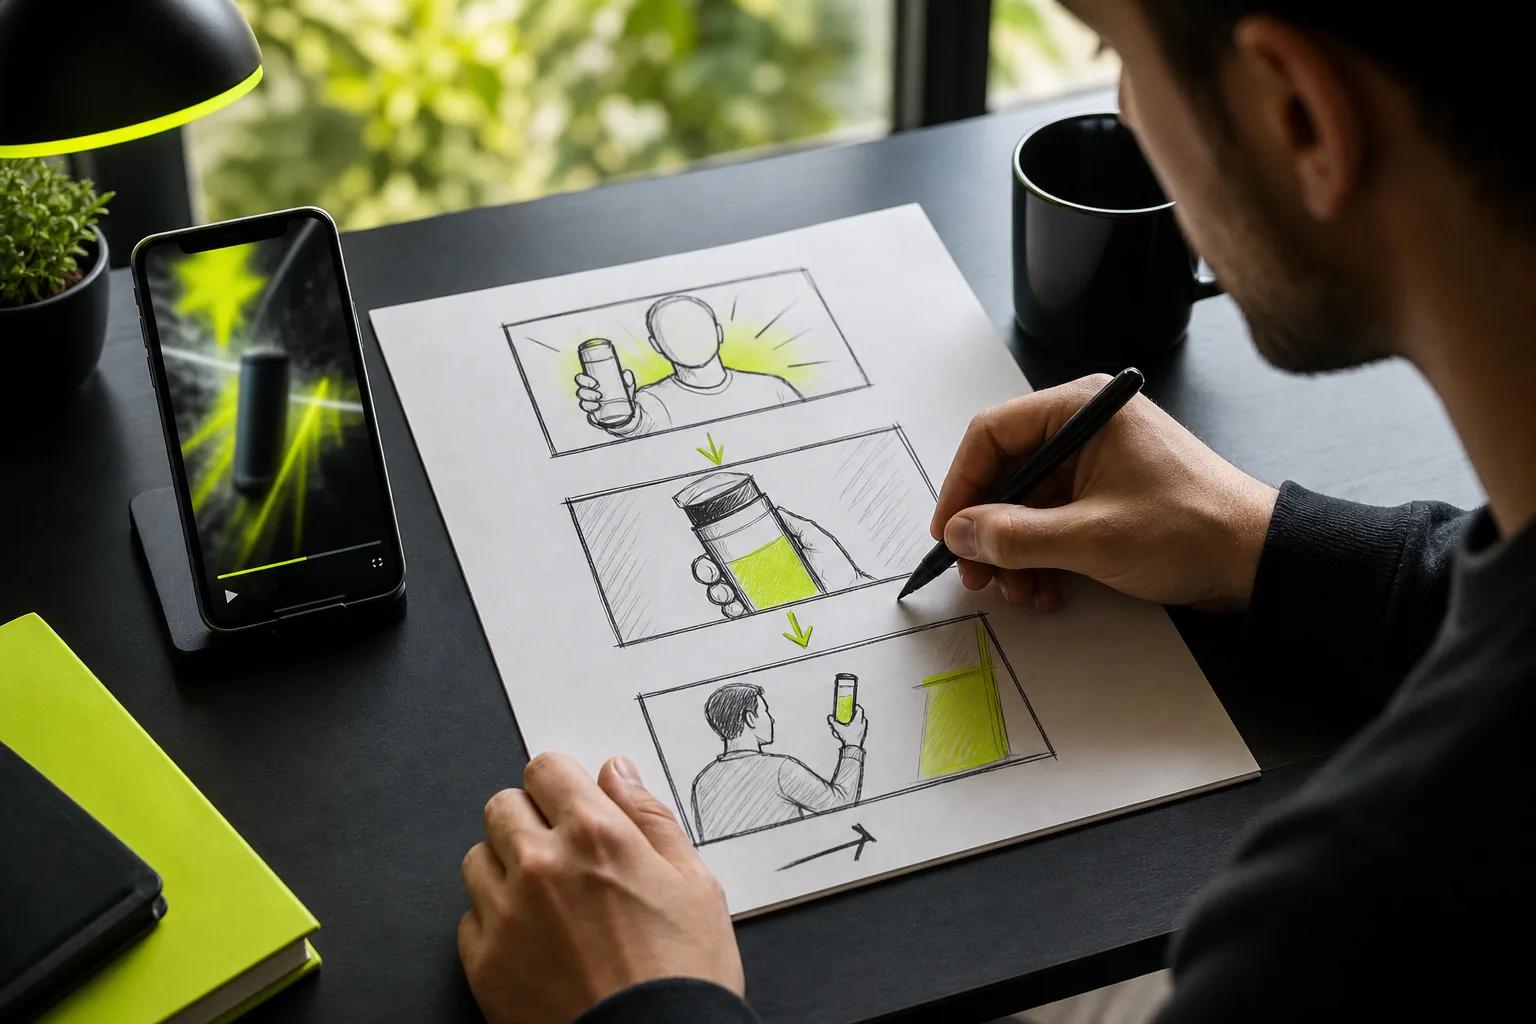
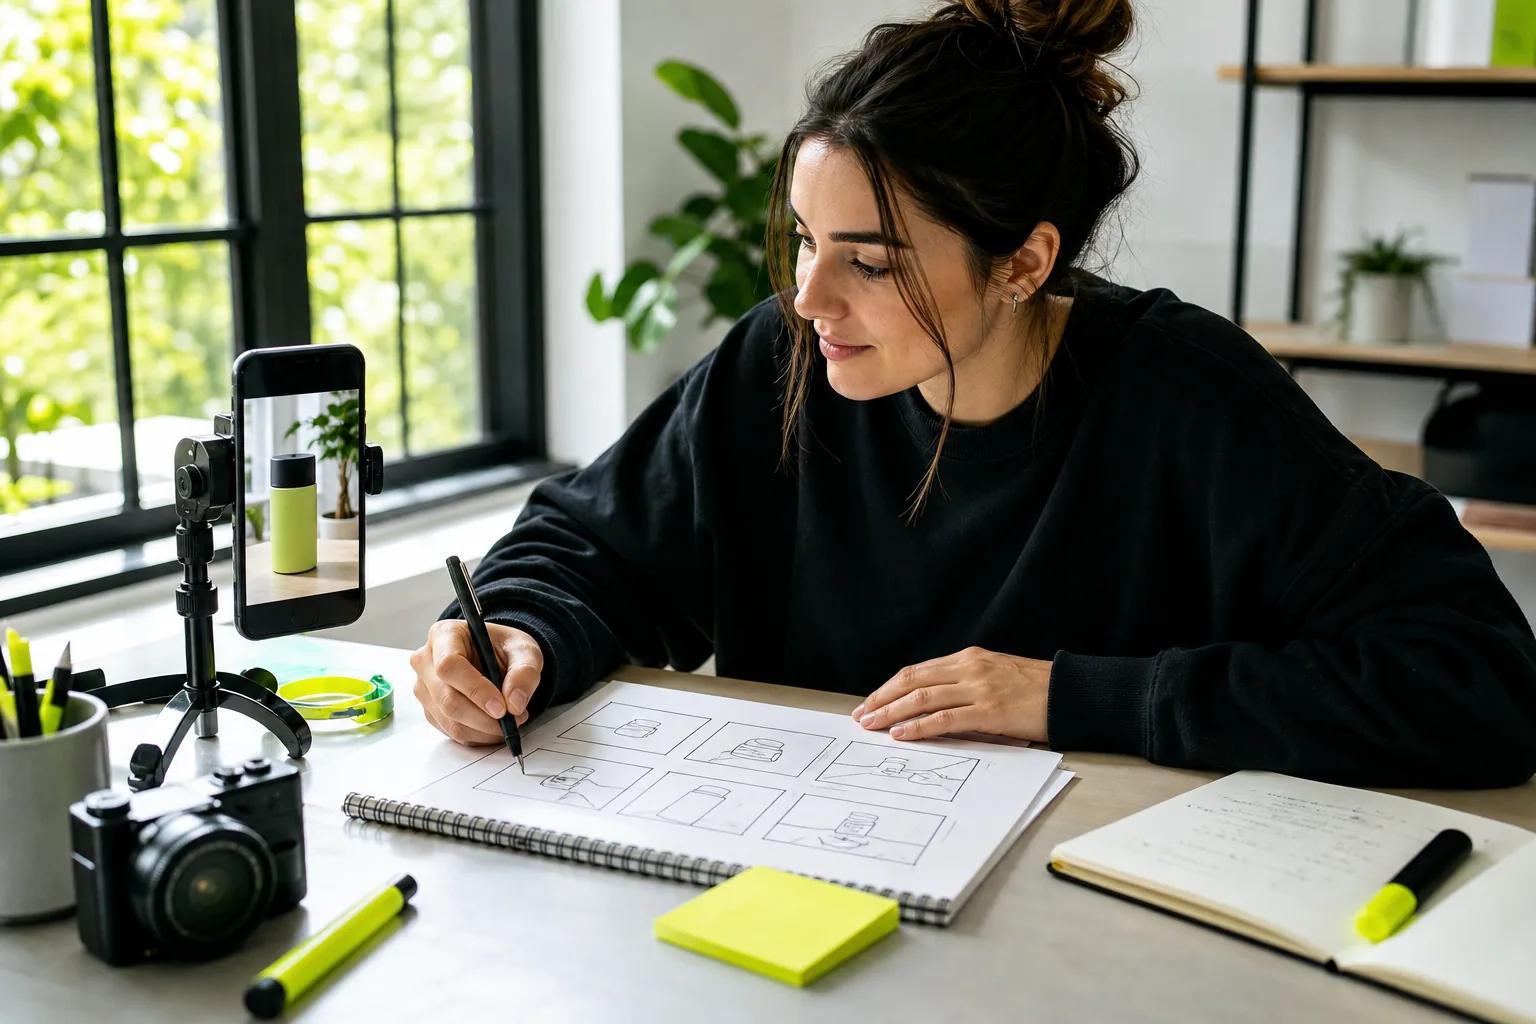
Next, map the shots. A three-beat plan could open on a close-up, show the item in use, then end on the result and CTA. For a software demo, replace those shots with the screen state before the action, the click or setting change, and the outcome. Keep each beat focused on one visible change.
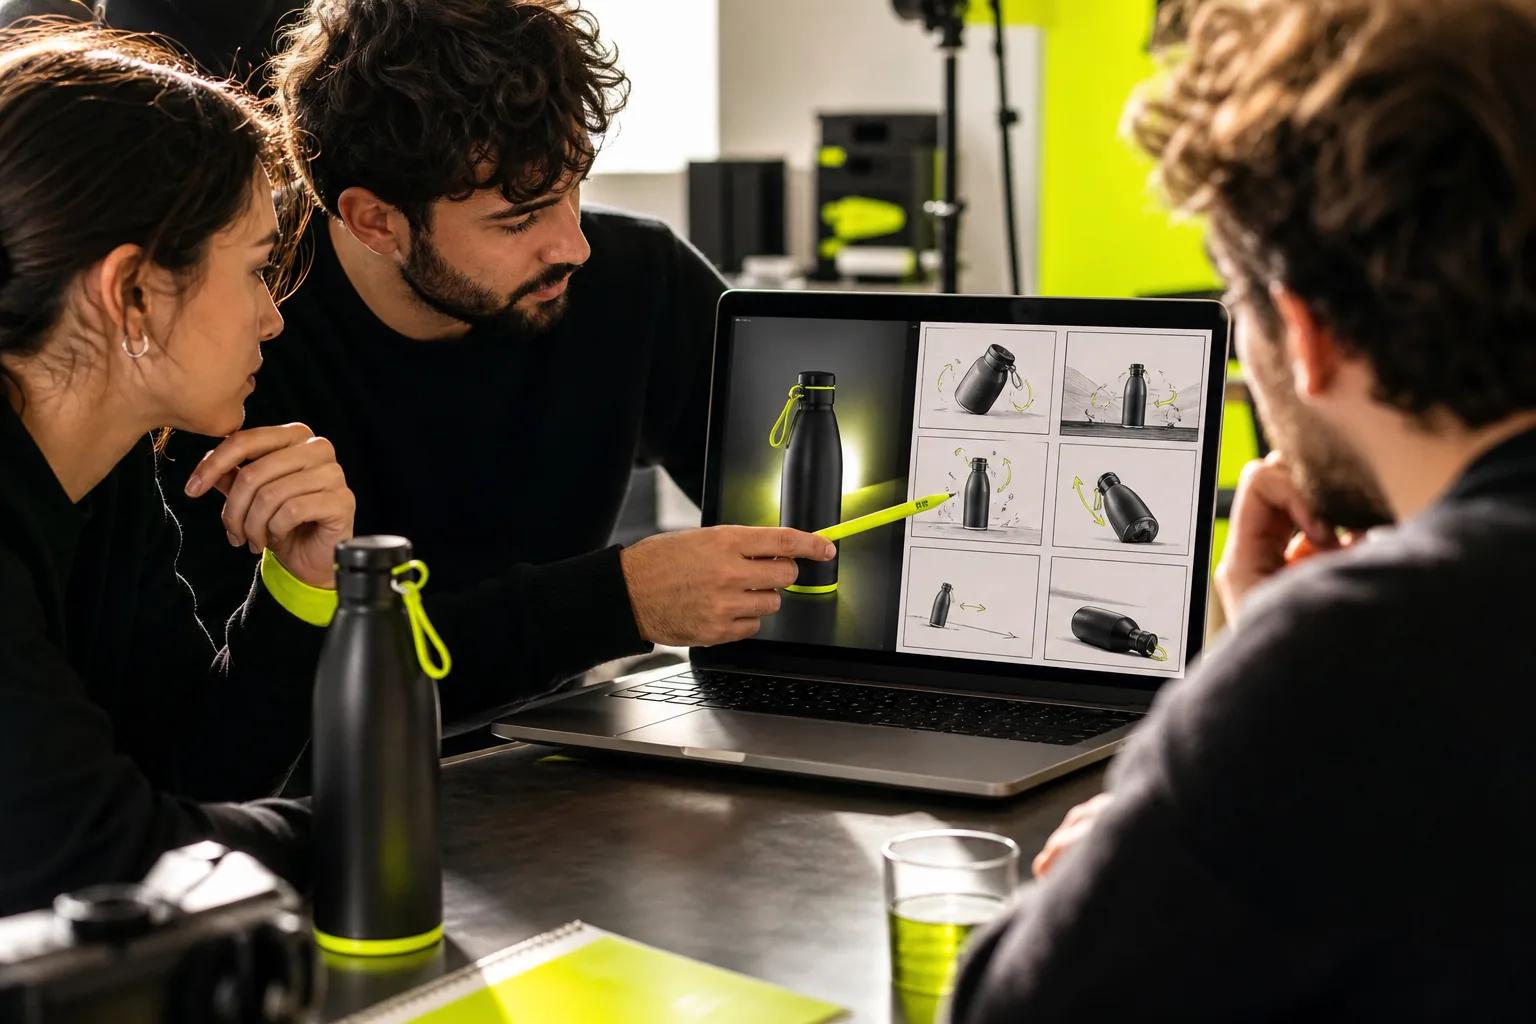
A storyboard doesn’t need polished drawings. Boxes and short notes are enough to catch a missing shot before production. Check that the product stays easy to see, each beat follows the last, and the final frame leaves room for the CTA. For more help shaping lines and visuals together, use these video script writing steps.
If you’re making an AI video, write down details that must remain true, such as the product’s shape, color, or position in the frame. Be careful with claims. Show only benefits you can support, and don’t ask generated imagery to prove a product result that it can’t verify.
Milestone: You should have a timed script, a shot sequence, and notes on which product details must stay accurate.
Step 3: Prepare Product Photos, Prompts, and Visual References
Choose a source image that shows the item clearly. Check that the full product is in frame and that its key details are visible. If the photo has a warped shape, covered label, or distracting background, fix the source before you ask a model to animate it.
For image-to-video, the still image anchors the opening composition. Wan Studio lets you add a first-frame image, then describe what should happen. When a first frame is used, the output follows its aspect ratio, so start with an image framed for the place you plan to post.
Write prompts like short shot notes. Name the subject first. Then describe one action, a camera move, the lighting, and the mood. For example: “A ceramic cup on a breakfast table. Steam rises as the camera slowly pushes closer. Soft morning light. Calm room tone.” Keep the action modest so the product remains the focus.
If the product needs to match across several shots, use reference controls when the model supports them. Wan 2.7 accepts reference images and video clips, which you can tag in the prompt to clarify their roles. Wan 3.0 supports text prompts or a first-frame image, but not reference images or video clips. Choose the model based on the kind of control your storyboard needs.
Sound deserves its own prompt note. Describe the music or ambience you want, and put any exact spoken line in quotation marks. Wan models generate native audio, including dialogue, but review the words and lip movement in the result before using it in an ad.
Use the same product image and prompt structure for a few distinct creative directions: a clean showcase, a close-up of a feature, or a lifestyle scene. Change one element at a time, such as the camera move or light. That makes it easier to see which change improved the clip.
For more prompt ideas built around motion and framing, see this guide to video prompts for ads and Shorts. Keep the final prompt tied to what the product can really do.
Milestone: Your source image is clear, your format is set, and your prompt says what moves and what must remain recognizable.
Step 4: Generate the Product Demo Clips and Sound
Make a short draft before spending time on a polished version. Set the aspect ratio for the destination, choose the clip length, and start with a lower resolution while you test the framing and motion. Wan Studio’s generation screen shows a credit estimate before you commit. Longer clips and higher resolutions use more credits.
Choose the model for the scene. Wan 2.5 is available on the free plan at 480p, with 5- or 10-second clips. Wan 3.0 is included on paid plans and can make clips up to 30 seconds, at 480p, 720p, or 1080p. It can keep characters consistent shot to shot across a scene. For a 15-second sequence that needs reference images or video, Wan 2.7 supports those inputs and video editing.
Describe timing in plain terms when you want a sequence: “Open on the full item. Move closer to the clasp. Cut to the item in use.” Wan 3.0 plans the scene and supports clips up to 30 seconds; Wan 2.7 supports multi-shot scenes up to 15 seconds. Those limits help you choose whether to build one generated scene or assemble several clips in an editor.
Generate a few versions, then watch each one all the way through. First check whether the story reads without stopping. Then review the product’s shape and details, the camera movement, and the sound. For dialogue, check the exact words and whether the character’s mouth movement matches. Native sound is useful, but it still needs a human review.
If a draft misses, change one prompt detail at a time. If the product drifts, simplify the movement or use a stronger first frame. If the scene feels busy, remove an action. If dialogue is hard to understand, shorten the line or use voice-over in your editor instead.
Keep your strongest take for the final edit. Save the rest only if they test a different useful direction; a folder of near-identical clips won’t make the final choice easier.
Step 5: Edit, Export, and Test the Video on Its Target Platform
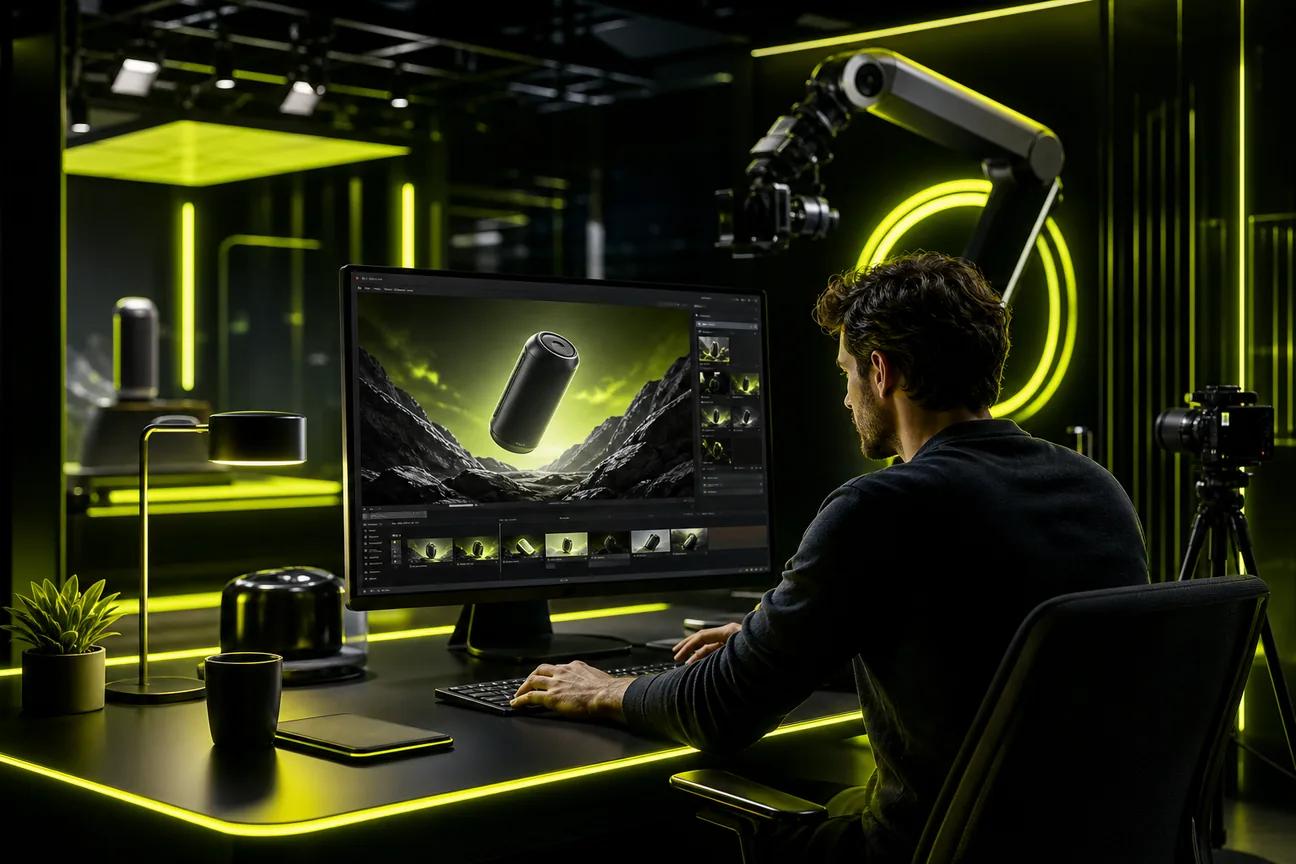
Put the selected shots in storyboard order and trim pauses before the action begins. Remove repeated ideas. Keep text on screen long enough to read, and use brand colors or a logo only where they help viewers recognize who made the video. Don’t let decoration cover the product.
Add captions for spoken words. Check them by hand, especially product names and technical terms. Captions help viewers who watch with sound off and support people who are deaf or hard of hearing.
Use a transcript when the demo has a longer explanation. It gives viewers another way to follow along and helps your team reuse the approved wording in a product page or support article. If you show software, make cursor actions and labels easy to follow. An interactive demo or sandbox can give prospects a chance to try a workflow themselves, while the video offers a quick guided view.
Export to match the placement. Use 9:16 for full-screen vertical social posts, 1:1 for a square feed, or 16:9 for a website or landscape video. Wan Studio downloads generated videos as MP4 files with sound. Open the saved file, not only the editing preview, and check that the audio plays and no caption is clipped.
Watch the final export on a phone. View it once with sound off, then once with sound on. Can you follow the point without narration? Does the first frame show what the video is about? Is the CTA visible and clear? Make fixes before uploading.
For YouTube or a page indexed in search, give the video a plain, accurate title and write a short description that says what viewers will learn. Add a transcript or captions where they fit, and place the video near the related product details.
Track the measure you chose in Step 1. Compare views, completion, clicks, or purchases against the goal, then use the result to guide the next version. A view count alone doesn’t show whether a demo helped someone make a decision.
Milestone: You should have a tested export, captions checked, and a plan to see whether viewers take the next step.
FAQ
How long should a product demo video be?
A product demo should be only as long as it needs to prove one point. Short social clips need a quick opening and a single action, while a product page can support a longer walkthrough. If you find yourself rushing through several features, split the content into separate videos instead of squeezing everything into one.
Can I make a product demo video from a photo?
Yes, you can animate a product photo with an image-to-video model. Use a clear image as the first frame, then describe one action and a camera move. Review the output closely to make sure the product’s shape and key details remain accurate before you publish or use it in an ad.
What should a product demo video script include?
A useful script includes a hook, one product benefit, visual proof, and one next step. Put each spoken line beside the shot that supports it. Read the script aloud and time it; if the delivery feels rushed, remove a point or turn it into a separate clip.
Can AI generate dialogue and sound for a product demo?
Yes. Wan models can generate music, sound effects, and dialogue with the video. Add an exact spoken line in quotation marks when you want a character to say it. Then check the words, sound level, and lip sync in the finished clip, since generated results need review before publication.
How do I make a demo video accessible?
Add accurate captions for speech and meaningful sounds, then check their timing and spelling. Keep on-screen text large enough to read on a phone and don’t rely on color alone to explain an action. A transcript can also help people who prefer to read or can’t play the video with sound.
Conclusion
A product demo works best when every shot proves one useful point. Write a brief, make a short draft, and check the final file on the platform where people will watch it. To start, choose one product photo and build a test clip around a single customer benefit.