You don’t need a film crew to make a product video that looks clear and feels useful. To learn how to create product videos, start with one customer need, then show the product solving it in a few well-planned shots.
We analyzed 50 comments and questions from YouTube, Reddit and Quora about product video creation and found that 16% mentioned desire for automation and easy updating of product demos.
You can film with a phone, animate a product photo, or combine both. The steps below take you from a short brief to a finished video you can test.
Step 1: Plan the Product Video and Write a Focused Script
Give the video one job. It might show how a feature works, answer a common buyer question, or make a product detail easier to see. Write that goal in one sentence before you pick up a camera.
Next, name the viewer and the point they should remember. A useful brief might read: “This video shows new coffee makers how quickly this grinder adjusts from coarse to fine.” That gives the video a clear audience and a claim you can demonstrate.
Sketch three beats: an opening that earns attention, a visual proof point, then one next step. Keep the proof on screen while you explain it. If you’re writing dialogue or narration, use short lines that sound natural aloud. A two-column script can pair each spoken line with its matching shot; keep the draft focused.
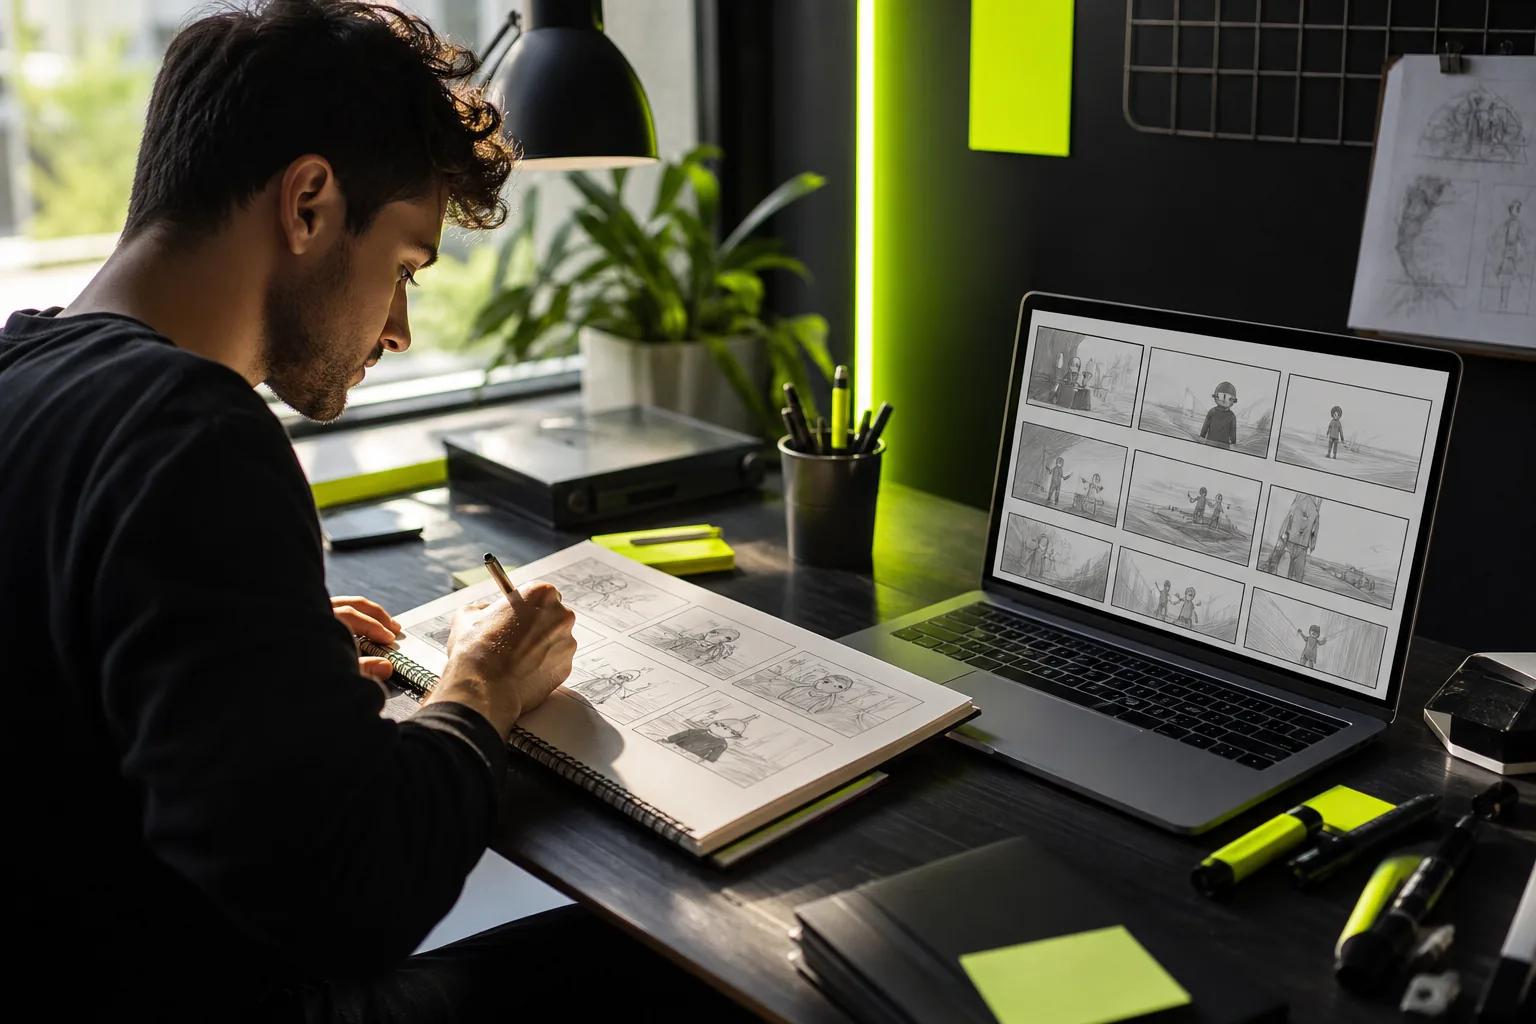
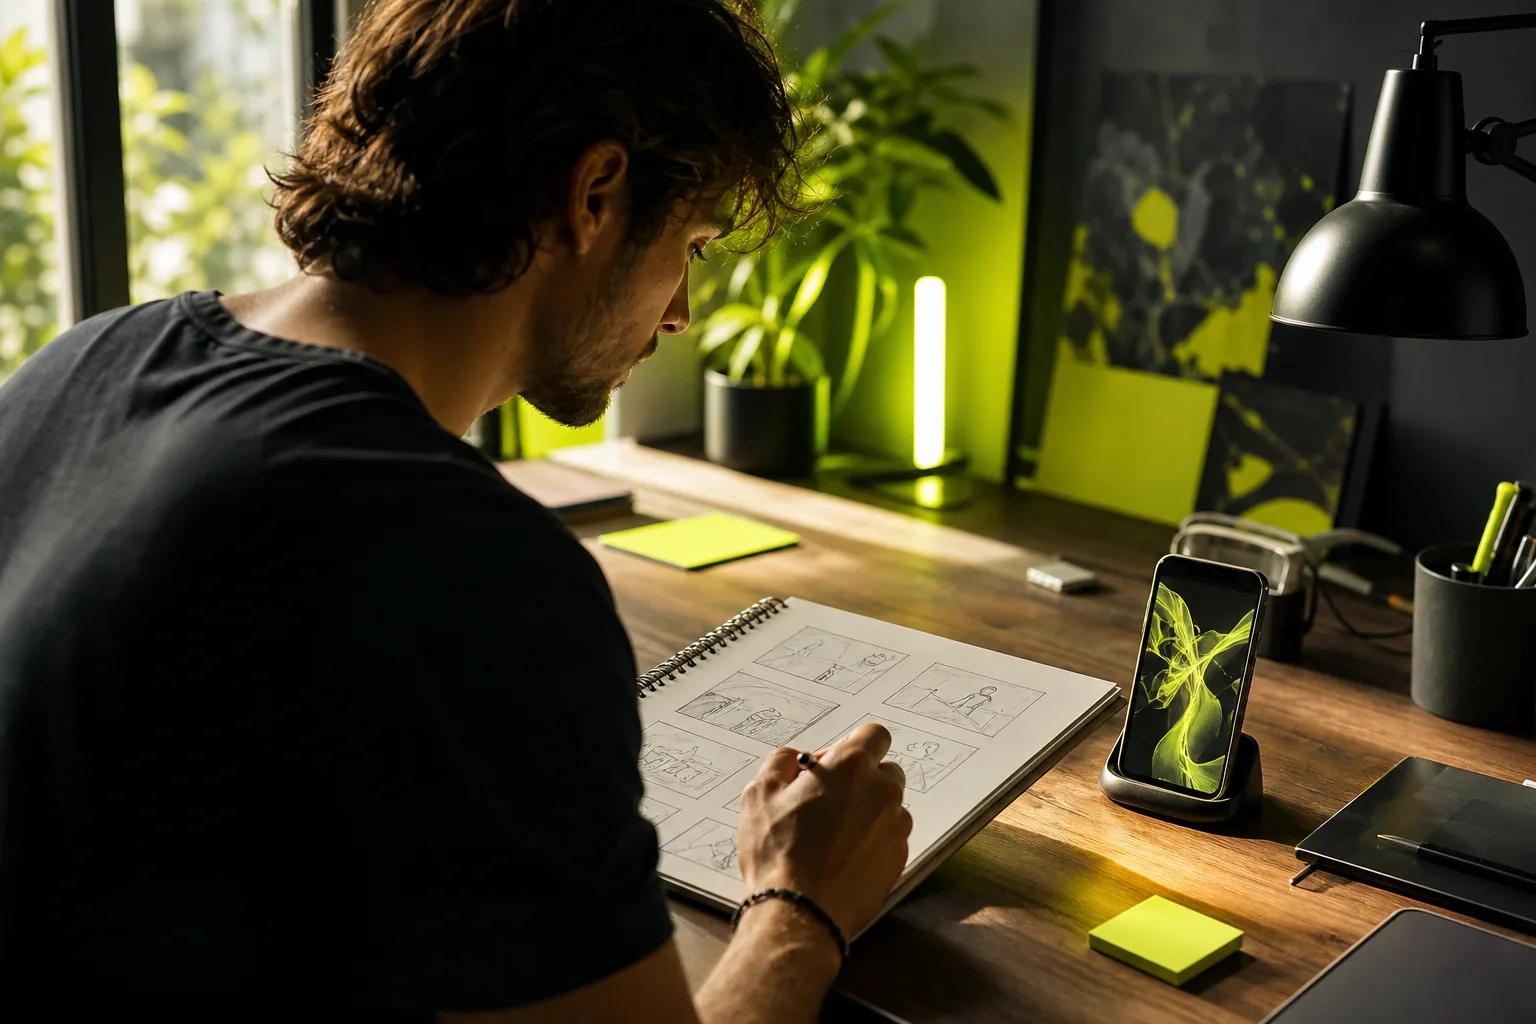
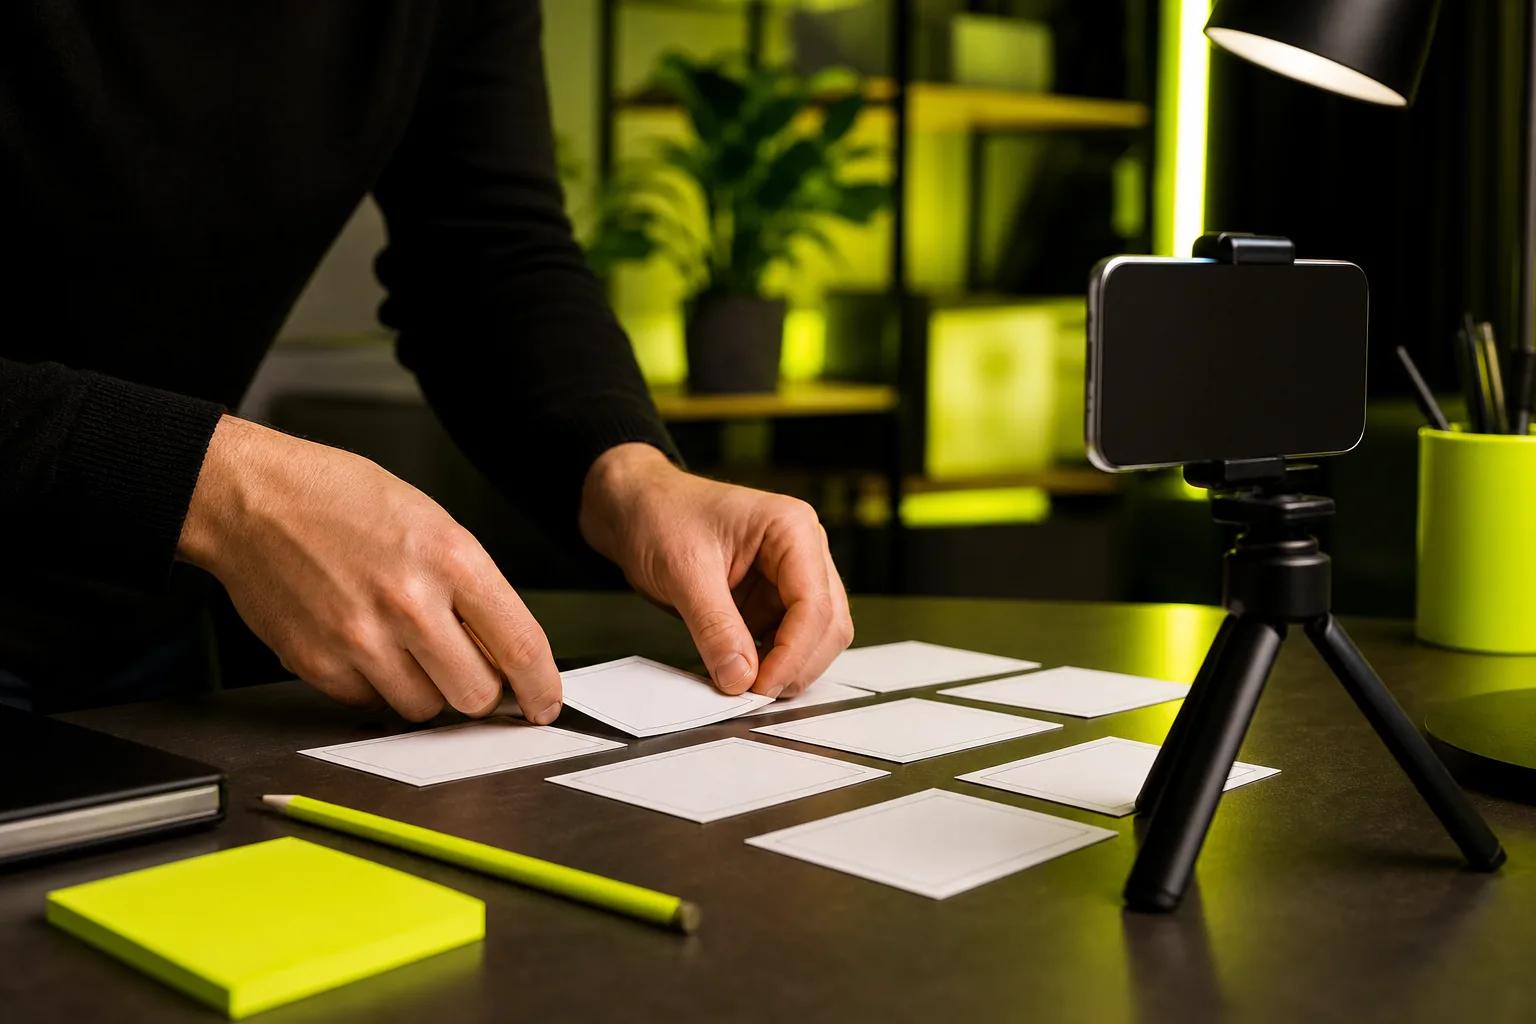
A storyboard is a simple way to plan how the visual beats fit together. You don’t need polished drawings. A few boxes on paper will help you spot missing shots before filming.
For an AI-made clip, add what must stay true: the product’s shape, its color, and any visible label. Wan Studio can turn a prompt or image into a short video, but check the generated details against the real item before using the clip in an ad.
Keep the first draft lean. Each scene should prove one point, not carry the whole sales pitch.
After you outline the shots, decide what you can film and what you can make from existing photos. That choice sets your gear needs and your production time.
Step 2: Choose Affordable Equipment and Set Up Your Space
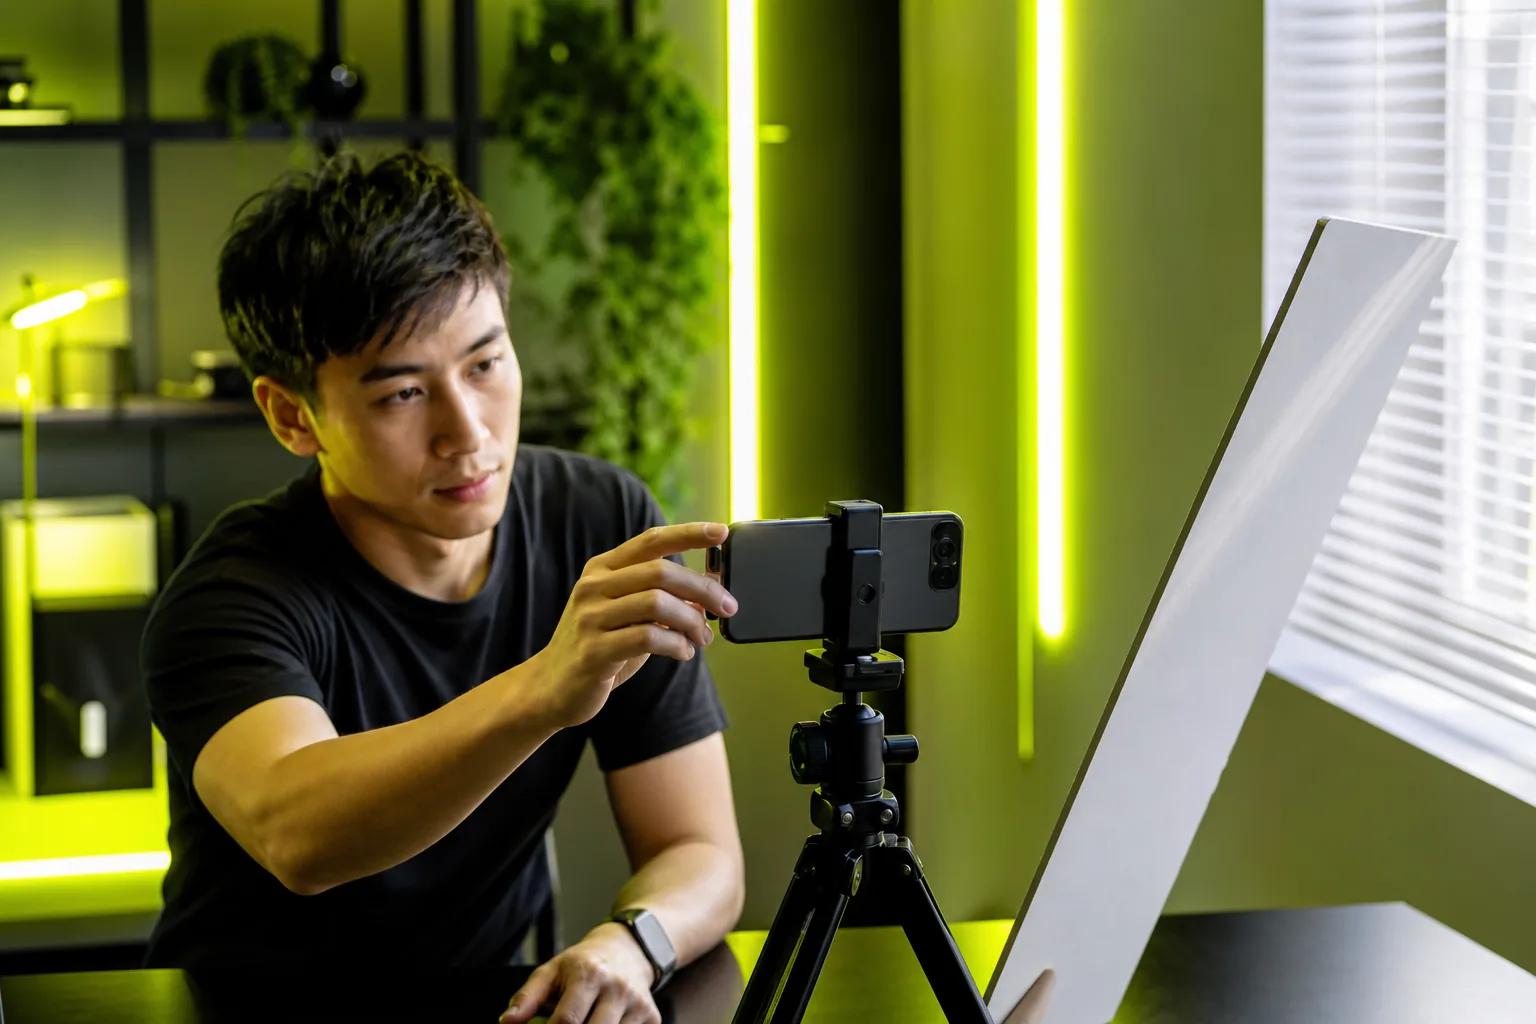
A smartphone is enough to get started. Add a tripod or a phone clamp to keep the frame steady. If you don’t have either, brace the phone on a shelf or a stack of books, then avoid touching it while recording.
Light matters more than buying a new camera. Set up near a window and use a curtain to soften harsh sunlight. If the room is dim, add an LED light or a work light. A sheet of baking paper can soften a work light, but keep it well away from hot bulbs.
Choose a background that suits the item and doesn’t compete with it. A plain wall, a clean table, or fabric can work. You can also use things already at home to raise or support the subject. A manual turntable makes a slow product rotation easier, but a steady close-up can work just as well.
Before filming, clean the lens and clear clutter from the frame. Check reflections on glass or glossy surfaces. Move the light or the product until bright spots don’t hide the details. Record a five-second test and look at it on a phone screen, where most viewers will see it.
If you’d rather start with a still image, Wan Studio is one browser-based option for turning a prompt or photo into a short clip. The site has a free plan with a couple of Wan 2.5 videos a month at 480p, with no card required. Explore AI product video generators.
Step 3: Film Clear, Stable Shots That Show the Product in Action
Record more than one view, but give each shot a clear purpose. Start with a shot that shows the whole item. Then move closer to the detail the viewer needs to notice. Finish with the product being used as intended.
Keep the phone still for close-ups. If you want movement, move slowly and keep the product in frame. A gentle pan can reveal shape or texture. A small rotation can show several sides. A lazy Susan or turntable can do the work while your phone stays fixed.
Show the product doing the task it claims to do. For a kitchen tool, film the action it’s built for. For an app, capture the key screen flow. Don’t ask viewers to take a claim on faith when a simple demonstration can show it.
Watch the light as you change angles. Glossy items may reflect a window or lamp, while dark items can lose detail in shadow. Shift the light rather than waving the camera around. Use a background with enough contrast that the edges stay easy to see.
Take several short takes. Then keep the cleanest ones, not every second you filmed. When filming isn’t possible, a product photo can act as the starting frame for an image-to-video clip. Wan Studio supports that workflow; its result still needs a visual check for shape, color, and any text that appears.
Before you move on, review the takes at full size. A shot that looks fine on the camera screen may hide a label or key edge once it’s played back.
Step 4: Edit the Video and Create Versions With or Without Filming
Start your edit by cutting out setup time and weak takes. Put the strongest opening first. Keep each shot only as long as it takes to understand the point. A product detail should be visible when the voice or caption names it.
Next, add text only where it helps. Use a short caption for a key feature or a step the viewer might miss. Keep it large enough to read on a phone, and away from buttons or captions that social apps place over the video.
Music can set a mood, but it shouldn’t cover speech. If there’s dialogue, keep the mix simple and listen on a phone speaker. Decide which sound should lead each moment, rather than letting speech, music, and effects compete.
For a no-filming version, animate a still image or build a scene from a text prompt. Wan Studio supports text-to-video and image-to-video, with synchronized sound and dialogue on Wan models that support those features. For example, Wan 2.5 and Wan 2.7 generate native sound and lip-synced dialogue; Wan 3.0 supports clips up to 30 seconds with sound and dialogue. Treat lip sync as something to inspect, not a promise that every take will be perfect.
Make a separate export for each channel. A vertical 9:16 cut fits a full-screen social post; a landscape cut can suit a product page or a wider video slot. If you start from a product photo, an image-to-video workflow can turn a still into a moving clip; see this related resource. Watch the final file with sound on, then watch once with sound off to check whether the story still makes sense.
Step 5: Publish, Test, and Measure Product Video Performance
Put the video where a buyer can use it. Add a demo to the product page near the details it shows. Share a shorter cut on social media. For email, use a still image linked to the video if the email tool or inbox won’t play video inline.
Match the opening to the placement. On a product page, lead with the item and its use. In a social feed, make the first moment clear even without sound. For a short ad, keep the offer or next step easy to spot, and don’t let interface controls cover important text.
Check the result against the video’s goal. If the goal is awareness, review views and how long people watch. If you want product-page engagement, compare page activity or clicks around the video. If the goal is sales, track purchases alongside the page or campaign where the video ran. Use the same time window and audience when comparing versions.
Test one change at a time. Try a new opening shot while keeping the message and audience steady. Then compare the same measure, such as click-throughs or purchases. If you change the hook, length, and offer together, you won’t know which change affected the result.
Keep a simple record of the version, placement, date, and result. A short note can save you from repeating a weak opening next month. For a product clip, the best version is the one that makes the item easy to understand and supports the action you want viewers to take.
Frequently Asked Questions
How long should a product video be?
Make it long enough to show the product’s key use, then stop. A short social clip may need only one feature and one next step. A product-page demo can take longer if the viewer needs to see several parts of a task. Cut any moment that doesn’t help explain or prove the main point.
Can I make a product video with my phone?
Yes, a smartphone can record a clear product video. Stabilize it with a tripod or a firm support, add soft light, and check the frame before filming. A clean lens and a useful background matter more than fancy gear. Record a short test first so you can fix glare or shadows before making the full set of shots.
How do I make a product video without filming?
You can animate a product photo or generate a scene from a text prompt. Start with an image when the product’s appearance needs to stay close to a specific reference. Then describe the movement and camera action you want. Review the result carefully, especially the product shape and any visible writing, before posting it.
What should I measure for a product video?
Choose a measure that matches the goal. Views and watch time can help assess attention. Clicks can show whether viewers took the next step. Purchases can help connect the video to sales when you can track them for the same page or campaign. Compare like with like, and change one part of the video per test.
Conclusion
Start with one message and one shot that proves it. Use your phone or a product photo, then review the finished clip before sharing it. For your next step, write a one-sentence brief and sketch the opening, proof point, and ending before you film or generate anything.