Learning how to create AI videos is easier when you plan the clip before you press Generate. Start with one clear goal, then build a short scene from a prompt or an image.
We analyzed 25 YouTube comments about creating AI videos and found that 24% asked about capabilities of AI video tools.
Step 1: Choose the Video’s Goal, Audience, and Format
Write one sentence that says who the video is for, what it should communicate, and where you’ll post it. For example: “Make a 15-second vertical video for first-time buyers that shows how this travel mug fits into a morning routine.” That sentence helps you judge each shot. If a clip doesn’t support the message, cut it.
Pick the format before you generate. A product ad needs a clear view of the item. A short lesson needs room for a speaker or captions. A cinematic scene may need more time to build mood. Social posts often use a vertical frame, while a video for a site or presentation may need landscape.
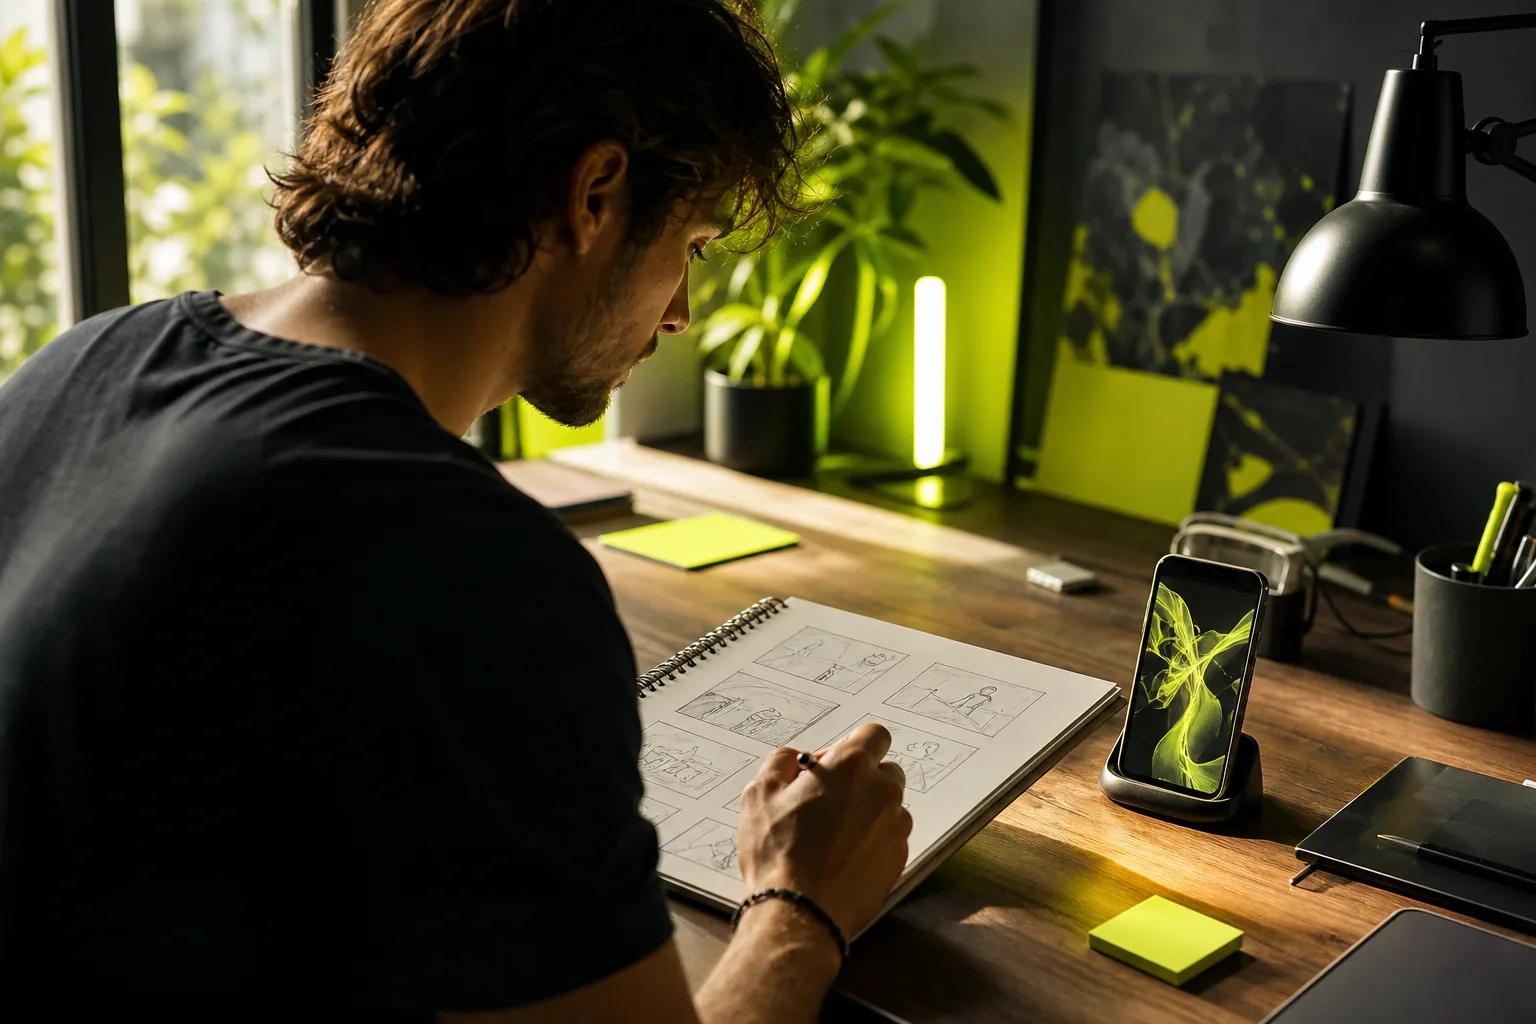
Next, sketch the action in order. A simple social ad might open with a close view, show the item in use, then end on the main benefit. For a short training clip, list the steps the viewer needs to see. Keep each beat focused on one visible event instead of asking one generation to tell a whole story.
If you’re making a product spot, a focused script helps keep the message in view while you plan the shots. These steps for creating product videos can help you shape the brief before you generate footage.
Decide how you’ll judge the first draft, too. For an ad, check whether viewers can see the product and understand the offer. For a learning video, check that each action reads clearly on a phone. For a story, check that the sequence makes sense without an explanation.
By now you should have a one-sentence brief, a destination format, and a short shot list. That’s enough structure to guide your prompt without locking you into a rigid script.
Here’s a short visual example of the kind of prompt-led video workflow you can use:
Step 2: Write a Specific Prompt or Prepare a Product Image
A useful prompt tells the model what appears on screen and what changes during the shot. Name the subject first. Then describe one action, the setting, the camera move, and the light or visual style. “A ceramic cup sits on a kitchen counter” gives little direction. “Steam rises from a ceramic cup as the camera slowly pushes in, soft morning light from the left” gives the model a scene to follow.
Keep the action manageable. A person turning toward the camera is easier to direct than a crowd running through a busy market. If the shot needs several events, use a short timeline: first the door opens, then the character steps into the room, then the camera moves closer. For dialogue, write the exact spoken line in quotation marks and name who says it.
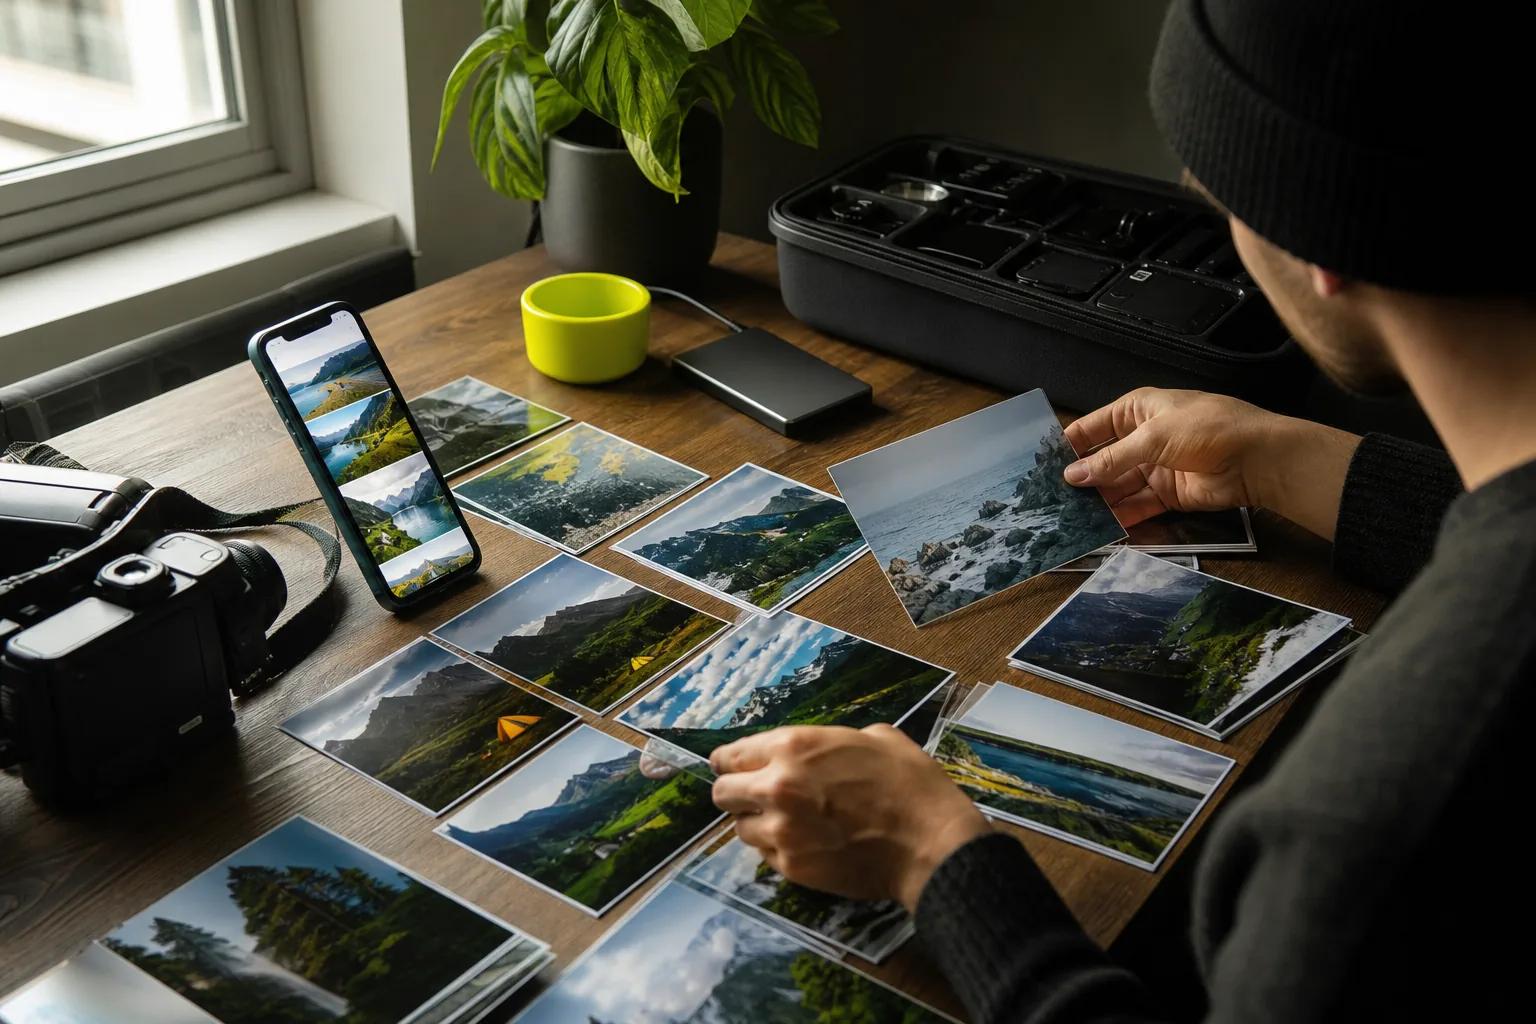
For a specific product or character, consider image-to-video. A source image anchors the opening composition, so the model has a visual starting point instead of inventing every detail. Use a sharp image with the full subject in frame. Check the product shape, color, and label before animating it; correct a faulty still before spending credits on motion.
A first frame and a reference image do different jobs. A first frame is the opening image that the video moves on from. A reference gives the model visual guidance, but isn’t meant to appear as the opening shot. Wan 3.0 accepts text or a first-frame image. Wan 2.7 also supports reference images and video clips, which can help when a scene needs more visual direction.
If your starting point is a still photo, this photo-to-video workflow covers the key choices around motion and format. For a product photo, keep the prompt focused on what should move and what must stay the same. You might ask for a slow camera move while the item remains centered.
Wan Studio’s Wan models can generate sound with the video. Describe the mood or sounds you want, such as quiet room tone or a bright music cue. Don’t make every detail compete for attention. A short prompt with one main action and one camera move is often easier to refine than a paragraph packed with unrelated events.
Before you generate, set the aspect ratio to match the destination when the model gives you that choice. Wan Studio supports vertical, square, and landscape formats. If you use a first-frame image, the result follows that image’s aspect ratio, so check its shape before you upload it.
Step 3: Generate a First Clip and Review the Model’s Capabilities
Make a short draft first. It’s a test of the prompt, framing, motion, and sound, not a final deliverable. Choose a low-cost setup when you’re still exploring, then spend more credits only after the scene works. In Wan Studio, longer clips and higher resolutions use more credits, and the studio shows an estimate before you generate.
Choose the model based on the task. Wan 3.0 is the default on paid plans and can generate clips up to 30 seconds. It supports 480p, 720p, and 1080p, with adaptive framing or fixed aspect ratios. See Wan 3.0’s model details for its current inputs and output choices.
Wan 2.5 is the free-plan model. It makes 5- or 10-second clips, and the free plan outputs at 480p. Wan 2.7 is a paid option for reference-driven video and video edits. It can take reference images or clips and can animate between a chosen first and last frame. Those differences matter: pick the model that fits the input you already have, rather than rewriting your whole idea to fit a setting.
Wan 2.5, 2.7, and 3.0 generate native sound. On Wan models with dialogue, a quoted line can be spoken by the character with lip movement. Still, review the result. A model capability is not a guarantee that every line, face, or sound will land perfectly in a specific generation.
Watch the draft twice. First, follow the story without pausing. Does the opening make sense? Does the action finish? Then watch for details: does the subject keep the same appearance, does the camera move as asked, and does the sound fit the scene? For dialogue, check the spoken words and lip sync. If the product is on screen, check its shape and label.
Wan Studio’s free plan gives you a couple of Wan 2.5 videos each month at 480p, with no card required. It’s meant for trying the workflow. Paid plans start at $14 per month and include a commercial licence. Check the live estimate before each generation, since length, resolution, and model affect credit use.
By now you should know what the chosen model handles well and what needs another pass. Keep the first draft short, then fix one issue at a time. If the framing is wrong, adjust the framing. If the character feels still, simplify the action or camera move.
Step 4: Refine the Scene, Sound, and Multi-Shot Story
Refine the draft by changing one thing at a time. If the product shifts shape, use a stronger starting image or ask for less movement. If the camera wanders, state a single move, such as “slow push-in,” or ask for a locked shot. If the scene feels busy, remove an action rather than adding more prompt detail.
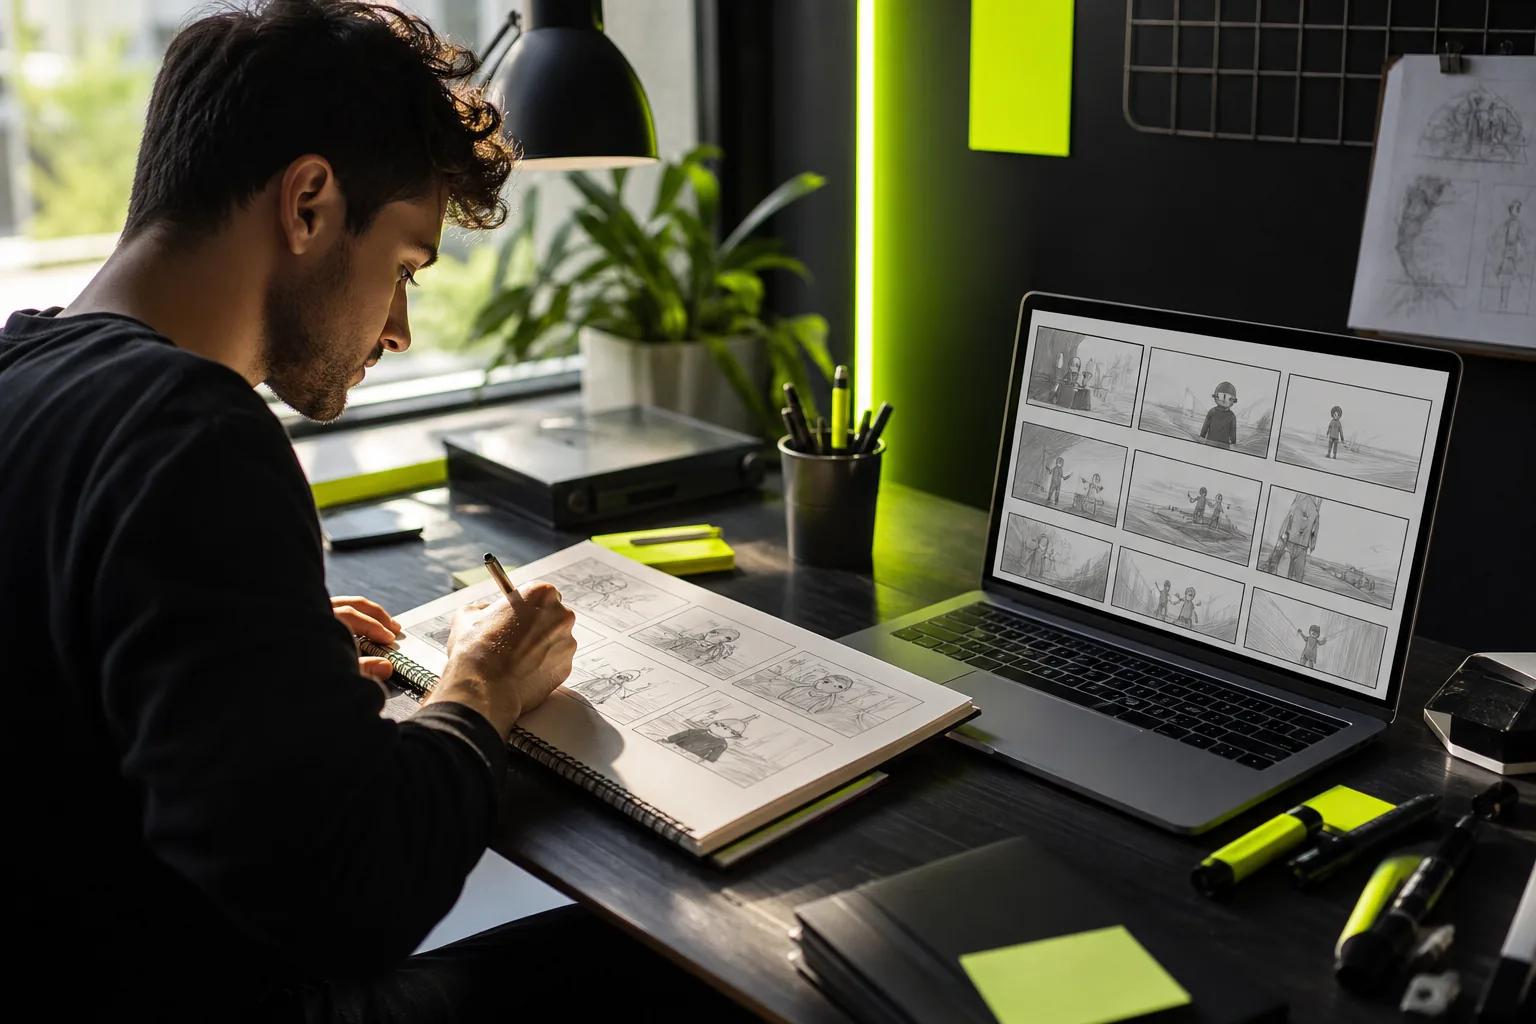
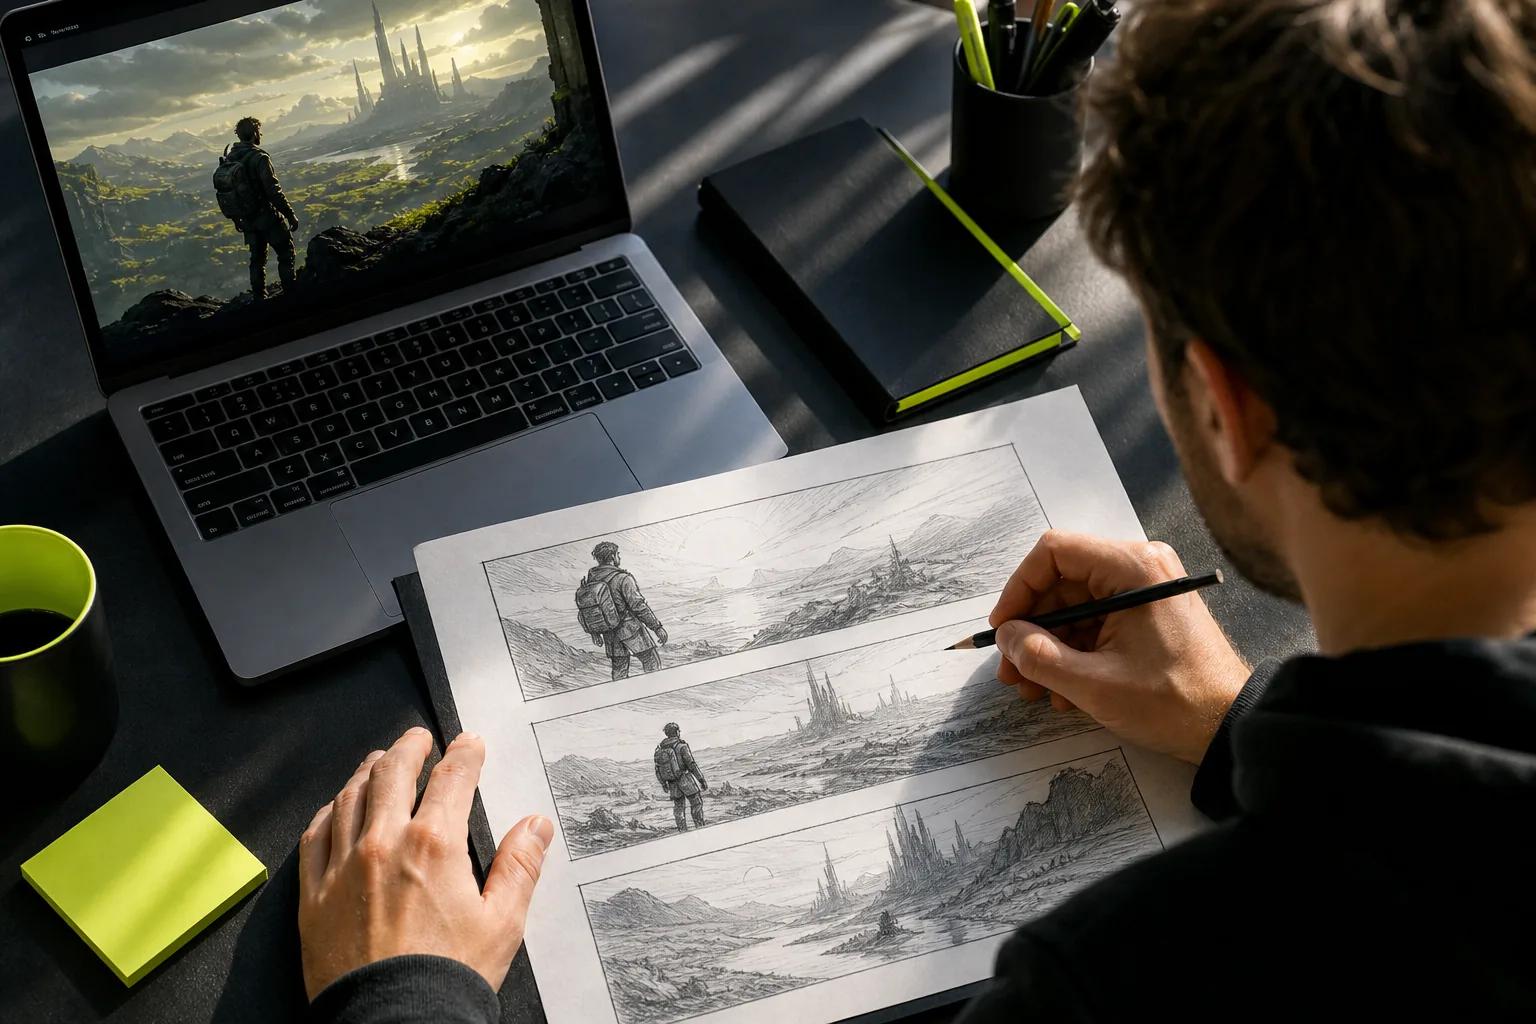
For a multi-shot story, map the shots before you generate them. A storyboard can be a set of panels or a written sequence. Note what the viewer sees in each shot, what the camera does, and which details must stay consistent. Keep character traits specific, such as the same jacket color or hairstyle, and repeat those details when you describe the next scene.
Wan 3.0 is built to plan a scene and keep characters consistent shot to shot for up to 30 seconds. Wan 2.7 may be a better fit if your plan depends on reference images, video clips, or editing an existing clip. Read the Wan 2.7 reference and edit options before choosing a workflow that depends on those inputs.
Sound can make separate shots feel like one piece. Wan’s native audio can add music, ambience, effects, or dialogue in the same generation as the visuals. Describe what should be heard and when: for example, room tone at the start, then a soft music cue as the camera moves. Keep dialogue short enough to fit the clip, and listen for words that are unclear or out of sync.
Don’t ask one short clip to carry a complicated sequence unless the selected model and duration fit it. Split a long idea into simpler shots, then assemble the strongest generations in an editor. A close-up can cover a moment when the wide shot has a visual flaw. A sound bridge, where music or room tone continues across a cut, can also help separate generations feel connected.
When something looks wrong, compare it with the storyboard and identify the first point where it changes. That helps you decide whether to adjust the source image, simplify the action, or make a fresh shot. For social clips, check that the character and key action remain visible in a vertical frame, with clear space for captions.
Step 5: Edit, Export, and Check the Video on Its Target Platform
Choose the best take for each beat, then assemble them in order. Trim pauses before the action starts and remove any ending that repeats the message. You can make these edits in an external video editor if you need tighter cuts, captions, overlays, or a branded end card. Keep claims and product details accurate when you add text.
Match the export to where it will appear. A vertical 9:16 frame fits phone-first feeds such as TikTok, Reels, and YouTube Shorts. Landscape works for a site video or a standard video player. Wan Studio downloads generated clips as MP4 files with sound, so you can bring them into an editor or upload them after review.
Look at the video on a phone, not only on a large monitor. Check that the subject stays in frame and that captions don’t cover the face or the item being shown. Read every caption. Listen for clipped dialogue, music that masks speech, or a sudden change in sound between shots.
Watch the opening and closing seconds closely. The first moment should show the subject or idea quickly. The ending should feel intentional, whether it’s a final product view, a clear next step, or a clean cut. If the platform has a preview screen, use it to catch crops or overlays that hide important details.
Before publishing, confirm you have permission to use your source image, voice, and any added music. Paid Wan Studio plans include a commercial licence; the free plan is for trying the service. Save the final MP4 outside your media library if you want to keep it. Wan Studio stores generated media for 30 days before removing it.
By now you should have a final file in the right frame, with readable captions and checked audio. Upload it as a draft first if your platform allows a preview, then review the post as viewers will see it.
FAQ
How long can an AI video be?
It depends on the model. Wan 3.0 can generate clips up to 30 seconds, while Wan 2.7 goes up to 15 seconds. Wan 2.5 creates 5- or 10-second clips. Longer scenes can be built from shorter generations, then cut together in an editor.
Can I make an AI video from a product photo?
Yes. Use image-to-video to animate a still photo. Choose a clear source image, then describe what should move and what should remain steady. Review the result for changes to the item’s shape, color, or label before using it in an ad.
Can AI videos look like Hollywood films?
AI video can make cinematic scenes, but it can also produce visual errors or motion that doesn’t match your plan. The result depends on the prompt, image, model, and shot complexity. Start with one clear action, review the render, and use an editor to shape the final sequence.
Can I edit or extend a video I already have?
Some models support video input or editing. Wan 2.7 lets you upload a clip and describe a change while preserving motion. Wan 3.0 does not take video references or edit existing footage. Check the selected model’s options before planning around an edit.
Conclusion
Start with a short brief, generate a small test, and review the result before you spend credits on a polished export. For a low-friction first try, use Wan Studio’s free plan to test a prompt or image. Pick one idea, make a short draft, and check the framing and sound before you build the full cut.