Got a camera roll full of photos but no video footage? You can still turn those stills into a Reel with a clear story and a beat that keeps it moving. Here’s how to make a Reel from photos in Instagram, plus a few ways to add motion when a simple slideshow feels too still.
We analyzed 37 comments and questions from YouTube and Quora about creating reels from photos and found that 27% asked about photo timing and sequencing.
Step 1: Choose Photos That Tell One Clear Story
Pick one idea before you open Instagram. A product launch, a trip, a before-and-after, or a quick portfolio tour can each carry a short Reel. Give every photo a reason to be there. If two images make the same point, keep the stronger one.
Choose a strong opening image first. It should make sense at a glance, even on a small phone screen. For a product Reel, lead with the item in use or a clear view of its shape. For a travel recap, open with the scene people came to see, not a blurry shot of your suitcase.
Then sort the rest into a simple sequence: opening, detail, change, finish. A small business might start with a finished cake, show the frosting work, then end with the cake boxed for pickup. A photographer could open on a landscape, show a close detail, and finish with a wider view.
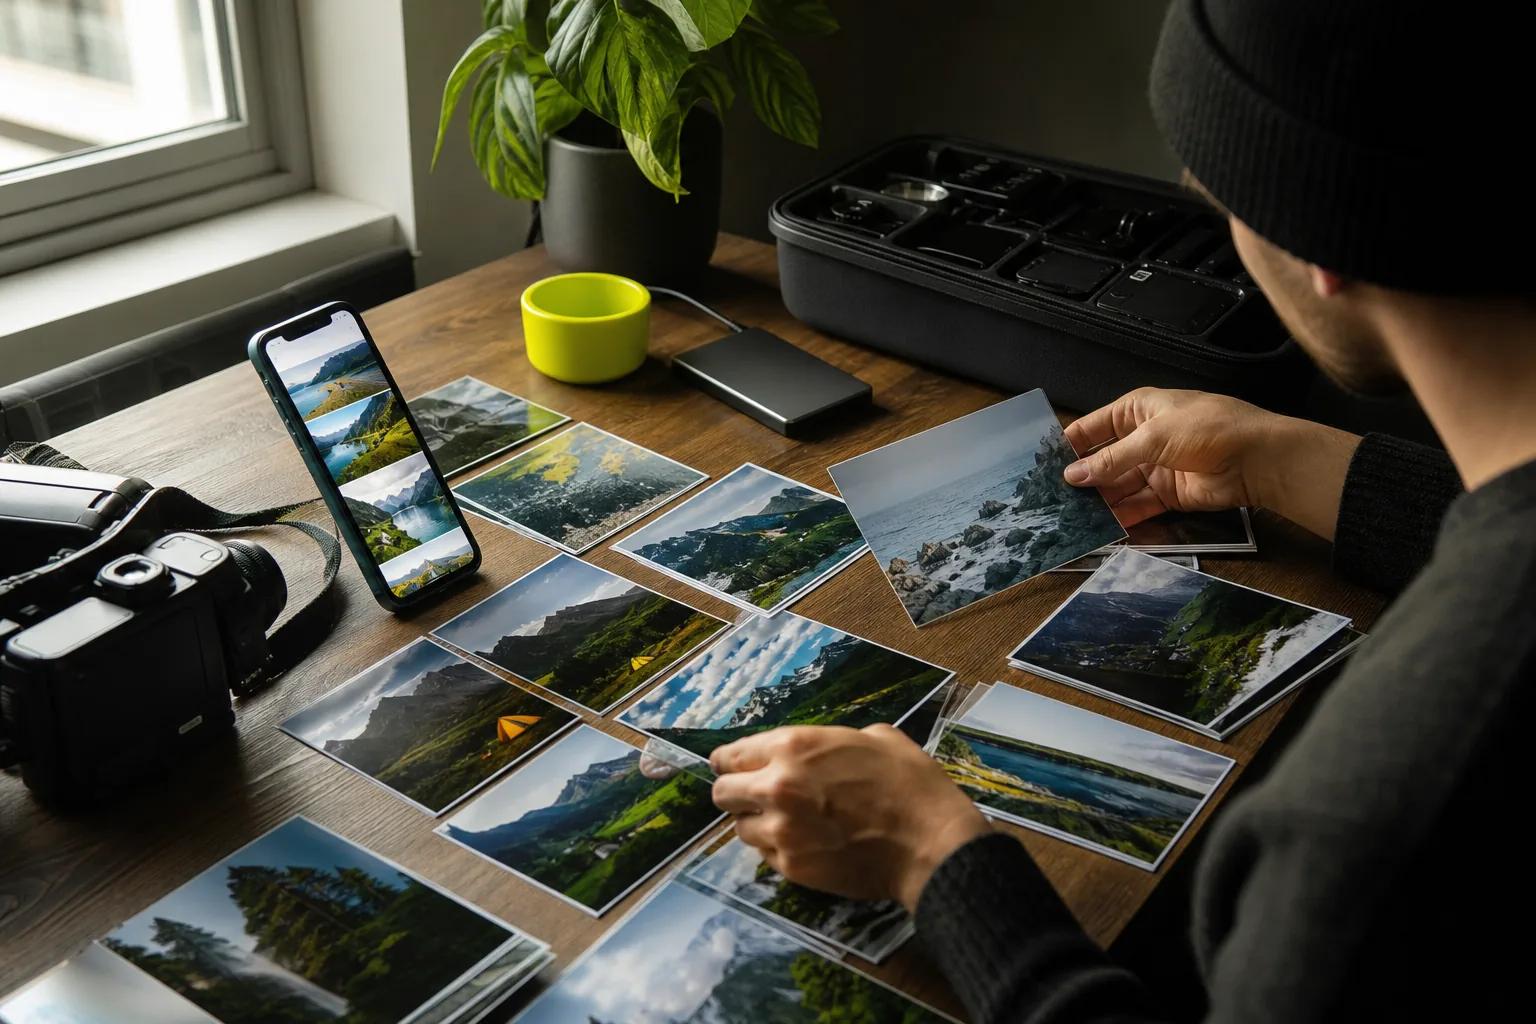
Keep the set focused. Six photos can tell a tight story; a longer set needs enough time for each image to register. If your photos have different shapes, check where each subject will land in a vertical frame. A face, product label, or key detail near the edge may get cropped.
For a photo that needs more movement than a simple pan, Wan Studio can turn an image into a generated video scene. But for a classic slideshow, a well-chosen set of stills is all you need. For more short-form video ideas, browse AI videos for TikTok, Reels, and Shorts.
Milestone: You should have a short photo sequence with one clear opening image and a satisfying final frame.
Step 2: Set a Vertical Canvas and Plan the First Frame
Instagram Reels are made for vertical viewing. Start with a photo that can fill a tall frame, or be ready to crop a wider image.
In Instagram, tap the create button, choose Reel, then open your camera roll from the gallery control. Choose the photos you want to use. Tap them in the order you want them to appear. If the app numbers your picks, use those numbers to check the sequence before you continue. Finish by tapping Next or Add, depending on the screen you see.
Preview each photo in the vertical frame. Pinch to zoom, then drag the image until the main subject sits where you want it. Don’t crop a product edge or a person’s face just to fill every corner. A clean crop beats a tight crop that hides the point of the picture.
Think about the first frame as the cover of a tiny story. A photo with a clear subject usually works better than a busy group shot. If you add text, keep it brief and place it away from the edges, where app controls may cover it.
Instagram’s layout and button names can change. If your screen looks different, look for the gallery, multiple-select, or timeline controls rather than relying on an exact button position. The key check is simple: the Reel should fill the phone screen, and the subject should remain easy to see.
Milestone: Your selected images are in the right order, and each one sits well in the vertical preview.
Step 3: Add Motion to Still Photos
A Reel made from stills can feel lively without turning every photo into a complicated effect. Start with the built-in editor. Select a photo on the timeline and look for its clip controls. Use a gentle zoom or pan if the editor gives you that option. Small motion is often enough to guide the eye toward a face, detail, or product.
For a quick hands-free method, record your phone screen while viewing one photo. Zoom or reposition the image during the recording, then stop. Add that screen recording to your Reel and trim it so only the useful part remains. Repeat for another image if needed. This is a workaround, so check for visible taps or awkward pauses before using the clip.
You can also try a green-screen effect in a video editor. Choose a photo as the background, then record while you speak or react on screen. Move out of the way if you want the photo to fill the frame. This approach works well for a short voiceover, a photo explanation, or a creator introducing a portfolio image.
For more control, build the slideshow in an external video editor such as iMovie, Premiere, or Final Cut, then upload the finished video to Instagram. You can make the crops and transitions before you post. If you want to animate one image into a moving scene instead, Wan Studio supports image-to-video creation. The photo-to-video walkthrough explains how to prepare a still and shape its motion.
Wan Studio’s Wan models can generate clips with sound. Wan 2.5, 2.7, and 3.0 support native audio, including dialogue with lip sync. Review the result before posting, especially if a person speaks or a product’s shape needs to stay true to its source photo.
Milestone: Each image has either a simple motion treatment or a clean still hold. The movement supports the story instead of distracting from it.
Step 4: Set the Pace, Add Audio, and Make the Story Easy to Follow
Tap a photo clip in the timeline to adjust how long it stays on screen. Drag its edge, or use the timing controls shown in the editor. A quick sequence can use short holds. A photo with small details needs longer so people can actually see it.
Start with the music if you’re editing each slide by hand. Listen for a clear beat or change in the track, then place the photo cuts around those moments. You don’t need to match every beat. A few well-timed changes can make the sequence feel intentional.
To use a template, open Instagram’s Reels templates and choose one with a number of slots that suits your photos. Add the images in order. The template sets the timing to fit its existing edit, which can save time when you want a quick result. Preview the finished sequence, since a template’s pace may not give every image enough time.
If you build the Reel manually, add music from Instagram’s audio options before you finalize the timing. Then adjust the photo holds to fit the track. A still image that lands on a strong beat can feel like a deliberate cut, even without a special transition.
Use text only when it adds context. A short opening line can explain the payoff. Small labels can mark a before-and-after or name a product feature. Keep each phrase easy to read, and set its timing so it appears with the photo it describes. If you record a voiceover, add captions so the message still makes sense with the sound off.
Before you share, play the Reel once with sound and once muted. Check that the music doesn’t drown out your voice. Make sure the main point still reads without audio. If the last photo cuts off too soon, give it a little more time or choose a stronger ending.
Milestone: The images fit the audio, text appears with the right photo, and the story works with sound off.
Step 5: Preview, Export, and Publish Your Photo Reel
Watch the full Reel from the first frame to the last. Look for crops that shift, text that sits too close to an edge, or a photo that flashes by before you can see it. If you used screen recording, trim out the start and end of each capture. The saved video should feel like one piece, not a stack of phone actions.
In Instagram, tap Next to open the share screen. Add a caption that gives the Reel a little context. Use a few relevant hashtags if they help people understand the topic, but don’t let a long tag list take over the caption. Pick a cover image where the subject is clear. Then review the preview and share when it looks right.
For a product or portfolio Reel, check that the image still represents the work accurately. A crop can hide a useful feature. A generated motion effect can change how an item looks. If the Reel is an ad, review every on-screen claim before it goes live.

You can also make photo Reels in Facebook’s app. The basic flow is similar: choose Reel, select multiple photos, arrange them, edit the timing, add audio, then write a caption and share. The screen layout and available editing controls may differ between Facebook and Instagram, so review the preview in the app where you plan to publish.
If you want to turn a still into a more cinematic clip before sharing, Wan Studio works in a browser and can start from an image or a prompt. Its Wan 3.0 model supports clips up to 30 seconds, with vertical framing available. For other short-video workflows, see steps for making AI videos for TikTok, which also apply to many Reels and Shorts projects.
Milestone: Your saved or shared Reel has a clear cover, a readable caption, and no crop or audio issue in the final preview.
FAQ
How many photos should I use in a Reel?
Use enough photos to show a clear beginning, middle, and end. A short set often works well for a quick reveal, while a longer sequence needs more time or a faster pace. Start with your strongest image, remove repeats, then preview the whole Reel to see whether each photo stays on screen long enough.
How do I change how long each photo appears?
Tap a photo clip in Instagram’s Reel timeline, then adjust its edge or use the timing controls shown on your screen. Check the preview after each change. Short holds suit quick cuts, while a detailed product shot or landscape may need more screen time.
Can I make a Reel from photos without adding video?
Yes, you can make a Reel using only photos. Select multiple images from your camera roll, arrange them in order, and adjust their timing. Add motion with a gentle zoom, a template, or a screen-recorded pan if you want the still images to feel less static.
Can I add my own voice to a photo Reel?
Yes. You can record a voiceover in Instagram’s editor, or use a background effect to speak while a photo appears behind you. Keep the spoken point brief, then add captions if viewers may watch with the sound off. Preview the voice and music together before you publish.
Can I post the same photo Reel on Facebook?
Yes, you can create a photo Reel in Facebook by selecting multiple images, editing their order and timing, then adding audio and a caption. The exact controls may differ from Instagram. Preview the finished Reel in the app where you’ll share it so the crop and text look right there.
Conclusion
Start with a small set of photos that tell one story, then use Instagram’s timeline or a template to set the pace. Preview the Reel on your phone before sharing. If you want to add generated motion to a still image, explore Wan Studio’s image-to-video workflow and test one short clip.