A still photo can do more than sit in a feed. Give it a slow camera move, a line of dialogue, or a little music, and it can become a short video without a shoot day.
Here’s a simple workflow: prepare your image, choose how it should move, edit the clip, then export it for the place you’ll share it.
Step 1: Choose and Prepare the Photo
Good results start with a photo that gives the motion room to work. Pick a clear image with a visible subject and enough space around it for a crop or camera move.
For a product ad, use a photo where the product stands apart from the background. For a talking clip, choose a front-facing portrait with the face easy to see. A busy image can still work, but tiny details may shift when AI adds motion.
Check the image’s shape before you upload it. A vertical image suits a phone-first post; a wide image fits a landscape video. If you need to crop, keep the product or face away from the edges so it won’t get cut off later.
Before uploading, check the tool’s accepted file types and export options. If the image needs a clean copy, save one before importing it into the video workflow.
If you’re using an iPhone Live Photo, there’s also a direct route: open it in Photos, tap the more button, then choose “Save as Video.” The video appears in your library while the Live Photo stays there too.
Keep an untouched copy of the original. You may want it again if you change the crop or try a different prompt.
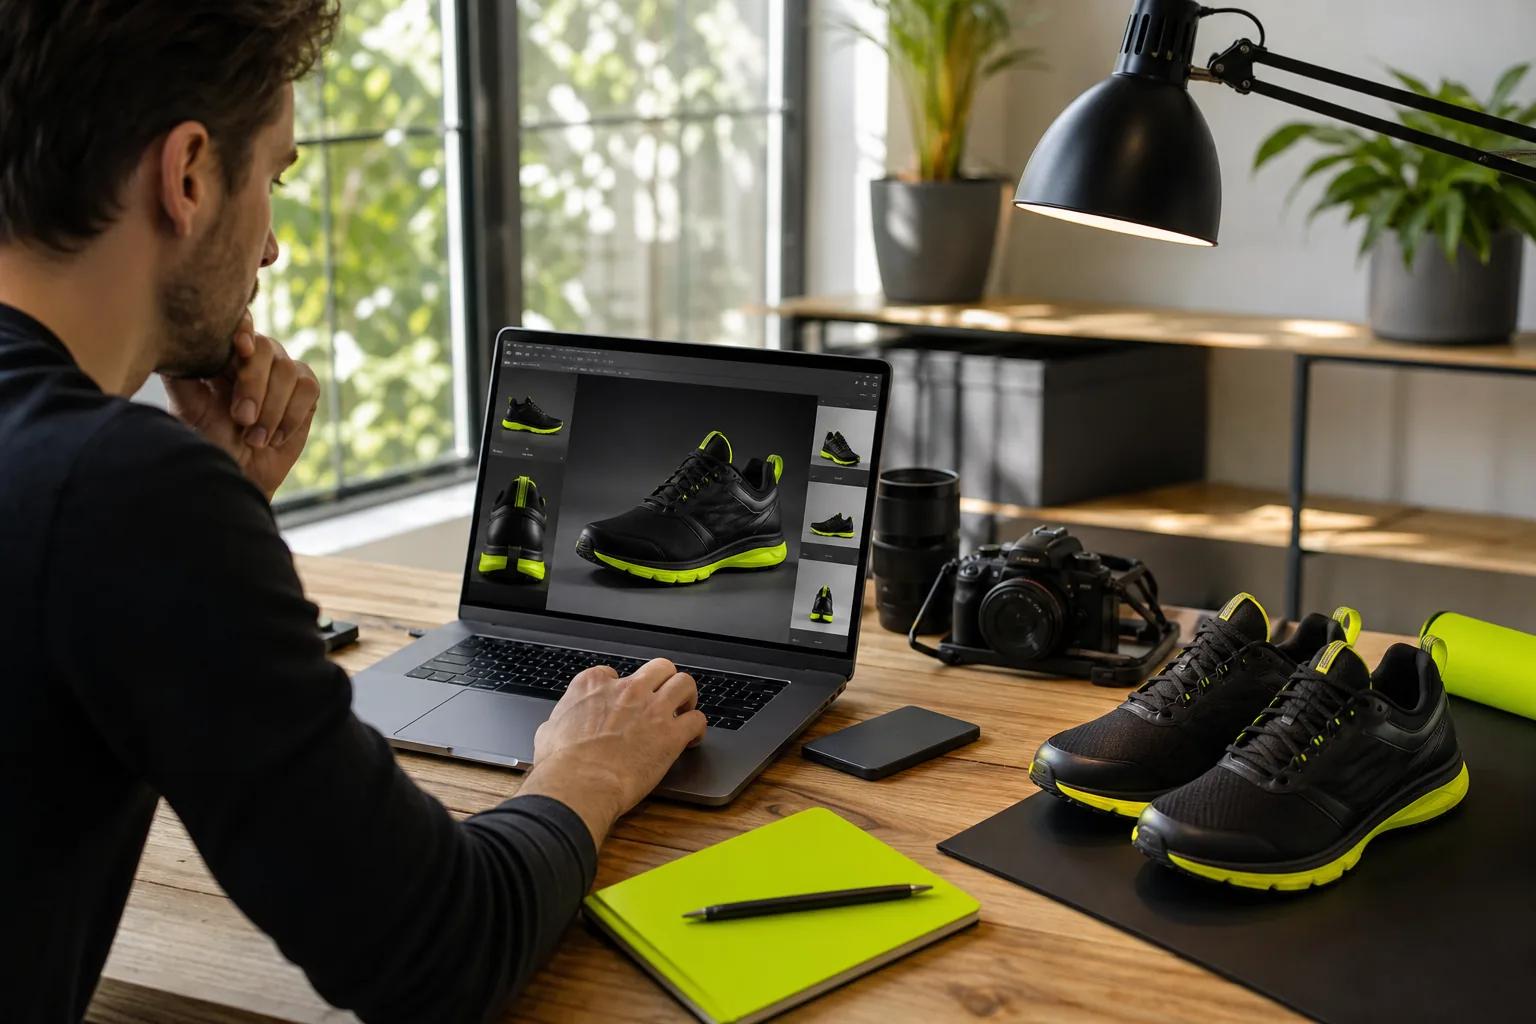
Step 2: Add Motion With an Editor or an AI Prompt
To turn a photo into a video, decide whether you want to animate it with simple editing controls or ask an AI model to generate movement.
For a steady effect, add the photo to an editor’s timeline and apply a slow zoom or pan. You can set one position at the start, then move the image slightly at a later point with keyframes. The editor fills in the movement between those points. Keep it subtle; a small move often looks more natural than a fast zoom.
With image-to-video AI, upload the still image and describe the action. A useful prompt says what moves, how the camera moves, and what should stay still. For example: “The candle flame flickers gently. Slow camera push toward the jar. Keep the label clear.”
Be specific about the order if the scene has more than one action. Try: “The person looks at the camera, then raises the mug. The camera makes a slow push-in.” Add sound or spoken words only when they belong in the scene. Put exact dialogue in quotation marks.
Wan Studio lets you start with a photo or a prompt in the browser. Its Wan 2.5 model can make image-to-video clips with synchronized sound, music, and dialogue; the listed clip options are 5 or 10 seconds. See the Wan 2.5 image-to-video workflow to check how the first frame and prompt fit together.
AI motion can change small details. Review the face, hands, product shape, and any text in the result. If the movement misses the mark, simplify the prompt and generate another version.
Step 3: Edit the Timeline, Add Audio, and Polish the Clip
A generated clip or animated still is a first cut, not always the finished post. Use the timeline to set the pace and make the main point easy to catch.
Trim any slow start or awkward ending. If you’re combining several images, place them in the order that tells the story. Shorten a still that feels static, and give a key product detail enough time on screen to register.
Add text only where it helps. A product clip might open with a brief benefit, then show a detail or call to action. Keep words large enough to read on a phone. Place captions away from the face and the product, and check that your chosen font and brand color have enough contrast.
Transitions should make the change between shots feel clear. A simple fade can work for a calm brand clip. A sharper cut may fit a quick offer or a short social ad. Avoid stacking effects just because they’re available; the viewer should notice the product or message first.
For audio, add a music bed or a voice track after you set the clip length. Lower the music under speech so the words stay clear. If the image is meant to speak, check the mouth movement against each line. Watch the whole clip to check that the visuals and audio work together.
Review clothing, face shape, and props between shots before using a clip in an ad. You can explore Wan 2.7 model details.
Play the video with sound once, then watch it muted. The first pass catches audio problems; the second shows whether the visuals and text make sense on their own.
Step 4: Set the Format, Export, and Share
Before you export, set the frame shape for the place you’ll post. Vertical works for phone-first short videos, square fits many feed layouts, and widescreen suits a standard landscape player. If you’re unsure, check the platform’s current upload guidance before you render.
Look at the whole frame in preview. Make sure text isn’t near an edge and that the subject stays in view throughout the camera move. A photo may look well framed at the start but drift out of place after a zoom.
Choose a resolution that fits the intended screen and your source image. A larger export won’t restore detail that wasn’t in the original photo, so start with the best image you have.
Export a draft and watch the saved file, not only the editor preview. Check the opening frame, the final second, the sound level, and whether any text is clipped. If the file looks soft, confirm the export resolution and make sure the source photo wasn’t small or heavily cropped.
Save a clean master before you add a platform-specific caption or sticker. That gives you a version you can resize or edit for another post without rebuilding the video. Keep a copy of the project too if you may need to update a price, offer, or product detail.
Wan Studio also supports creating short promotional clips from photos and prompts in a browser workflow. For social ads, judge the exported file on the same kind of screen your audience will use, then make any needed crop or text changes before sharing.
Frequently Asked Questions
How do I turn a photo into a video for Instagram?
Use a vertical layout for a Reel, then add gentle motion or an image-to-video prompt. Keep important text away from the frame edges, and add music only if it supports the message. Preview the exported file on a phone before posting. If the clip is meant to sell a product, make sure its shape and label still look right in motion.
Can I turn an iPhone Live Photo into a video?
Yes, you can save a Live Photo as a video in the iPhone Photos app. Open the Live Photo, tap the more button, then select “Save as Video.” The new video is saved in your library, and the original Live Photo remains available. This is a quick option when you want to keep the motion already captured by your phone.
How can I make a still photo move without AI?
Add the photo to an editor’s timeline, then use a slow zoom, pan, or keyframes to change its position over time. Set the first position, move the playhead, then adjust the image for a later point. Preview the motion and reduce the change if it feels abrupt. This method works well when you want predictable movement.
What should I write in an AI image-to-video prompt?
Describe the subject’s action, the camera move, and what should stay unchanged. For example, ask for a slow push toward a product while keeping its shape and label fixed. If you want dialogue, write the exact words in quotes. Keep the prompt focused, then adjust it after you review the first generated clip.
What format should I export my photo video in?
Choose the frame shape and resolution based on where you’ll post the video. Vertical is a common fit for short phone-first clips; square and widescreen suit other feed and player layouts. Export a draft, watch the saved file, and check that the image remains clear. Your editor’s available file types and quality choices may differ.
Conclusion
Start with one clear photo and one simple movement. Add text or sound only when it helps the message, then watch the exported clip before you post. If you want to explore more ways to animate still images for social clips or product promos, browse Wan Studio’s image-to-video generator guide and try a single test clip.