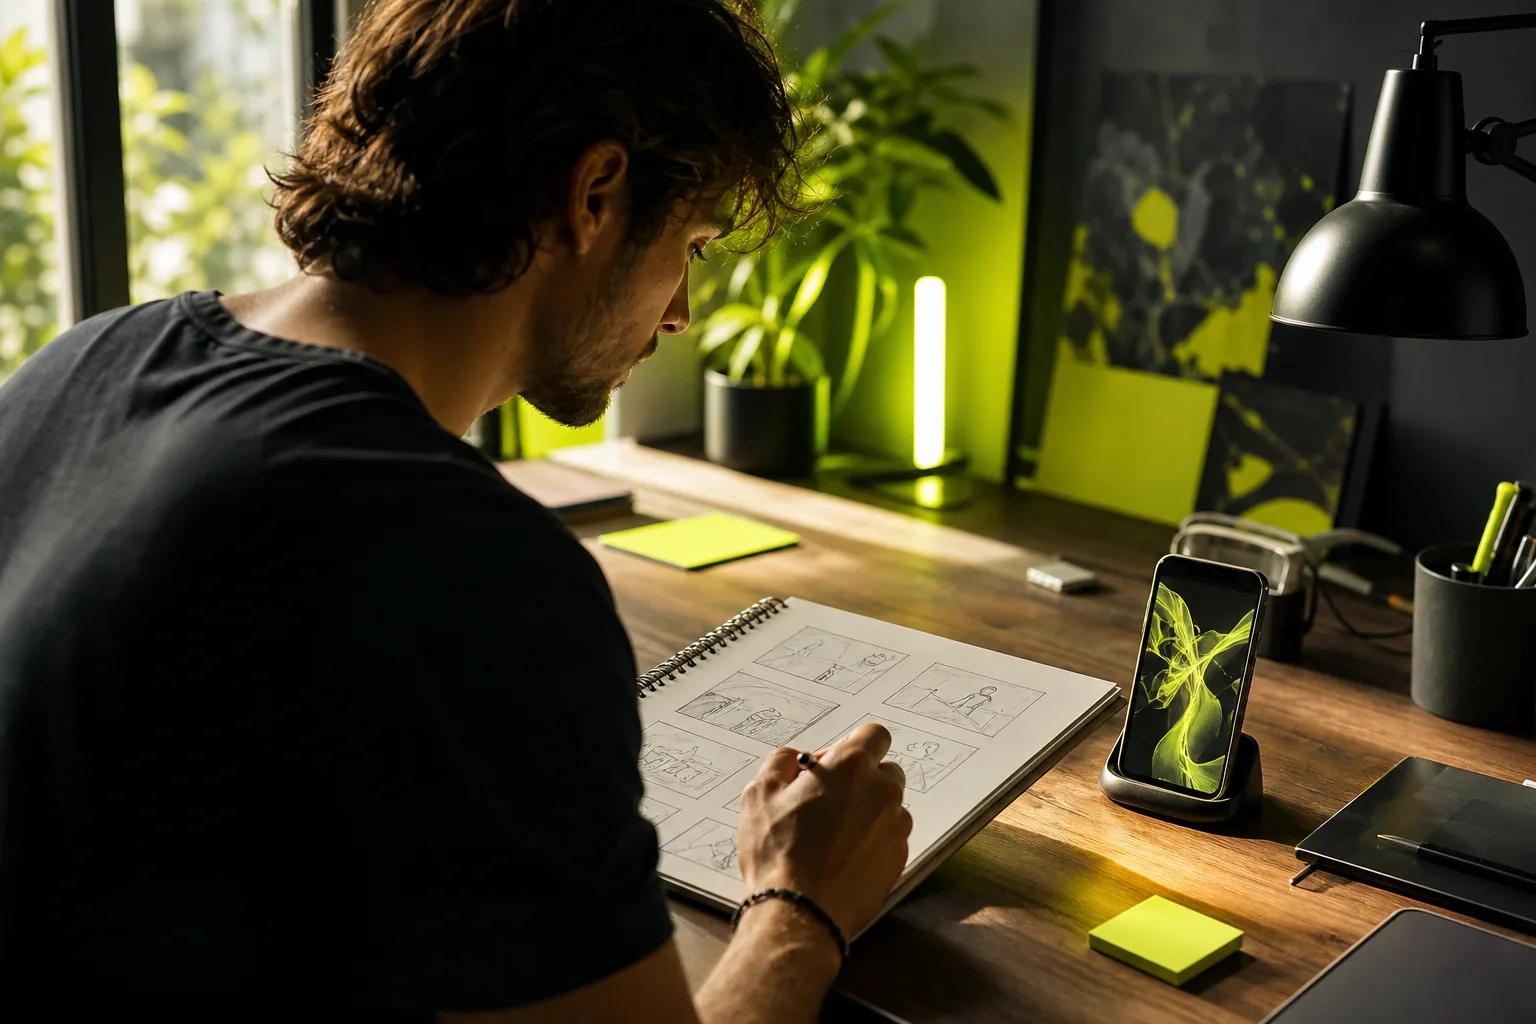
A storyboard turns your video idea into a sequence of shots you can check before production. Learning how to make a storyboard for a video starts with five moves: set the goal, write the beats, sketch the scenes, add shot notes, then review the whole plan.
We analyzed 58 comments and questions from Reddit, YouTube and Quora about video storyboarding and found that 21% mentioned different video formats.
Step 1: Set Your Video Goal, Audience, and Format
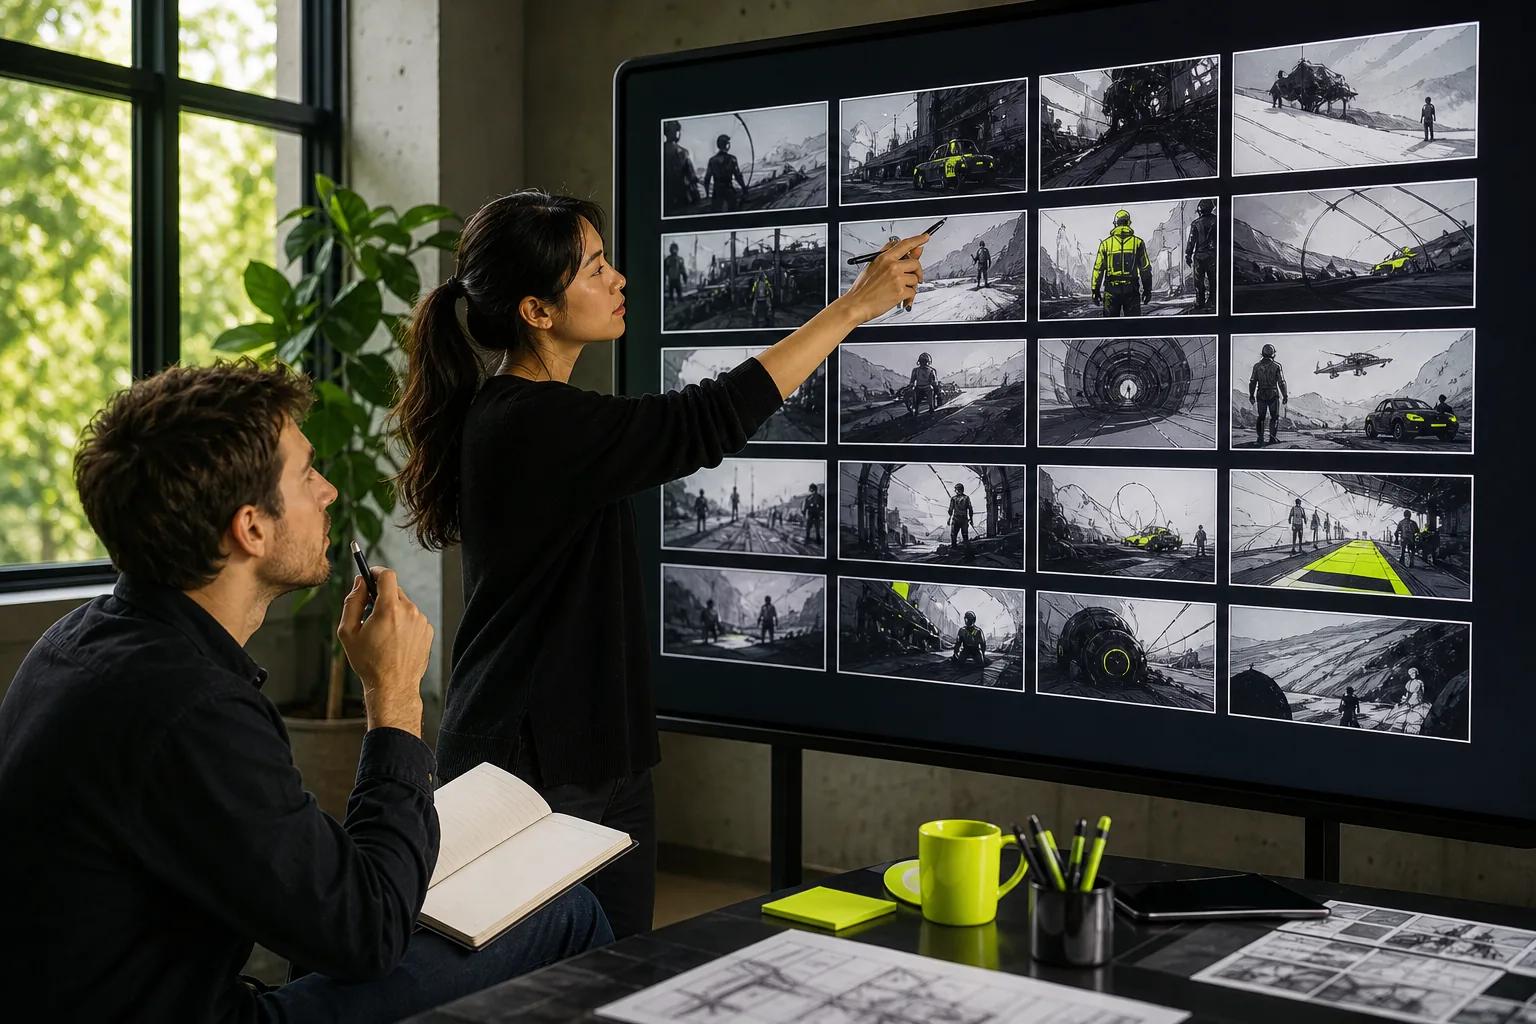
A storyboard is a visual plan for a video. Each panel shows a shot or a key moment, much like a comic strip. Notes beside the panels explain what happens and what the viewer should see.
It gives you a way to check the story before you film, animate, or spend credits on generated clips. A clear board also helps teammates picture the same video, instead of guessing what a line in the script means.
Wikipedia’s storyboard definition describes the form as a sequence of illustrations used to pre-visualize a film, animation, or interactive media sequence. For a short video, your board can be as simple as a few boxes and clear notes.
Before you draw, write one sentence for the video’s goal. What should viewers understand, feel, or do after watching? Then name the audience and the place they’ll watch it. Those answers shape the message, pacing, and frame size.
For example, a small shop might want a short product clip that shows how a reusable bottle fits into a workday. The audience is busy commuters, and the next action is to visit the shop. That points toward a quick opening image, one clear use case, and a closing product shot.
Choose the delivery format now, too. Vertical 9:16 suits TikTok, Reels, and Shorts. Use 16:9 for a landscape YouTube video or a presentation screen. The frame shape changes what fits, so draw panels in the shape you plan to publish.
Finish this step with a brief: goal, audience, format, main message, and desired next action. Keep it nearby while you work. If a scene doesn’t support that brief, question whether it belongs.
Step 2: Write the Script and Break It Into Beats
Now turn the brief into a short script or outline. A beat is a moment when something changes on screen: a person enters, a product appears, a new point begins, or the mood shifts. One beat may need one panel, or several shots if the action changes.
Read the script once and mark each visual change. Don’t make a new panel for every spoken line. If someone explains three related points without changing the scene, one panel may cover that stretch. Add another when the viewer needs to see something new.
For a social clip, the beats might be: show the problem, reveal the product in use, then finish on the result and a clear next step. Give each beat a job. If two beats do the same job, combine them or rewrite one.
Keep the script short enough for the planned runtime. Read it aloud and time it. Leave space for a pause, a close-up, or a visual moment that doesn’t need narration. A line that looks brief on the page can take longer when spoken naturally.
A video script built around one goal and a clear hook gives you a useful starting point. Put spoken words in one column and the action or image beside them. That makes it easier to spot lines with no visual support.
Then write a beat sheet before you draw. Use one short sentence per beat. For instance: “The maker opens the jar,” “The texture catches the light,” and “The finished dish lands on the table.” That’s enough to guide the panels without locking every detail too soon.
Plan the main visual style at this stage. Decide if the scene feels bright or moody, still or energetic. For a recurring character, note details that must stay the same, such as clothing or hair. A few simple rules can keep later shots from feeling like different videos.
Keep the order visible. Mark the start, middle, and end, then check that each beat leads to the next. If the final action doesn’t follow from what came before, adjust the outline now. It’s easier to fix a beat on paper than after production starts.
Step 3: Sketch a Panel for Every Scene
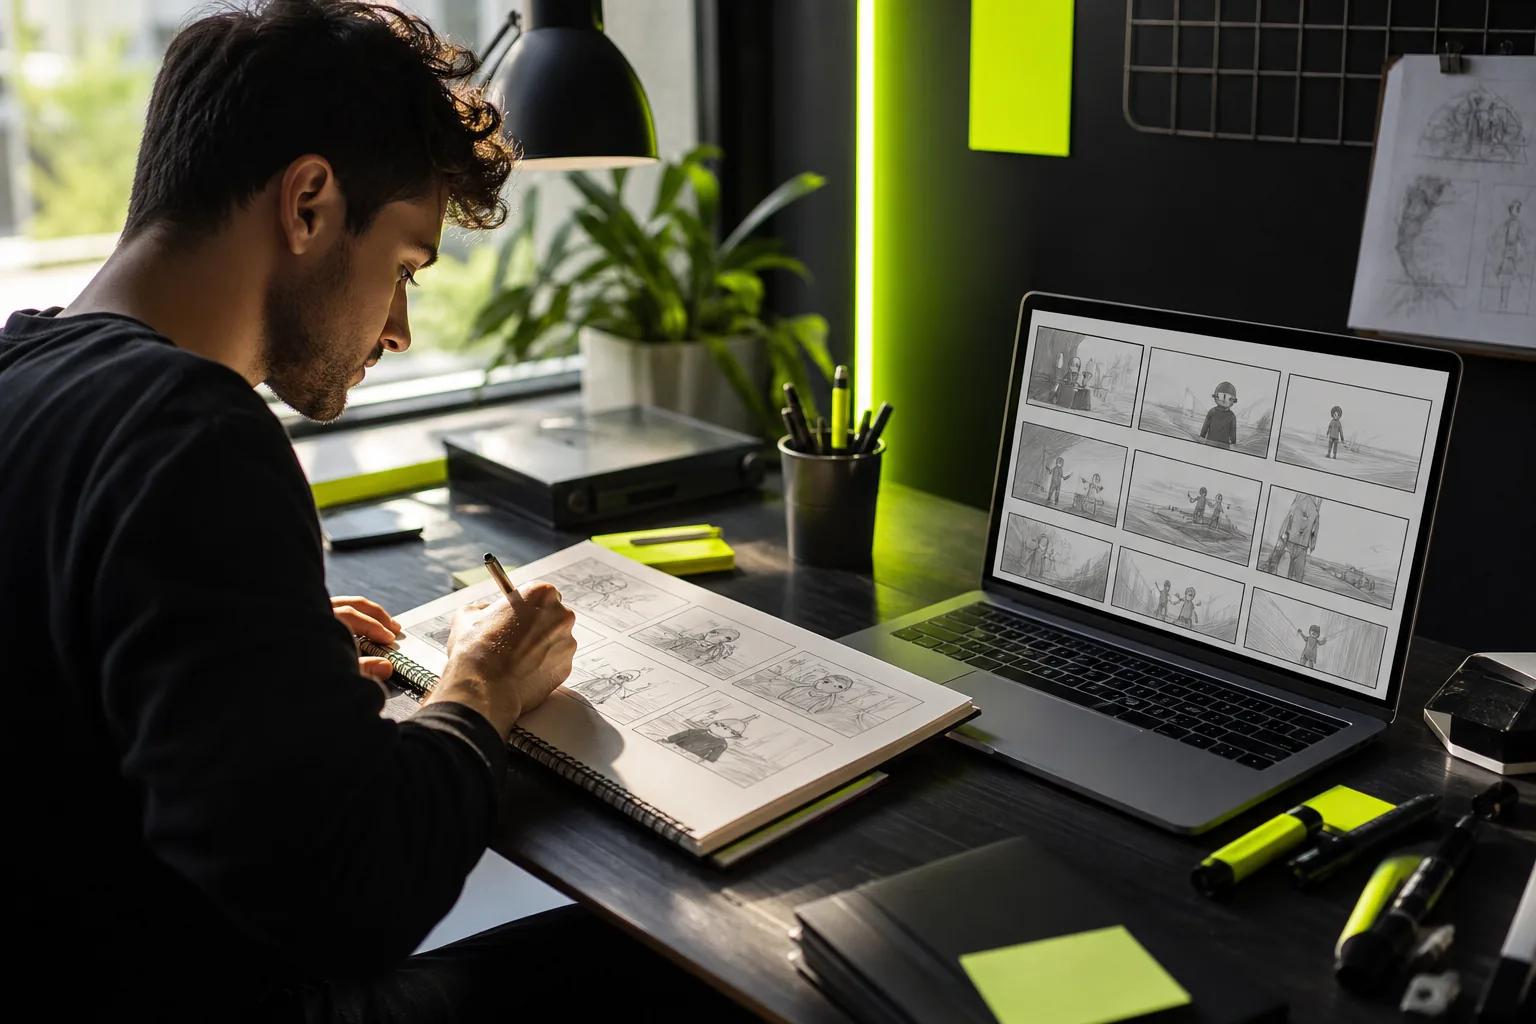
Make a frame for each shot or visual beat. Use a printed template, plain paper, or a digital board. A template saves layout time and gives you space for notes. Pick one with enough room to sketch and write beneath each panel.
You don’t need to draw well. Stick figures, arrows, and basic shapes work if another person can tell what’s happening. Show the subject’s position and the main action. Skip small details that won’t change how the shot is made or understood.
For each panel, draw the first thing the viewer should notice. In a product video, that could be a hand opening the package or the item already in use. In a lesson, show the tool or step being taught. Keep the background simple unless it carries part of the message.
Label panels in order. Add a scene number and shot number if the board has several scenes. A note such as “2-3” can mean scene two, shot three. Use the same labels in your script or shot list so you can find a panel quickly during a review.
Digital boards make it easier to move panels around or add reference images. A digital whiteboard is one example of a format that lets you arrange visual elements on a shared board. Paper is just as useful when you want to sketch quickly without setting up a tool.
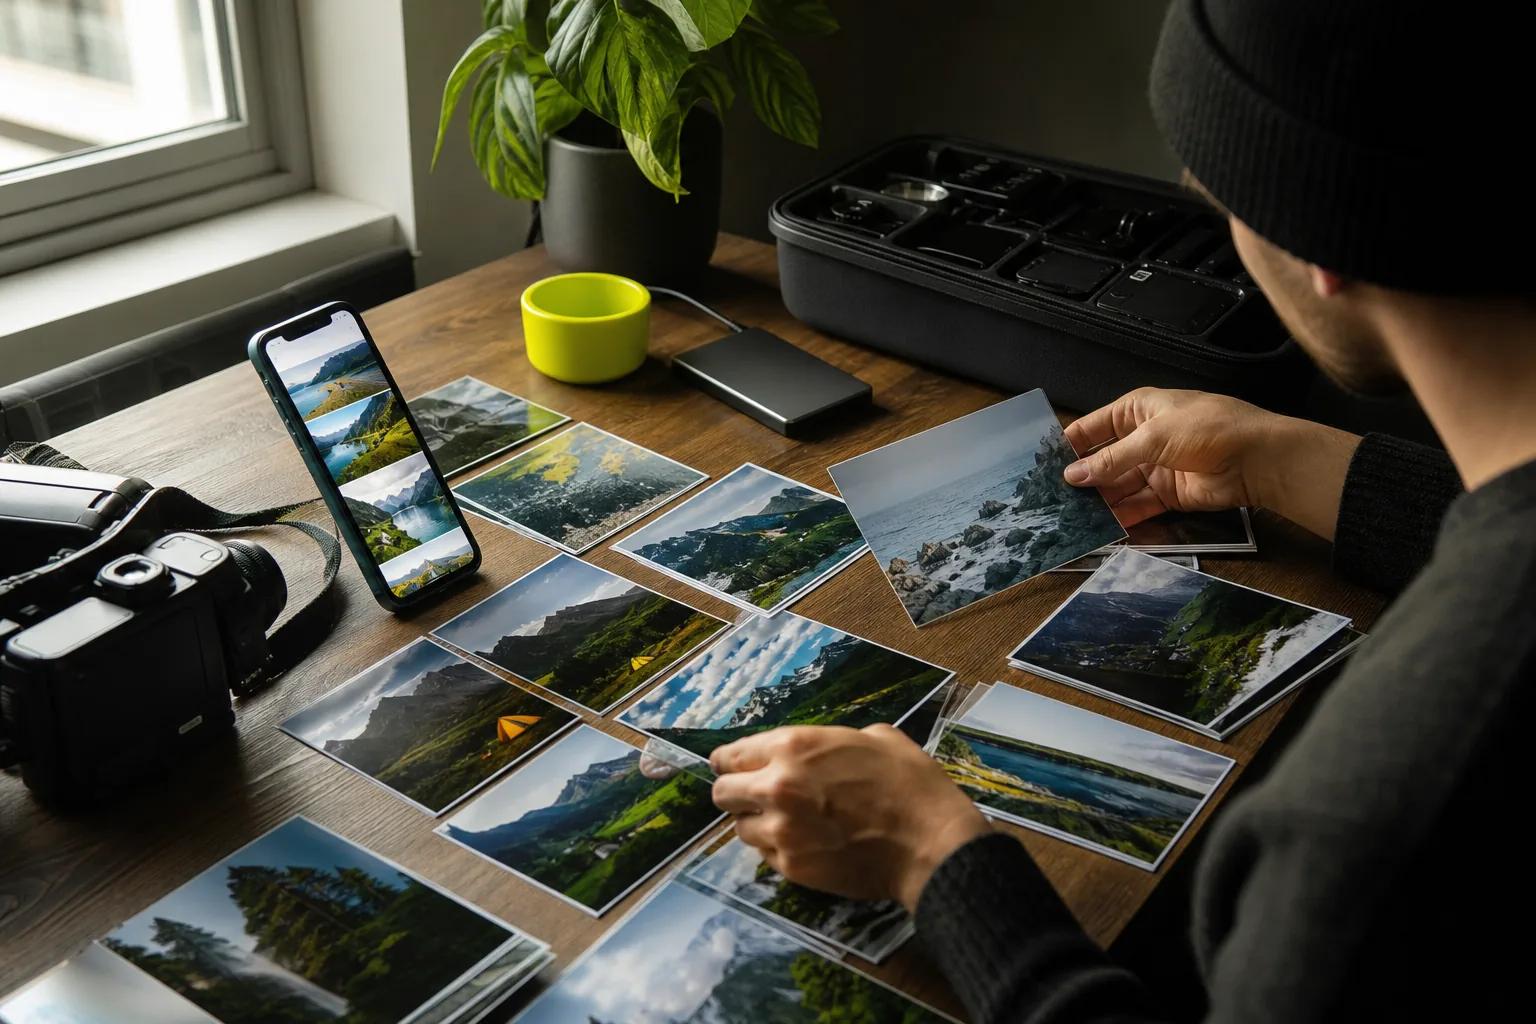
Use photos or screenshots when they explain a place, look, or composition better than a rough drawing. A location photo can anchor the scene. A reference image can show the kind of framing you mean. Keep the image focused on the shot you want, rather than copying unrelated details from its source.
Some projects call for a different level of detail. A corporate video may need clear on-screen text and logo placement. An eLearning board should make the teaching step easy to follow. Animation may need extra panels to show a change in pose or movement. Match the board to the work, not to a fixed panel count.
For camera movement, draw a second, lighter or dotted frame to show where the shot ends. Connect the frames with an arrow. A larger second frame can show a zoom out; a smaller one can show a zoom in. For a busy action scene, a simple overhead sketch can show where people or objects move in the space.
Step 4: Add Shot Details, Timing, Sound, and Dialogue
Add the notes that help you make each panel. Start with the shot size and angle. A wide shot shows the setting. A close-up points attention to a face, hand, or product detail. An eye-level view often feels direct, while a high or low angle can change how a subject feels.
Describe camera moves in plain terms: hold still, pan left, tilt up, or move closer. Use arrows on the panel when direction matters. Don’t add a move just to make the shot feel busy. The move should guide attention or help the action make sense.
Write what the subject does, not just who appears. “A hand turns the lid and lifts it away” gives more direction than “person with jar.” Add the key prop or background item if the camera needs to show it. Keep notes short enough to scan.
Mark a rough duration for each shot. A timing note like “about three seconds” helps you judge the pace, even if the final edit changes. For a short product clip, ask whether each shot has enough time for the viewer to understand the action before the next cut.
Put dialogue, voice-over, music, and sound effects in the notes. Write the exact line if the words matter. Mark when music starts or when a sound cues a cut. If a person speaks on screen, note who speaks and what the other person does during the line.
Wan Studio can turn text prompts or images into short video clips. Wan 2.5 and later models generate music, effects, and lip-synced dialogue with the picture in the same pass. If a character must say a line, write it in quotes and name the speaker. Check the result by listening and watching the mouth movement together.
For more control over source images or clips, Wan 2.7 supports reference-driven video and video edits. The model supports clips up to 15 seconds. Treat any generated clip as a draft: compare its framing and action with the panel before keeping it.
Once the notes are in place, use the board to form a shot list. A storyboard shows visual intent; a shot list tracks the shots needed to make it. Include the panel number, location, subject, and any setup note that affects production. For a solo phone video, that list can be brief.
Step 5: Review the Storyboard and Prepare to Produce
Read the board from the first panel to the last. Don’t judge each frame alone. Check the sequence. Can someone understand the story without hearing your explanation? Does each shot lead clearly into the next one?
Look for gaps in the action. If a hand reaches for a product in one panel and the next shows it open, does the board show how it got there? Add a panel or note if the missing moment could confuse the viewer or the person making the video.
Check continuity across panels. Keep a character’s clothing, location, and key props consistent unless a change is part of the story. Check that the subject stays on the same side of the frame when that matters. For vertical video, leave clear space where captions or app controls may cover the image.
Then check the pace. Five similar shots in a row may feel flat. Try changing the shot size when the story needs a new point of focus. Remove a panel if the story still makes sense without it. Each frame should earn its place.
Ask someone who will help make or approve the video to review the board. A marketer can check the message. A camera operator can flag a move that won’t fit the location. A client or teammate may spot a missing detail. Ask a focused question, such as, “Is the product benefit clear before the final shot?”
For remote work, share one board that everyone can comment on. Give each reviewer a clear task: check the message, shot order, or production needs. Resolve conflicting feedback before filming or generating. A board is useful when it helps people make decisions, not when it collects endless notes.
Once the board is approved, decide what you’ll produce yourself and what needs another pass. For AI video, make a low-cost test of a key shot before building the full sequence. Wan Studio can be one option when you’re turning a prompt or product image into a short clip. Review the output against the approved frame and notes.
Save a version you can return to, then update it when the plan changes. If the change affects the message or the order of scenes, review the whole sequence again. If it’s a small camera detail, update that panel and tell the people who need the new note.
Frequently Asked Questions
What should a video storyboard include?
A video storyboard should include a visual panel for each key shot or beat, plus short notes about the action. Add scene labels when the board is long. Include camera direction, timing, dialogue, or sound cues when they affect how the shot should be made. Keep the detail level suited to the video and the people using the board.
How many panels should a storyboard have?
Use as many panels as you need to show the important visual changes. A short clip may need only a few. Add a panel when the subject, action, setting, or camera view changes in a way the viewer needs to see. Don’t add one for every line of dialogue if the picture stays the same.
Can I make a storyboard if I can’t draw?
Yes. Stick figures, simple shapes, photos, or screenshots can all work. The goal is to make the shot clear to someone else, not to make finished art. Add a short note if your image doesn’t show the action, camera angle, or movement clearly enough.
Should I storyboard before using an AI video generator?
Yes, a rough storyboard can help you decide what to generate before spending credits on clips. Sketch the key frames first, then test the shots that matter most. Compare each result with the board and adjust the prompt if the framing or action misses your plan.
What’s the difference between a storyboard and a shot list?
A storyboard is a visual sequence that shows what each shot should look like. A shot list is a written production checklist that tracks the shots and details needed to make them. Use the storyboard to explain the visual plan, then pull the useful production details into the shot list.
Conclusion
Start with a clear goal, sketch the key beats, and review the board before production. Keep the drawings simple and the notes useful. When your first board is ready, use the AI video prompt guide to turn approved shots into focused prompts for your next clip.