Making a Reel gets easier when you know what to do before you tap record. This step-by-step guide covers the idea, footage, edits, post settings, and follow-up, so you can make Instagram Reels with your phone or with a product photo and a prompt.
We analyzed 5 top-ranking Instagram Reels how-to guides (riverside.com, veed.io, publer.com, creatorflow.so and synup.com) and found that 3 of 5 skip a dedicated step for reviewing Reel performance after posting, and none of the 5 cover turning a product photo into a Reel with AI.
Step 1: Choose a Reel Idea and Plan the Opening
Start with one clear point. A Reel might show how a product works, answer a question customers often ask, or share one useful tip. Pick a single idea you can explain or show in a few beats. If you’re making a product video, decide what the viewer should notice first: the item, a feature, or the result it helps create.
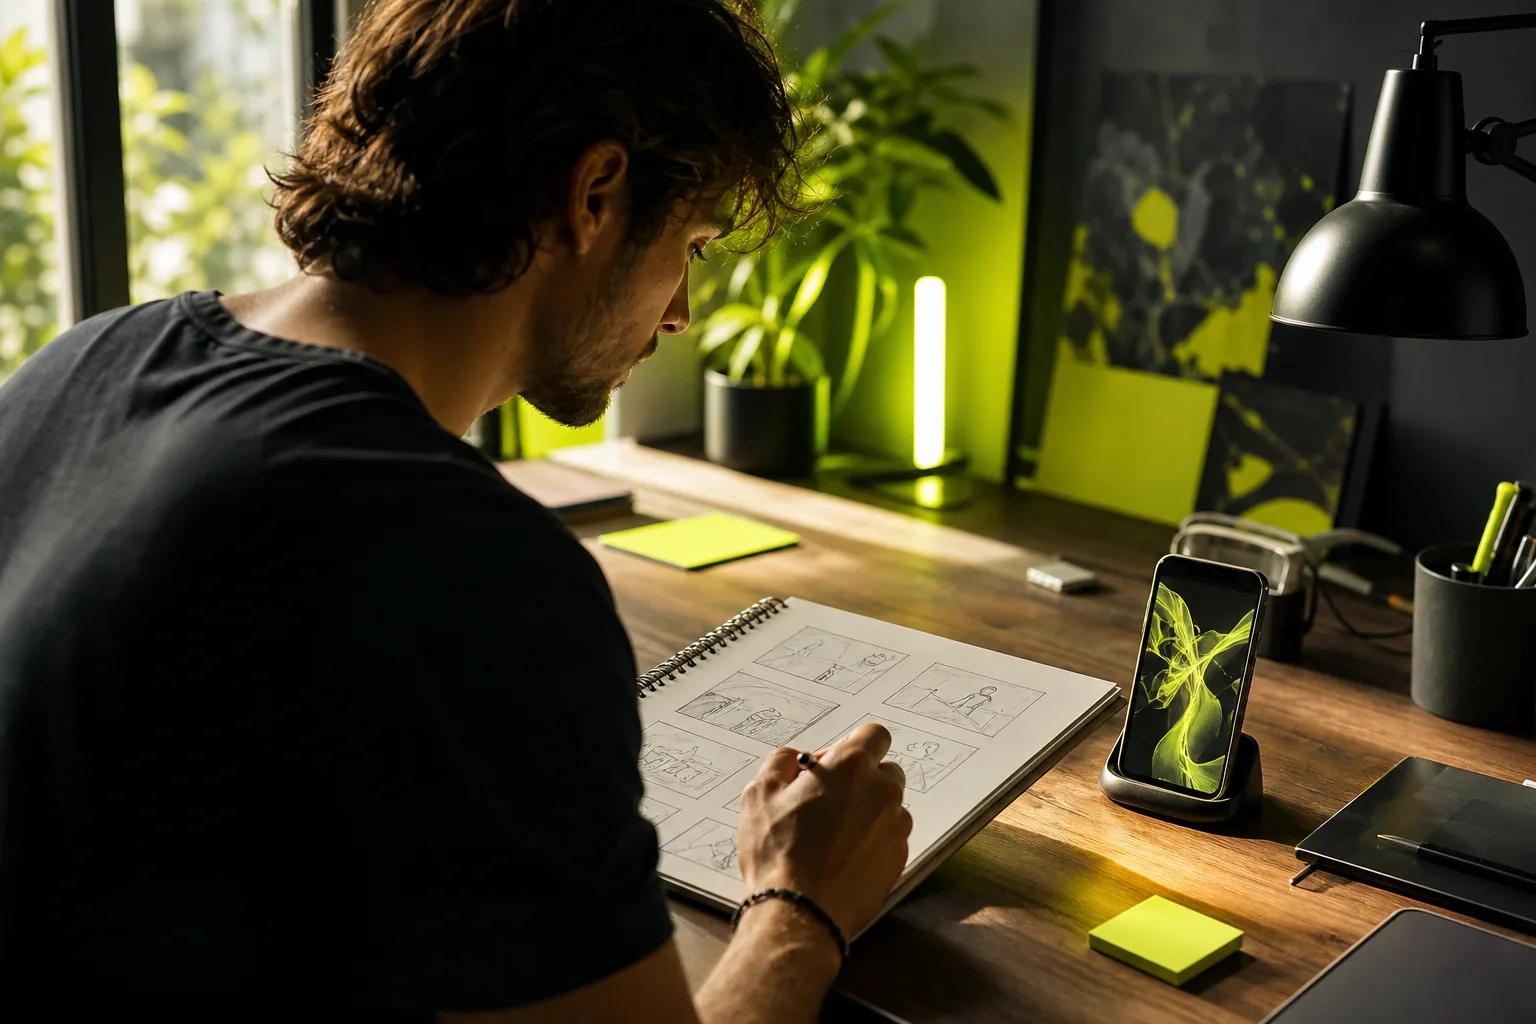
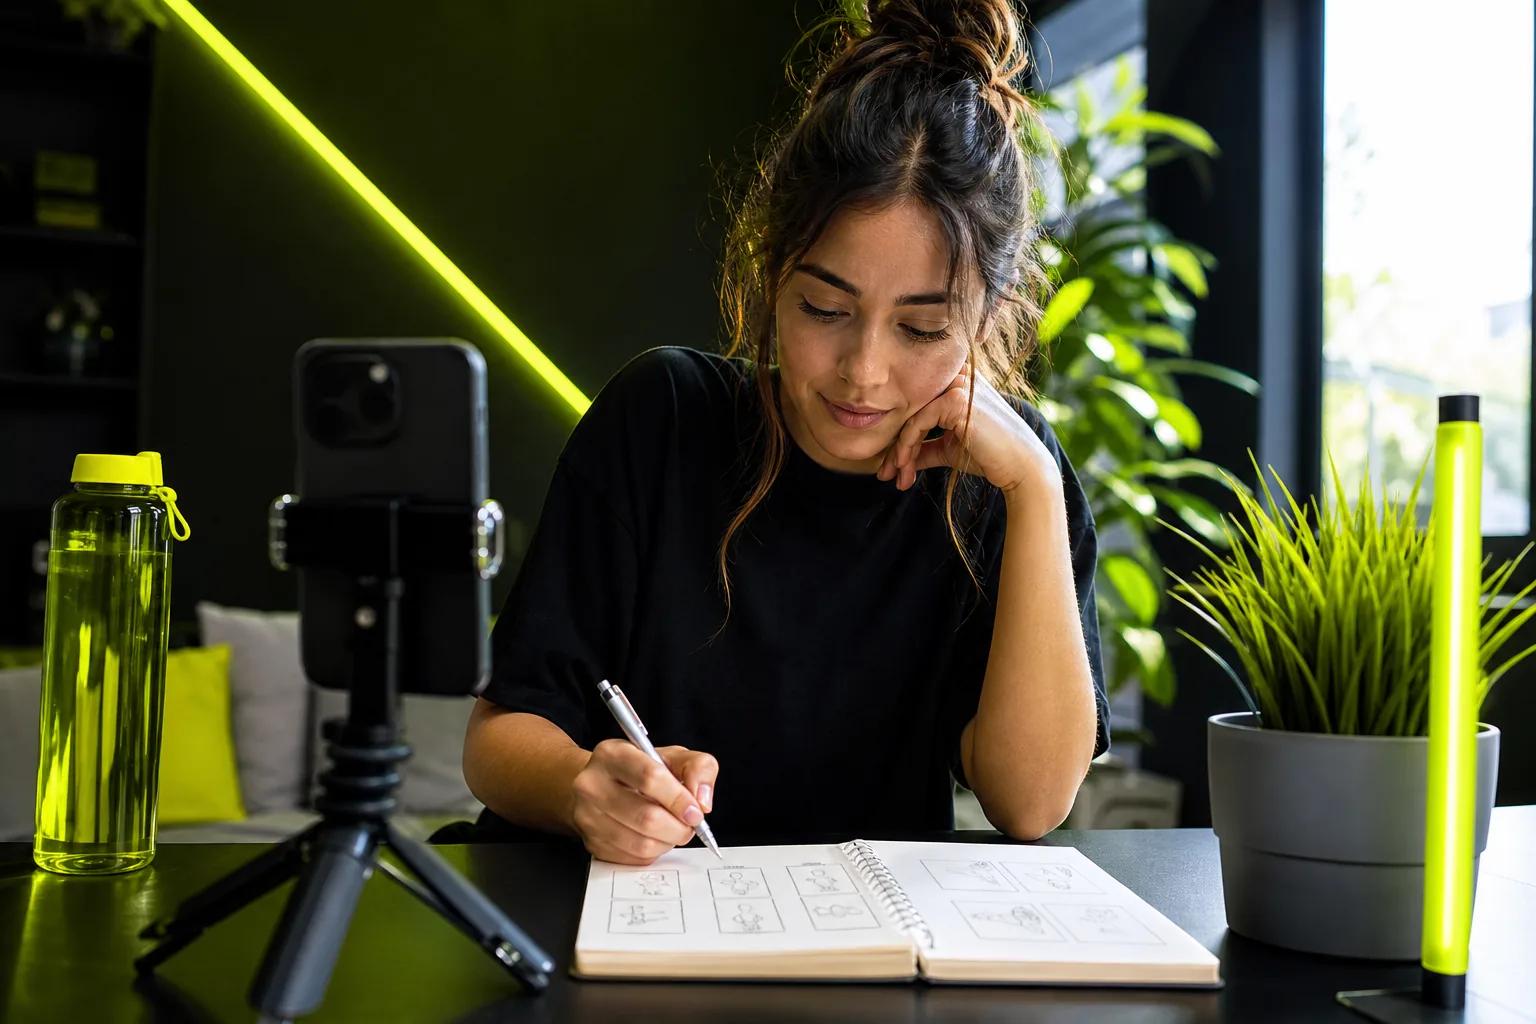
Write the opening before you film. The first frame should tell viewers why to stay. Try a direct line such as, “Here’s how to keep fresh herbs longer,” or show the product in use right away. Skip a long logo screen or a slow greeting. If your Reel is a story, sketch the order: hook, key moment, and close.
For a steady feed, plan a small series instead of hunting for a new trend each time. A shop could post one Reel about choosing a product, another about using it, then a third that answers a common question. Keep a note of ideas when they come up. A walk-through, a packing task, or a quick before-and-after can all become useful footage.
Want to turn a prompt or product image into short social clips? Visit Wan Studio for information about AI video. App tools can change over time, so check the app for current options.
Before filming, choose the format and setting. Reels are commonly made in vertical 9:16, which fills a phone screen. In Instagram, open your profile menu and look under settings for data usage or media quality. If you see an option to upload at the highest quality, turn it on when you want to prioritize image quality. The exact menu labels may vary by app version.
For a visual plan, place the subject near the center or along a third of the frame, leaving room for on-screen text. Keep important words away from the very top and bottom, where app controls may cover them.
Step 2: Record Footage or Create a Clip From Photos and Prompts
You can record inside Instagram or bring in a video or photo from your camera roll. To film in the app, open the Reel camera and press and hold the record button. Let go to stop that segment. You can record again for another angle or moment, then arrange the parts in the edit screen. Use the timer if you need to step into the shot without reaching for the phone.
Make each clip do one job. Record a wide shot to show the setting, then a closer view of the detail that matters. Move your finger up or down on the record screen to zoom if that control is available. If the last take doesn’t work, use undo or remove that segment before recording more. Check the length setting before you start, especially if the audio you picked has a set duration.
Batch filming saves setup time. Pick three short ideas that use the same spot or lighting. Film all the opening shots first, then record the rest of each clip. Change a shirt, prop, or camera angle when you need the videos to feel distinct. Save each take with a clear name or note so you can find the right footage later.
If you’re using a product photo rather than filming, Wan Studio can turn a text prompt or image into a video in a browser. Its Wan 3.0 model can make clips up to 30 seconds, with native sound and lip-synced dialogue. Wan 2.5 is available on its free plan, which includes a couple of 480p videos each month without a card. For a photo-led workflow, see how to turn a photo into a video.
For AI-generated footage, describe the subject and action first. Add the camera move or lighting only if it helps the scene. If you want a character to speak, put the line in quotation marks. Review the result before posting, since generated motion or dialogue may need another attempt to fit your idea.
Keep source clips short while testing a concept. You can make a rough draft at a lower resolution, check the framing, then render the final version at the size you need. Wan Studio shows a credit estimate before a generation; its paid plans include a commercial licence, while the free plan is for trying the service.
Step 3: Edit the Reel and Add Audio, Text, and Captions
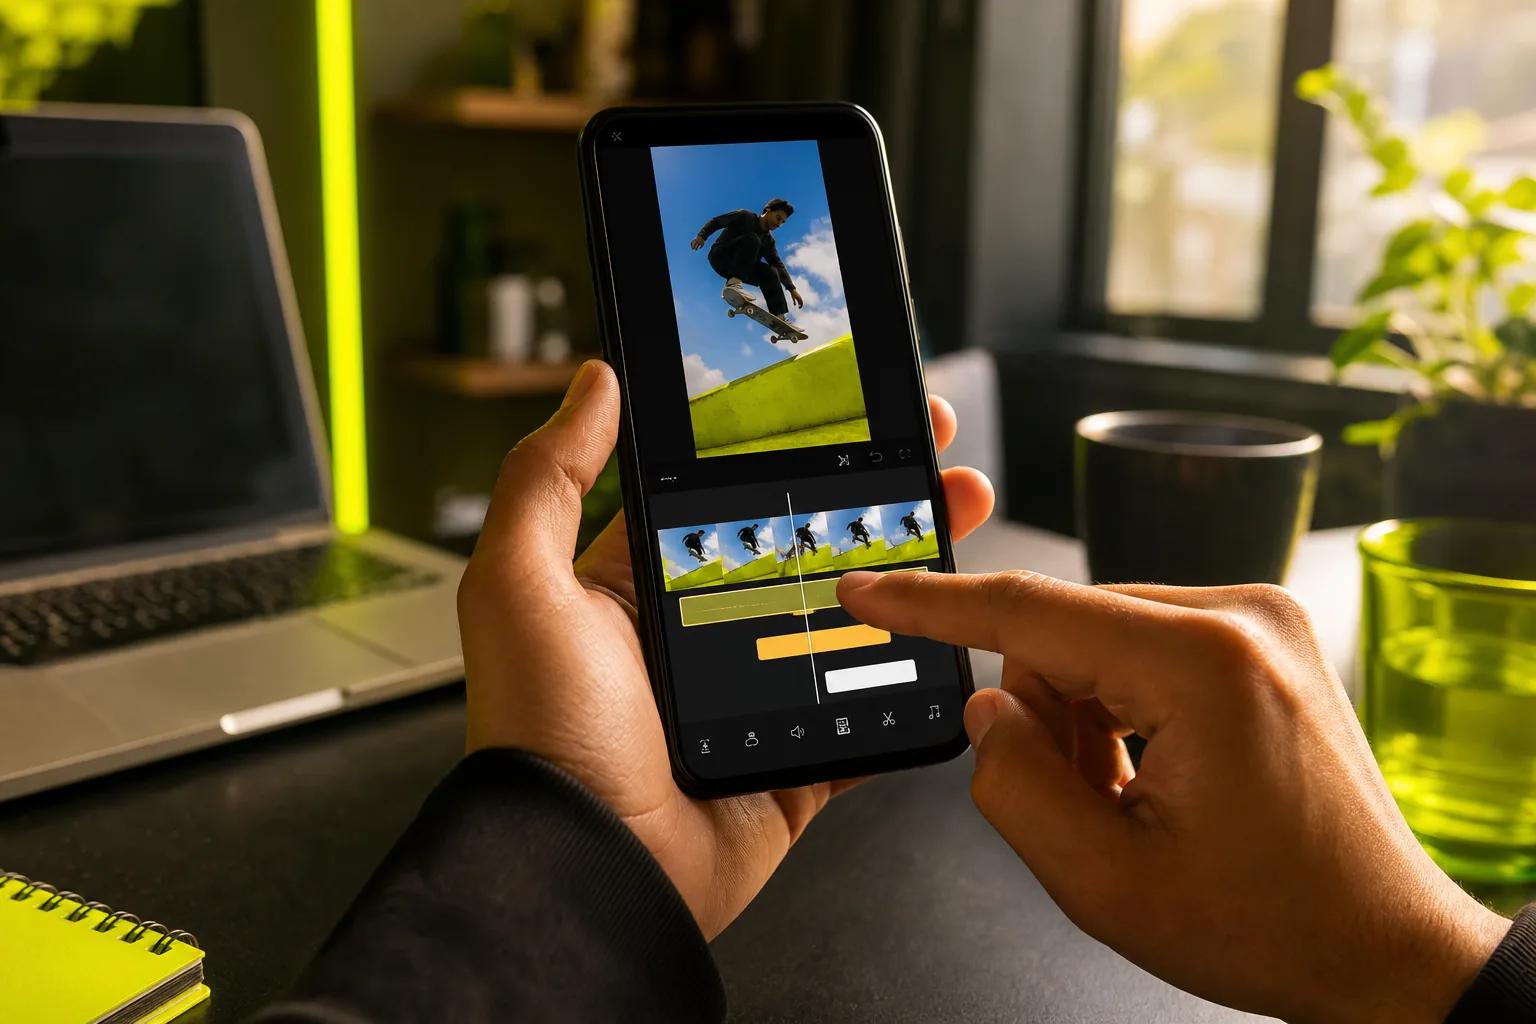
Watch the full edit once before polishing details. Cut pauses at the start and end of each segment. Tap a clip in Instagram’s editor to trim it, then drag clips into a better order if the story feels out of sequence. Keep transitions simple. A clean cut often works better than an effect that pulls attention away from the point.
Match the pace to the message. A quick product demo may need only a few clear shots. A short tutorial may need longer beats so viewers can follow each action. If you add a transition, use it to show a change in time, place, or step. Preview the cut with sound on, then watch once with the sound off to check whether the visuals still make sense.
Add text where it helps someone follow along. Use a short phrase for the key point, not a full paragraph. Keep the text on screen long enough to read. Captions help viewers who watch without sound, and they can make spoken instructions easier to follow. Check names and technical terms after automatic captions appear; speech recognition can get them wrong.
Choose music or audio that fits the mood and doesn’t drown out speech. If your Reel uses a voiceover, lower the music so the words stay clear. In the Instagram editor, look for audio and text tools, then preview the mix before you move on. Features and menu placement may differ between accounts.
For an AI-made scene, Wan Studio generates sound with the video on supported models. Its Wan 3.0 and Wan 2.7 models support native sound and dialogue, including lip-synced speech. That can help when you need a character to speak in a short ad, but review the mouth movement and audio before using the clip. Wan Studio is independent and is not affiliated with or endorsed by Alibaba; a research team develops the Wan models.
A simple editing check: does the first moment earn attention, can a viewer follow the action, and does the ending feel complete? Cut anything that doesn’t help answer yes.
Step 4: Choose a Cover, Write the Caption, and Publish
Pick a cover that makes the subject clear at a glance. You can choose a frame from the Reel or use a separate image if Instagram gives you that option. Preview the cover on your profile grid. A frame that looks good full-screen may crop awkwardly in the grid, so check that the main subject stays visible.
Write a caption that adds context rather than repeating every word on screen. A short how-to can name the result and add one helpful detail. For a product Reel, say what the viewer is seeing or how to learn more. Add a call to action only when it fits, such as asking viewers to save a useful tip or share a question.
Before sharing, review the audience and tag settings. Add relevant people or a location when they help viewers understand the post. Use a few accurate topic tags if they fit; a stack of broad tags won’t fix a Reel that lacks a clear point. Check the cover, caption, and sound once more, then tap share when you’re ready.
You can also save a draft and finish later. If you plan content in batches, keep drafts grouped by topic and add a note about what still needs work. Instagram’s publishing options can change, so check the current controls in the Instagram app before scheduling or sharing a post.
Step 5: Review Reel Performance and Improve the Next One
After the Reel has been live long enough to gather responses, check its performance metrics if you have a creator or business account. Open the Reel and look for its performance metrics or visit the professional dashboard. Instagram’s labels and available metrics may vary, so use the measures shown in your account rather than relying on a fixed menu path.
Start with reach and plays. Reach estimates how many accounts saw the Reel, while plays count views. Then look at watch time. If average watch time is short compared with the Reel’s length, viewers may be leaving early. Revisit the opening and remove any setup that delays the main point.
Next, check likes, comments, saves, and shares. Treat each as a clue, not a grade. A tutorial with saves may be useful enough to revisit. A Reel with comments may have raised a question worth answering in a follow-up. If people watch but don’t act, make the next version’s ending clearer.
Compare Reels that serve the same purpose. Don’t compare a product demo with a behind-the-scenes clip and assume the same result means the same thing. Change one part at a time, such as the opening line or length, so you can see what may have affected the response. Keep a small log of the idea, format, and result.
If you use Wan Studio to make footage, save the MP4 you want to keep. Its media gallery stores generated files for 30 days, after which they’re removed. A saved copy also makes it easier to reuse a clip in a new edit or test a different caption later.
FAQ: Making Instagram Reels
How long should an Instagram Reel be?
Make a Reel only as long as it needs to deliver one clear idea. A quick demo may work in a few seconds, while a tutorial needs time for each action. Cut pauses and repeated points first. Check Instagram’s current length options in the app, since available limits and controls can change.
Can I make an Instagram Reel from photos?
Yes, you can add photos from your camera roll to a Reel and set how long each image appears. You can also use an image as the starting point for an AI-generated clip. Wan Studio supports image-to-video, and the result can include sound on supported Wan models. Review the generated clip before publishing.
How do I add captions to a Reel?
Add captions in Instagram’s editing tools if the option appears for your account, then review the words before sharing. Automatic captions can mishear names or niche terms. You can also add short text overlays yourself. Keep each phrase brief and place it where it won’t cover the main action.
Can I save an Instagram Reel as a draft?
Yes, Instagram lets you save a Reel draft before publishing. Draft controls and how they behave can change, so check the app before relying on a draft as your only copy. Keep original footage or finished exports in your camera roll or another place you control.
How do I make a Reel look better?
Start with good light and a steady frame. Make the first shot clear, trim pauses, and keep captions easy to read. Preview the cover in your profile grid before posting. Then review how viewers respond after sharing and use one useful finding to guide the next Reel, instead of changing every part at once.
Conclusion
Plan one clear idea, make the opening easy to grasp, then trim the video until every shot earns its place. Record a short test Reel today and review how it performed after it’s posted. If you’re exploring AI-made footage, Wan Studio’s Wan 3.0 overview explains the model’s clip and sound options.