Making a video ad gets easier when you know what the viewer should do next. This guide shows you how to create a video ad in seven steps, from the first brief to a tested launch. You can film it, build it with an editor, or start with a product photo and an AI video tool.
We analyzed 59 comments and questions from Reddit, YouTube and Quora about creating video ads and found that 34% mentioned online video editing tools.
Step 1: Define Your Audience, Offer, and Ad Goal
Start with one person you want to reach and one action you want them to take. A clear brief keeps the script, visuals, and placement pointed in the same direction.
Write a short audience note. Include who the buyer is, what they need, and where they’re likely to see your ad. A local shop might target nearby shoppers who need a quick gift. A small online brand might focus on people who have viewed a product but haven’t bought it.
Then state the problem your offer solves. A feature describes what a product has. A benefit explains what that feature does for the customer. For example, “a leakproof lid” is a feature; “toss it in your bag without worrying about spills” is a benefit. Use details you can support. Don’t claim a result your product can’t prove.
Choose one campaign goal. You might want a viewer to visit a product page, start a trial, book a service, or watch a longer demo. That goal shapes your CTA and the metric you’ll use later. If you’re aiming for sales, measure purchases rather than likes. If you’re building awareness, track meaningful video views or reach.
Pick the channel before writing the final script. Someone watching a vertical clip in a social feed has a different viewing experience from someone watching a landscape ad before a video.
Put the plan in one sentence: “This ad shows [audience] how [offer] helps with [problem], then asks them to [action].” If you can’t fill in those blanks, pause before production. A sharper brief saves time later.
Step 2: Write a Benefit-Focused Script With a Strong CTA
Your script should earn attention fast, show the benefit, and make the next step plain. Keep it focused on a single idea. A short ad is a poor place to explain every feature in your catalog.
Draft the ad in beats. First, open with a visual or line that speaks to the viewer’s need. Next, show the product or service doing something useful. Then state the benefit in everyday words. End with one CTA, such as “Shop the new colors” or “Book your first visit.”
Here’s a simple example for a reusable travel cup: “Coffee cold before you get to work? This cup keeps your drink close on the commute. Pick your color and order today.” The opening names a familiar hassle. The middle shows why the item helps. The last line gives a clear next move.
Read the script aloud and time it. If you need to rush, cut a point rather than racing through the words. Add a visual note beside each line. “Show the cup in a bag” gives production a job. “Show quality” is too vague to guide a shot.
AI can help you draft alternate hooks or shorten copy. Treat the output as a starting point, not an approved claim. Check product names, offer terms, and any spoken promise against your source material. If a person speaks on screen, use a line they’d say naturally.
Wan Studio can turn a prompt or an image into a short video with sound. On Wan models with lip-synced dialogue, you can put the exact spoken line in quotes, then review whether the words and mouth movement match. For more script structure, use these video script writing steps to shape the hook, dialogue, and timing.
Keep your CTA visible long enough to read. Say it in the voice-over if the ad uses dialogue, then show it on screen. Don’t add a second action at the end. “Follow us, shop now, and sign up” gives the viewer three choices when you need one.

Step 3: Choose a Video Ad Creation Workflow
Pick a workflow that fits the footage you have and the parts you need to control. The right choice isn’t always the one with the most editing features. It’s the one that gets you to a reviewable first cut without adding work you don’t need.
Film the ad yourself
Use a phone when the ad depends on a real person, a hands-on demo, or a place customers recognize. Set the phone on a stable surface or tripod. Record a few takes of each action, then choose the clearest version. This gives you direct control over how the product looks in use.
Build it in an editor
An editor works well when you already have photos, footage, voice-over, or brand assets. Start with a template if it helps you move quickly. Replace every sample image and line of text, then check that the timing still suits your message. A template can set a layout, but it can’t decide which benefit your audience cares about.
Generate a clip with AI
AI video tools can help when you have a prompt or still image but no footage. Some build scenes from text. Others focus on presenters, ready-made social edits, or image-to-video motion. Check what the workflow actually makes: a scene to edit, a complete voice-over ad, or a short clip that needs captions and final cuts.
Wan Studio is a browser-based option for turning prompts and images into video. Wan 3.0 supports scenes up to 30 seconds and can keep characters consistent across shots. Wan 2.7 is the model to consider when you need reference images or video edit mode. Sound and lip-synced dialogue depend on the model, so watch the full result before using it in a campaign.
For a product spot, you might start with a clear product photo and ask for one camera move, such as a slow push toward a detail. That gives you a draft to judge for framing, motion, and product accuracy. You can compare that image-led workflow with other approaches in this guide to AI video ad generator tools for short ads.
Before choosing, run a small test using the same brief you’ll use in production. Check the output format, revision steps, download path, and rights that apply to your intended use. Wan Studio’s free plan includes a couple of Wan 2.5 videos a month at 480p, with no card required, so you can try the workflow before choosing a paid plan. Paid plans start at $14 per month and include a commercial licence.
Step 4: Plan and Create the Visuals
Give every shot a job. A visual should help the viewer understand the product, see the benefit, or follow the story. If it does none of those things, leave it out.
Make a simple storyboard before filming or generating. Use a few frames to map the opening, the proof, and the CTA. Write what happens in each frame, not just what the scene looks like. “A hand opens the case and pulls out the tool” is more useful than “modern product shot.”
When filming, a phone and good window light can be enough. Set the product near the light, then move it until the key details are clear. Keep the background calm so it doesn’t compete with the item. Record the action more than once and change the angle between takes. A close detail can sit beside a wider shot of the product in use.
Use sound with care. If you record a person speaking, move away from fans, traffic, or other steady noise. A clip-on microphone can help capture a clear voice. If the ad uses music, keep it low enough that the spoken message remains easy to hear.
For an AI-generated scene, describe the subject and action first. Add the camera move next, then the light and sound. For example: “A hand sets a ceramic mug on a desk. Slow camera move toward the rising steam. Soft morning light. Gentle room tone.” Keep one main action in each prompt. A long list of unrelated actions gives the model more chances to miss your intended shot.
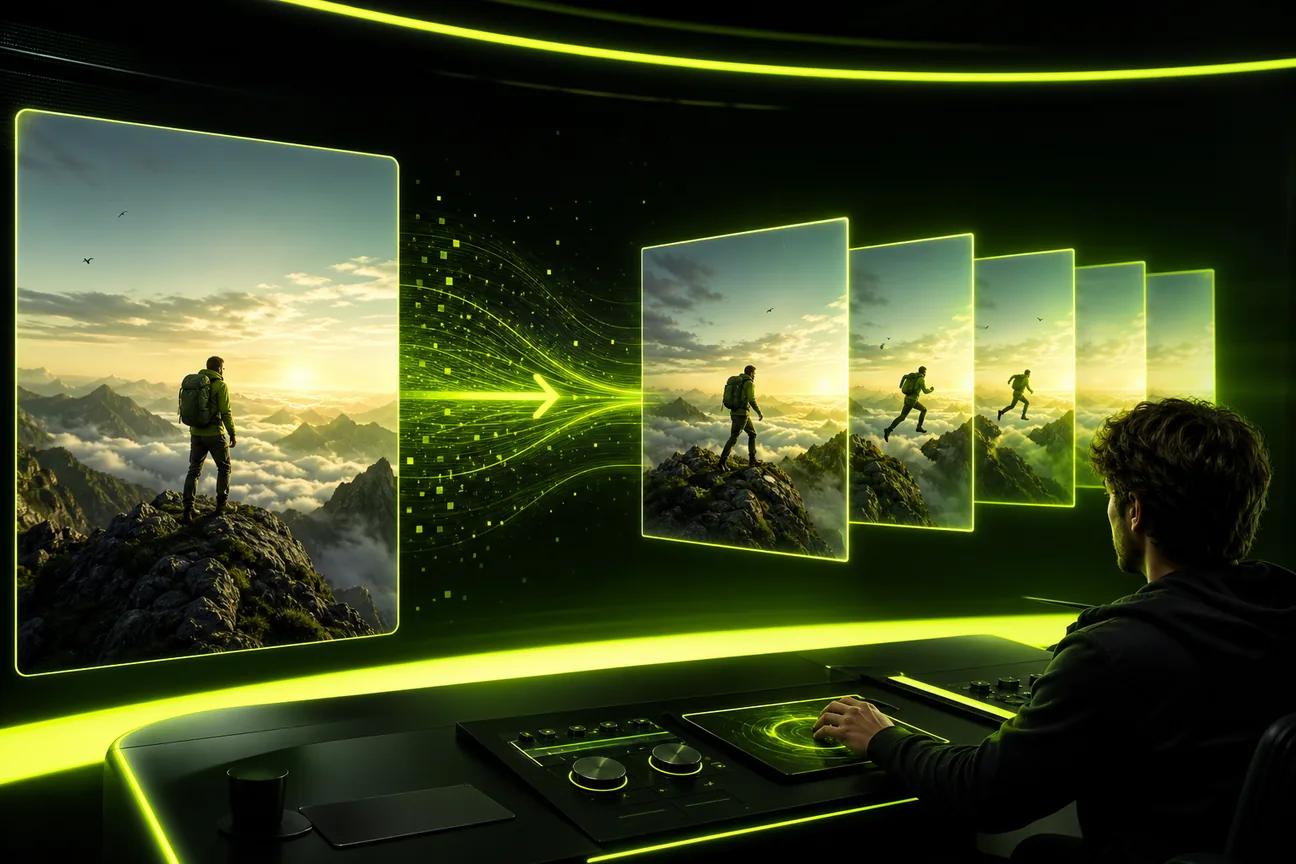
For image-to-video, start with a sharp photo that shows the product clearly. Say what should move and what should stay still. Review the result against the original image. Check the product’s shape, color, and label before you build the rest of the ad around it.
Plan a visual style that fits your brand. Pick a small set of colors and type styles, then use them across the clip. Keep text short. A viewer shouldn’t have to pause to read an ad while scrolling.
If the product has a key detail, show it directly. A close view of a clasp, fabric texture, or control button often says more than a generic animated transition. Make the shot useful first. Polish comes from clear choices, not extra effects.
Step 5: Edit for Clarity, Sound, and Mobile Viewing
Editing is where you remove anything that delays the message. Start with the first frame. Does it show the subject or problem right away? If the clip begins with a logo animation or a pause, cut to the useful part.
Trim each shot to the moment that proves your point. Keep the sequence easy to follow: show the need, show the solution, then show the next step. Use a cut when it helps the viewer move through the story. A transition is decoration unless it supports the change in scene.
Watch the edit once with sound off. The main idea should still make sense. Add captions for spoken lines, then check spelling and timing by hand. Keep captions away from faces and key product details. A phone screen is small, so use text that stays legible without filling the frame.
Now listen with your eyes away from the screen. Can you understand the voice? Does the music cover a word? Do effects land at the right moment? Adjust the sound mix until the speech is clear. If your AI-generated clip includes dialogue, check the spoken words and lip movement together. Don’t assume a generated take is ready just because the audio sounds polished.
Check the product in motion. AI-generated details can shift between frames, especially around small text, hands, or fine edges. Pause on the parts that matter to the buyer. If a label changes or a hand covers the feature you’re trying to show, revise the shot or cut around it.
Keep brand details consistent. Use the same name, offer, and CTA in the video and its landing page. Confirm that any discount or deadline is current. If the spoken claim differs from the on-screen copy, fix the mismatch before export.
Finish with a phone preview. Hold the device at a normal viewing distance and check that the subject is easy to see. Look at the start and end as well as the middle. Captions should stay inside the frame, and the CTA shouldn’t disappear under interface controls.
Save a clean master file before making channel versions. That gives you a safe source if you need a new crop or a shorter cut later.
Step 6: Match the Ad Format to the Platform
Choose the frame shape and length for the placement, not just the footage you already have. A vertical ad can fill a phone screen. A landscape cut may fit a video player or a horizontal placement better. One export rarely suits every channel.
For TikTok, Reels, or YouTube Shorts, plan a vertical 9:16 composition. Keep the subject near the center and leave room around the edges for captions and app controls. Put the hook in the first moment. Don’t save the product reveal for the final seconds.
For a square feed placement, compose around the center so the product and text remain visible in a compact frame. For a landscape placement, use 16:9 when the channel and ad slot call for it. The key is to make a version for the actual placement, then preview it inside the platform’s upload flow.
Set the aspect ratio before filming or generating when you can. Cropping a vertical scene out of a wide shot may cut off hands or product details. If you need more than one placement, plan the key action inside the area that both frames can show, or make separate edits.
Length should follow the idea. A quick product detail may need only a few seconds. A demo may need longer to show the steps. Cut repeated points, but don’t remove a beat the viewer needs to understand the offer. For Wan Studio, Wan 2.5 makes 5- or 10-second clips. Wan 2.7 supports up to 15 seconds, while Wan 3.0 supports up to 30 seconds.
Wan 3.0 supports fixed 9:16, 1:1, and 16:9 framing, along with other ratios. It also has an adaptive framing option for exploring a scene. Pick a fixed ratio when you know the placement. With Wan 2.7, you can use image and video references when a specific look or scene matters more than a quick prompt-only draft.
Use this video ad template guide by channel to think through layout choices before editing. Templates can speed up setup, but make sure the final cut feels at home in its feed. A formal voice may suit a business audience; a more casual demo may fit a creator-led social placement.
Before export, check the platform’s current upload requirements. Use the preview to spot blocked text, awkward crops, or a CTA that sits behind a button. The placement preview is part of the edit, not an optional last glance.
Step 7: Export, Publish, and Test Ad Variations
Export a clean file, check it once more, then upload it to the placement you planned for. Confirm the frame shape and resolution match your campaign needs. Wan Studio downloads generated videos as MP4 files with sound. Keep a copy outside the media library if you need to save the ad; files in the Wan Studio library are stored for 30 days.
Before publishing, check the full video on a phone. Confirm that the sound plays, the opening frame makes sense, and the CTA remains visible. Read captions and on-screen text against the final offer. If your ad uses generated dialogue, listen for the right words and check lip sync before it goes live.
Write the post copy and landing page to match the ad. If the video promises a product demo, don’t send viewers to a page that makes them hunt for it. Check the destination link and the action button in the platform preview. A clean handoff makes it easier for someone to act on the message.
For your first test, change one creative element at a time. Try a new opening shot while keeping the audience, offer, and CTA the same. Then test a different first line or a new visual proof point. If you change everything at once, you won’t know which change affected the result.
Match the metric to the goal you set in Step 1. For a sales ad, track purchases or another completed action. For a traffic campaign, look at link clicks and the next step on the page. For awareness, review view and retention measures available in the platform. A high view count alone doesn’t prove the ad drove the result you wanted.
Let each variation run under comparable conditions. Keep the audience and placement steady while you compare the creative. Once you see a clear difference in the measure tied to your goal, carry the stronger opening or proof point into the next round. Don’t call a winner based on a tiny early difference.
Keep a simple test log. Note the version, the single change, the audience, the placement, and the result. That record helps your next edit start with what you learned instead of another guess. If one organic social post already gets a good response, consider adapting its opening for a paid placement while preserving the style that made it feel native.
AI makes it easier to produce alternate shots, but more versions only help when you can tell them apart. Label each export clearly and check that every file has the right format. A neat folder beats a pile of files called final-final-2.
Frequently Asked Questions
How long should a video ad be?
A video ad should be only as long as it needs to make one point and give the viewer a next step. Match the length to the placement and the message. A short product detail may need just a few seconds, while a demo may need more time. Cut pauses and repeated claims, then check the platform’s current ad requirements.
Can I make a video ad without filming?
Yes, you can make a video ad without filming by starting with a prompt, a product photo, or existing brand assets. An AI video tool can animate an image or generate a scene. You’ll still need to review the result for product accuracy, sound, and framing. Add captions or make a final edit if the generated clip needs them.
What should a video ad script include?
A video ad script should include a hook, one clear benefit, proof or a product demonstration, and one call to action. Write the lines in plain speech and pair each line with a visual. Read the script aloud and trim any phrase that feels stiff or takes too long to say.
What aspect ratio should I use for a social media ad?
Use a vertical 9:16 frame for full-screen short-form placements such as TikTok, Reels, and Shorts. A square frame may suit some feed placements, while 16:9 fits many landscape video slots. Check the placement preview before publishing, since platform controls can cover text near the edges.
Can I use an AI-generated video ad for commercial use?
Check the tool’s licence and plan terms before using an AI-generated video in a paid campaign. Wan Studio includes a commercial licence on paid plans. Its free plan is for trying Wan, so don’t assume it grants commercial use. Also make sure you have rights to any source images, music, or other material you add.
Conclusion
Start with one audience and one benefit, then make the simplest version that can test your idea. If a product photo is all you have, try a short image-to-video draft and review it on your phone before building more variations. Explore Wan Studio’s free plan to test that workflow, or use your next campaign brief to make the first cut.