Got a folder full of photos that deserves more than another scroll? This step-by-step guide to how to make a video from photos will help you shape them into a slideshow or an animated social clip, with music, text and a format that fits your platform.
We analyzed 37 comments from YouTube and Reddit about creating videos from photos and found that 22% mentioned limited custom music and narration options.
Step 1: Choose Your Photos and Plan the Video
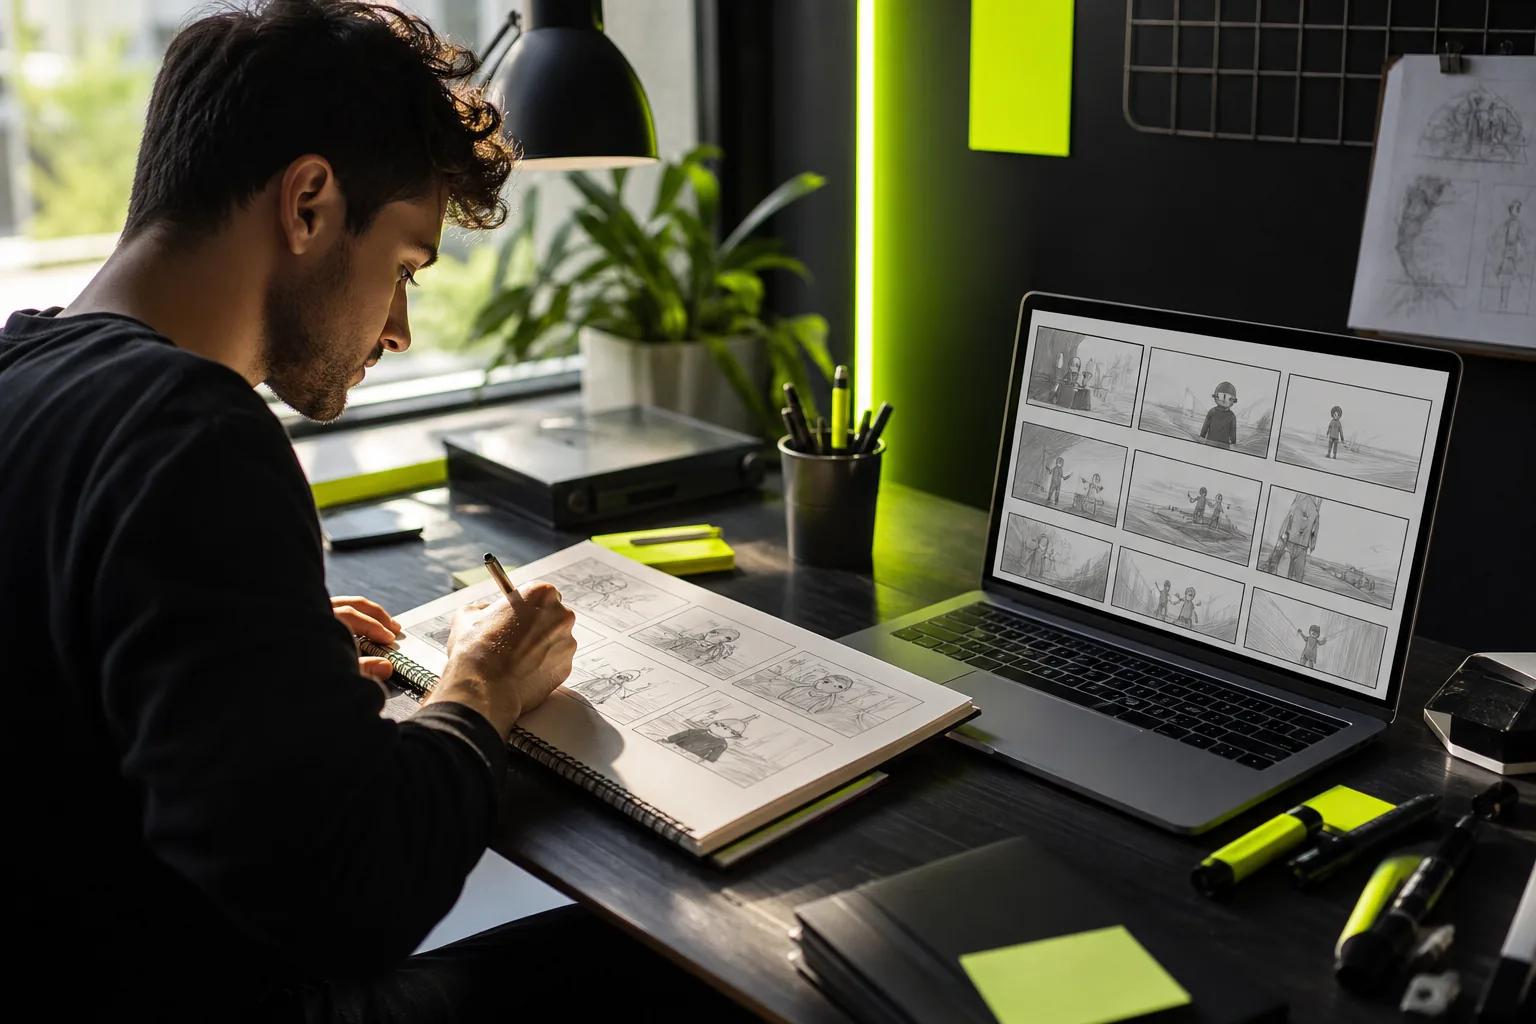
Start by picking the story, not by importing every image in the folder. For a product clip, choose photos that show the item clearly from useful angles. For a birthday or trip recap, pick images that mark a beginning, a change and a finish.
Sort the photos into the order you want people to see them. Remove near-duplicates, blurry shots and images that pull attention away from the main subject. A short selection is easier to pace, and it gives each picture room to make a point.
Next, choose the kind of video you want. A slideshow editor places still images on a timeline. An image-to-video workflow starts with a photo and generates motion around it. Wan Studio is a browser-based option for turning a photo into a short AI clip, with sound generated as part of the video. If you want a traditional timeline edit, a browser editor such as Clipchamp or Canva may suit the job better.
For a product spot, think about what the viewer should notice first. A close photo of a bag’s stitching might open the clip, followed by a wider shot that shows its shape. If you want to animate one image rather than build a full slideshow, the steps in this photo-to-video walkthrough cover that separate workflow.
Check that you have permission to use each photo, especially if it shows a customer or another person. Make sure any image you use is yours, licensed for your planned use, or otherwise cleared.
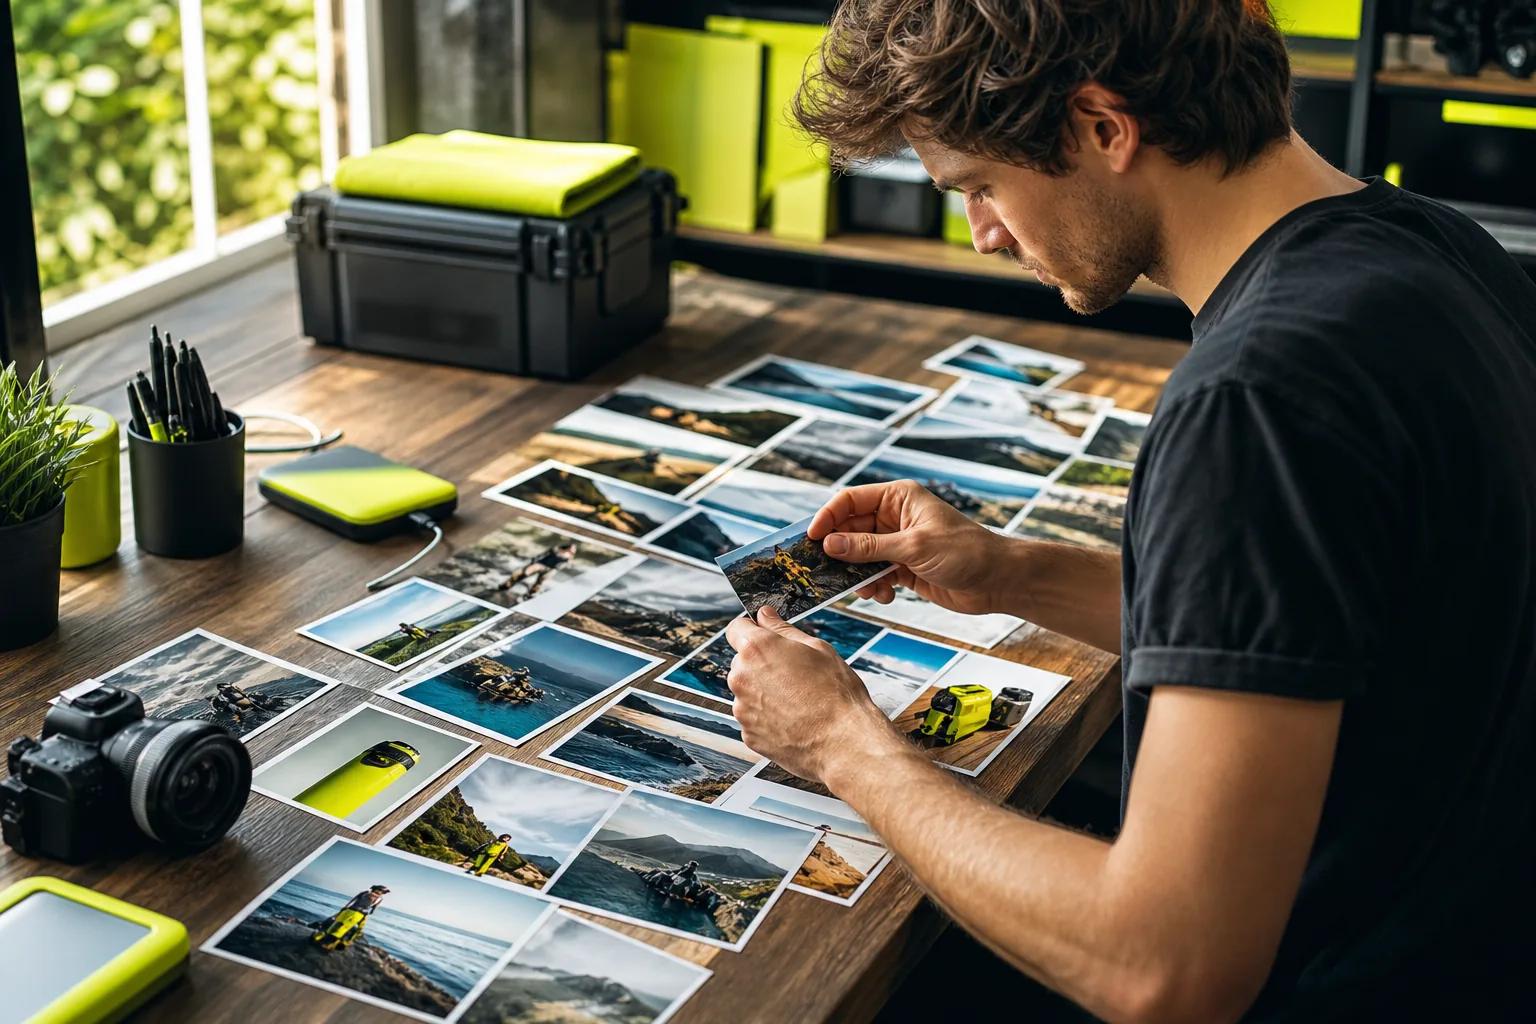
Milestone: You should have a small, ordered set of images and a clear idea of whether you’re making a slideshow or an animated clip.
Step 2: Pick a Slideshow or AI Video Workflow
Choose the workflow that matches your starting material. A slideshow is a good fit when you want to show many photos in a set order. Use a video editor with a timeline, then upload your images and place them on separate clips or pages. Many browser-based editors also let you add music and text without installing desktop software.
For a basic slideshow, create a video project, upload your photos and drag each one onto the timeline. Clipchamp and Canva are examples of editors shown in photo-video tutorials. Their timeline or page views let you change image order and timing. The exact buttons vary, but the process is much the same: add the photos, set the length, then preview the sequence.
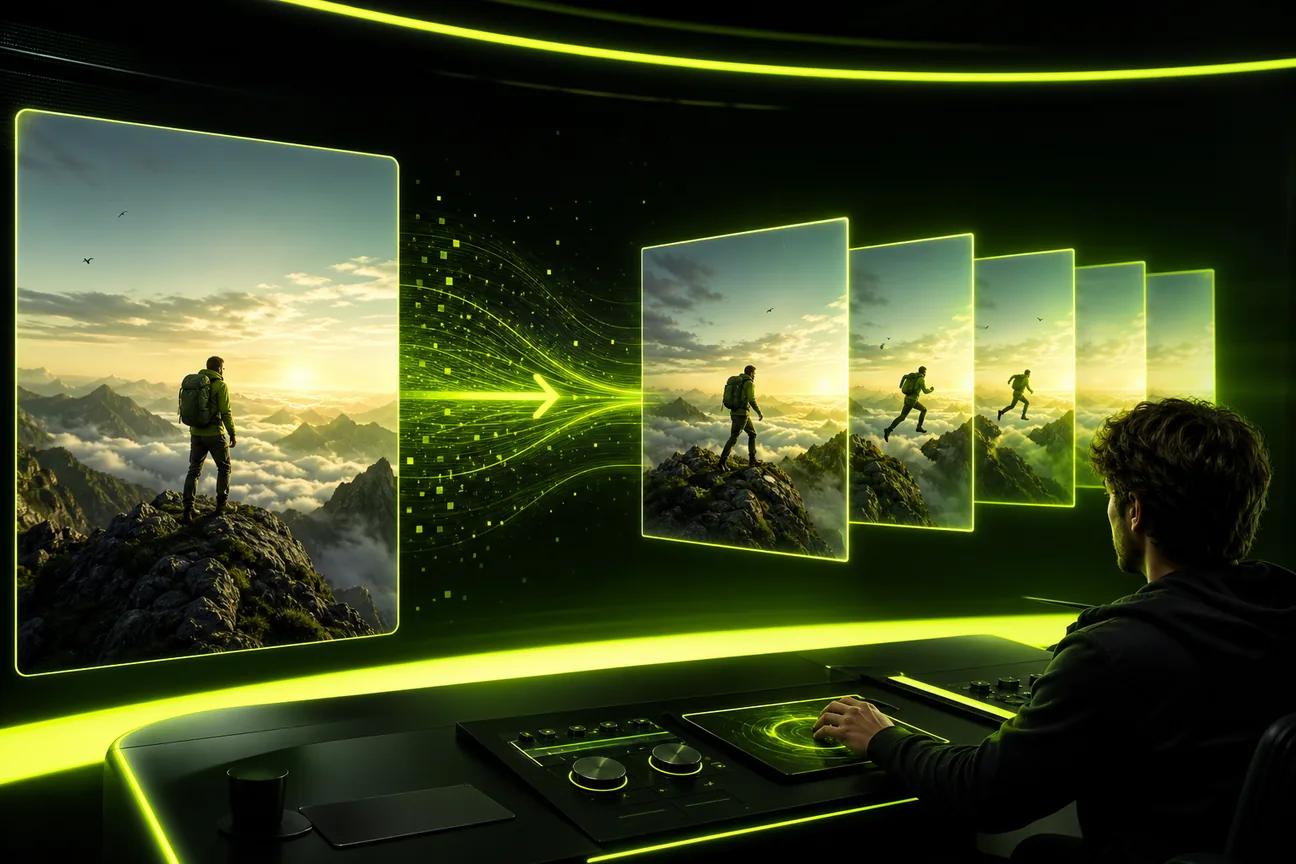
AI image-to-video works differently. You provide a still image as the first frame, then describe the action or camera move you want. Wan Studio lets you use a photo as a starting image and describe the scene in a prompt. With Wan 3.0, a clip can run up to 30 seconds, with output options up to 1080p on paid plans. Its free plan includes a couple of Wan 2.5 videos a month at 480p, with no card required. Those free clips are for trying the service, not a substitute for checking your needs before a campaign.
Keep the model’s job small. For a product image, try a prompt such as: “A slow camera push toward the ceramic mug as steam curls above it. Soft morning light.” The source photo sets the look; the prompt describes the movement and scene. Wan 3.0 supports text or a first-frame image and generates native sound. If you need several reference images or video editing, Wan 2.7 has those modes instead.
Pick AI motion when one strong image can carry the clip. Choose a timeline editor when you need precise control over a longer sequence of separate photos. Wan Studio also has a product video guide for turning a product idea into a focused short ad.
Milestone: You should know which workflow you’re using and what the first draft needs to show.
Step 3: Arrange Photos and Add Motion
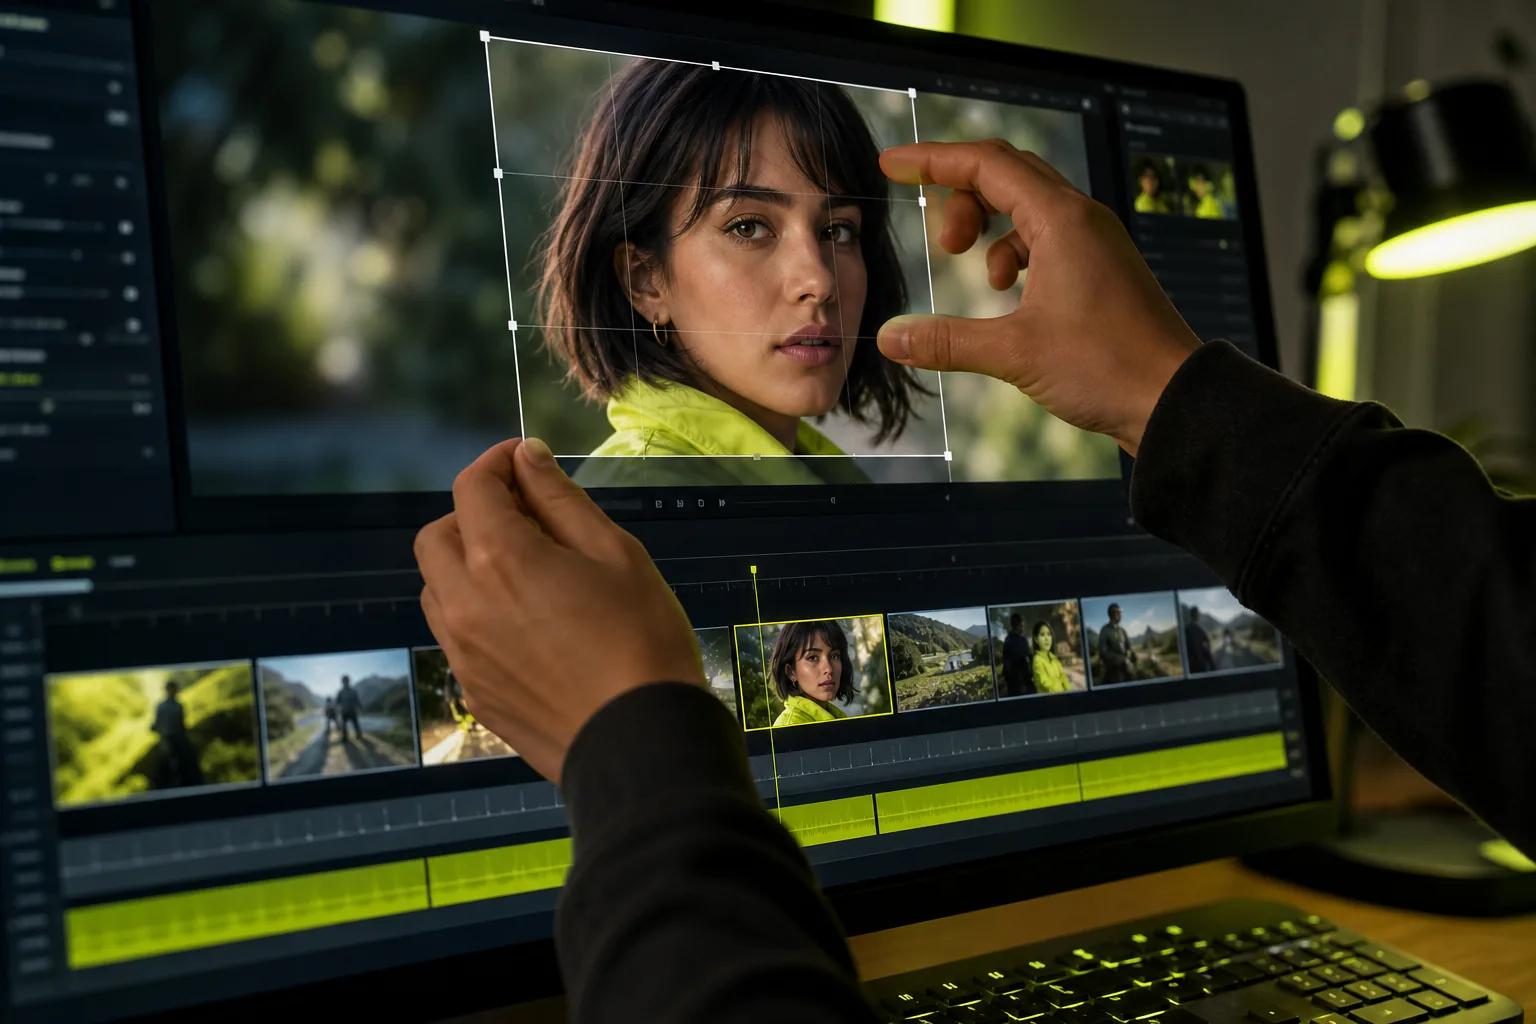
In a timeline editor, upload your images, then drag them into the project in the order you planned. Most editors let you move clips by dragging them left or right. Play the sequence once before adding effects. If the story feels confusing without transitions, fix the image order first.
Set each photo’s duration. A few seconds per image is a useful starting point, but a title card or detailed product view may need longer. Shorten photos that repeat the same idea. Extend a frame when viewers need time to read a caption or notice a detail.
Fit each image to the video frame. A landscape photo may crop well into a landscape video. A portrait photo in a landscape project can leave empty space at the sides. One common editor trick is to duplicate the photo on a lower layer, enlarge it to fill the frame, then blur it. Keep the clear version above it. This fills the side space while leaving the main image easy to see.
Add motion with restraint. A slow zoom or gentle pan can make a still feel less static. In a timeline editor, look for photo animation or keyframe controls. Keyframes mark how an image’s position or size changes over time. Set one point near the start and another near the end to create a gradual move, rather than a sudden jump.
If you’re using Wan Studio, describe a single action and one camera move. For example, ask for a slow push toward a product, then describe what should move in the scene. Generate a short draft and check whether the main subject stays in view. The first-frame image also sets the output’s aspect ratio, so start with a photo shaped for your intended post when possible.
Use transitions to connect images, not to decorate every cut. A simple dissolve can work for a calm recap. A more noticeable wipe may fit a playful clip, but too many different transitions can make a short video feel jumpy. For photo shape and proportions, Wikipedia’s overview of image aspect ratios explains why different frame shapes change how an image fits.
Milestone: The images should now play in the right order, with timing and motion that support the story.
Step 4: Add Music, Voice, Captions, and Sound
Music gives a slideshow a mood, but it shouldn’t fight the images. Add a track from your editor’s audio library or upload a file you’re allowed to use. Listen to the whole track before placing it. Trim the start or end so the music begins with the opening image and stops with the video.
Lower the music when you add voiceover or spoken dialogue. Leave a little space at the start for the first spoken line. If the tool supports sound effects, add only the ones that help the viewer understand the action. A short product clip may need a voice line; a quiet photo recap may work better with music alone.
Wan Studio’s Wan models generate sound with the video. Wan 2.5, Wan 2.7 and Wan 3.0 support native sound, and dialogue can be lip-synced when you put the spoken line in quotes in the prompt. For example: “The shop owner smiles and says, ‘Meet your new everyday tote.’” Treat that as a draft, not a guarantee. Watch the face and listen to the words before sharing.
Add captions when people need to follow speech with the sound off. Keep each caption short and place it where it won’t cover the face or product. Read every line against the spoken audio. Fix names or phrases that are hard to understand, and check that captions stay inside the frame after you crop the video for a phone screen.
Check usage rights for music as well as photos. A track that’s free to stream isn’t automatically cleared for a business ad. Use a track with terms that fit your intended use, or choose music provided for that use by your editing tool. Paid Wan Studio plans include a commercial licence for generated videos and images. Check the terms for any other material you add.
If the clip is meant to sell something, keep the audio tied to one clear message. The separate video ad planning steps can help you shape that message before you edit.
Milestone: You should have a sound mix that’s easy to hear, with captions that match the words and stay in frame.
Step 5: Preview, Export, and Share Your Video
Watch the full video before you export. First, check the story: does the opening make sense, and does the ending feel finished? Then check the details. Look for awkward crops, text that disappears too fast, silent gaps and motion that pulls attention away from the subject.
Preview with sound on. If there’s dialogue, check that it matches the speaker and that the music doesn’t drown it out. If the clip has captions, watch once with the sound off. That’s a quick way to catch missing words or text that flashes past too soon.
Set the frame shape for the place you’ll post. A vertical 9:16 video fits full-screen short-form feeds such as TikTok, Reels and YouTube Shorts. A landscape frame is better for a wide player. The frame shape is also called the aspect ratio; it describes how wide the image is compared with its height.
Choose a resolution that suits the job and the tool. Wan Studio’s paid plans include 720p and 1080p output options. Its free plan uses Wan 2.5 at 480p. For AI generation, a short, lower-resolution draft can help you check the idea before spending credits on a longer or sharper version. The studio shows a credit estimate before you generate.
Export or download the finished file, then play that saved file once. Check the beginning and end, confirm that the audio works and make sure the final crop hasn’t cut off a face or caption. Wan Studio downloads generated video as an MP4 with sound. The studio keeps items in its media gallery for 30 days, so download anything you want to keep.
Post the file to your chosen platform and check its preview before publishing. If you’re making a vertical series rather than one standalone clip, the YouTube Shorts workflow covers planning and publishing AI-assisted short videos.
Milestone: You should have a saved video in the right frame shape, checked on playback and ready to upload.
FAQs
How many photos should I use in a video?
Use enough photos to tell one clear story, then cut images that repeat the same point. The right count depends on the video’s length and how long each image stays on screen. For a product clip, a few useful views can be stronger than a long run of similar shots. Preview the sequence and trim any slow stretch.
Can I make a video from photos for free?
Yes, you can use a free browser-based editor to arrange photos into a slideshow. Wan Studio also has a free plan with a couple of Wan 2.5 videos a month at 480p, without a card. Use it to try image-to-video generation. Check the tool’s terms before using any output for a business campaign.
How do I add music to a photo video?
Upload a music file or choose a track from your editor’s audio library, then place it under the photo clips on the timeline. Trim it to fit the video and lower its volume if there’s speech. Check the track’s usage terms before posting, especially for a business or paid ad.
What’s the best format for TikTok, Reels, or YouTube Shorts?
A vertical 9:16 frame is a common fit for TikTok, Reels and YouTube Shorts. Set the frame before arranging your images so you can crop each one with the phone screen in mind. Keep faces, products and captions away from the edges, then review the exported file in the platform’s preview.
Can AI animate a photo and add sound?
Yes. Wan Studio’s Wan models can use an image as a starting frame and generate motion with sound. Wan 3.0 supports clips up to 30 seconds, while the free plan uses Wan 2.5. If a character speaks, put the line in quotes in your prompt, then review the lip sync and audio before you post.
Conclusion
For a sequence of stills, start with a timeline editor and keep the pacing simple. For a single photo that needs motion and generated sound, try Wan Studio with one clear image and a focused prompt. Make a short draft, watch it through, then export the version that fits your feed.