How to generate AI videos without a camera crew? Start with one clear idea, then turn a prompt or photo into a short draft you can review. The key is matching the format, motion, and sound to the job the video needs to do.
Here’s a hands-on workflow for making product spots, social clips, and short scenes, including what to check before you post.
We analyzed 6 of the top-ranking guides for how to generate ai videos and found that none gave a numeric, side-by-side comparison of free-plan credit or resolution limits across named tools. Only 2 of the 6 mentioned commercial licensing, and both did so only in general terms.
Step 1: Decide What the Video Needs to Do
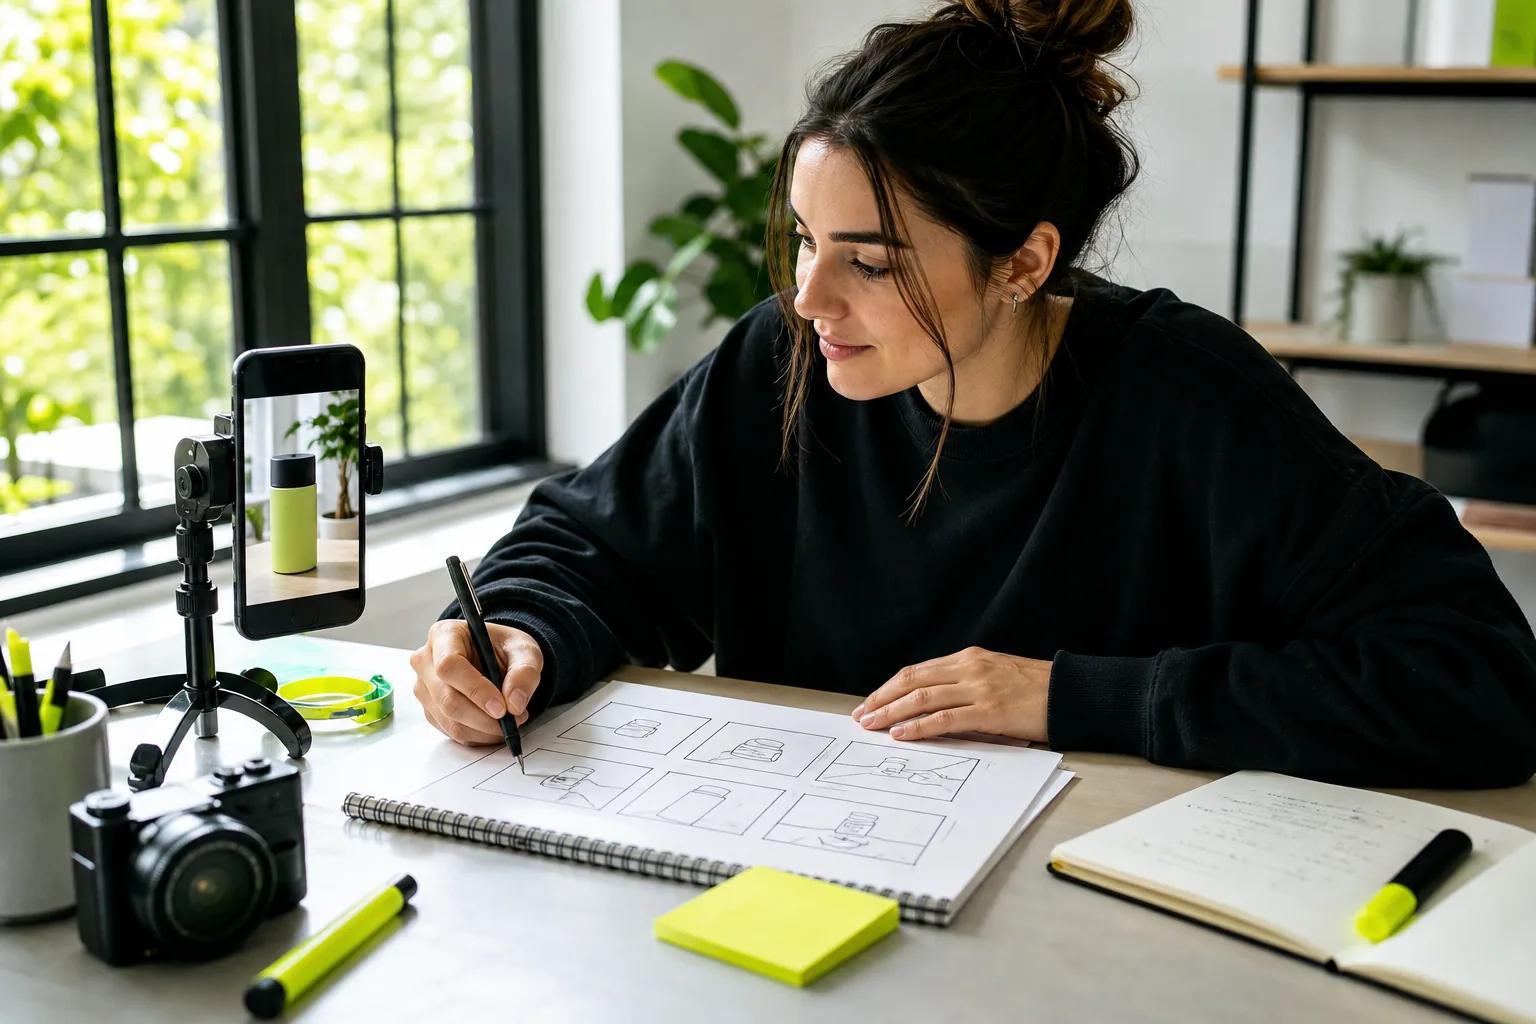
Write the goal in one sentence before you open a generator. A product clip might show how a feature works. A Short might answer one customer question. A story scene might introduce a character and set a mood.
That goal guides your choices. A product ad needs a clear view of the item. A lesson clip needs a visual that supports the point. A character scene may need a line of dialogue or more than one shot.
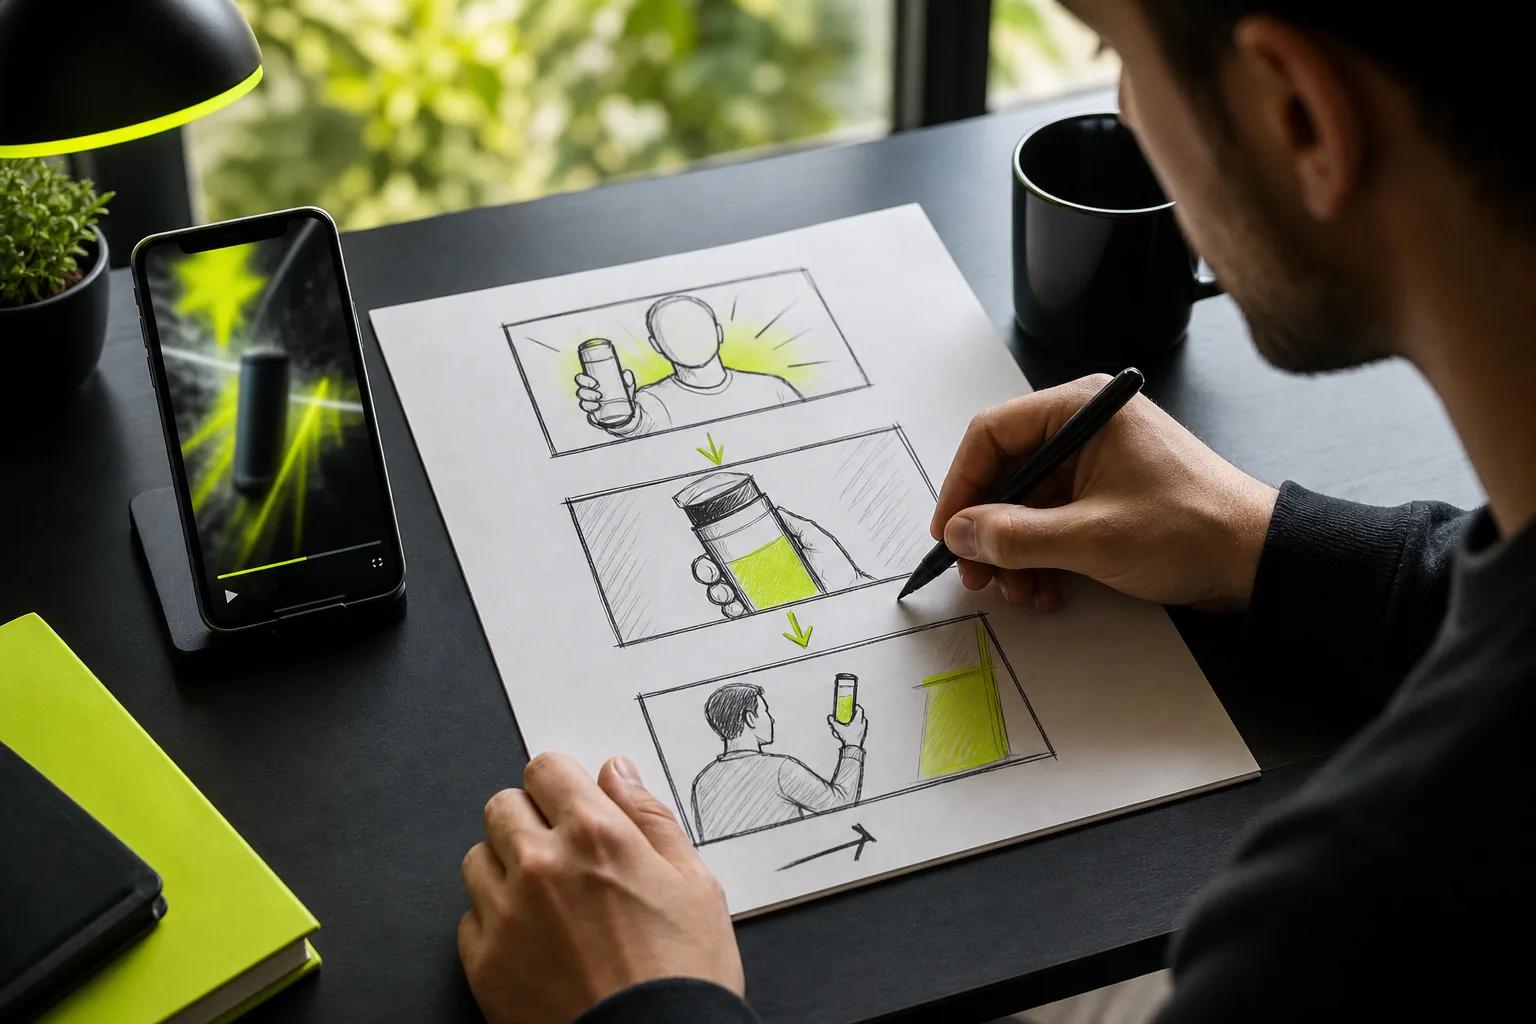
AI video generation turns inputs such as text or images into moving scenes. Some tools also accept scripts or storyboard notes.
Pick one main action for each clip. “A ceramic mug sits on a table” is a setup. “Steam rises as the camera moves closer” adds a clear action. When a clip tries to show too many things at once, it can be harder to judge what worked.
Choose the destination now, too. Vertical video fits a phone screen. A square frame may suit a feed post. Landscape works for a wide player. If you’re still shaping the whole workflow, this step-by-step guide to creating AI videos covers the path from brief to export.
Milestone: You should have a one-sentence goal, a target viewer, and a format in mind.
Step 2: Write a Prompt or Prepare Product Images
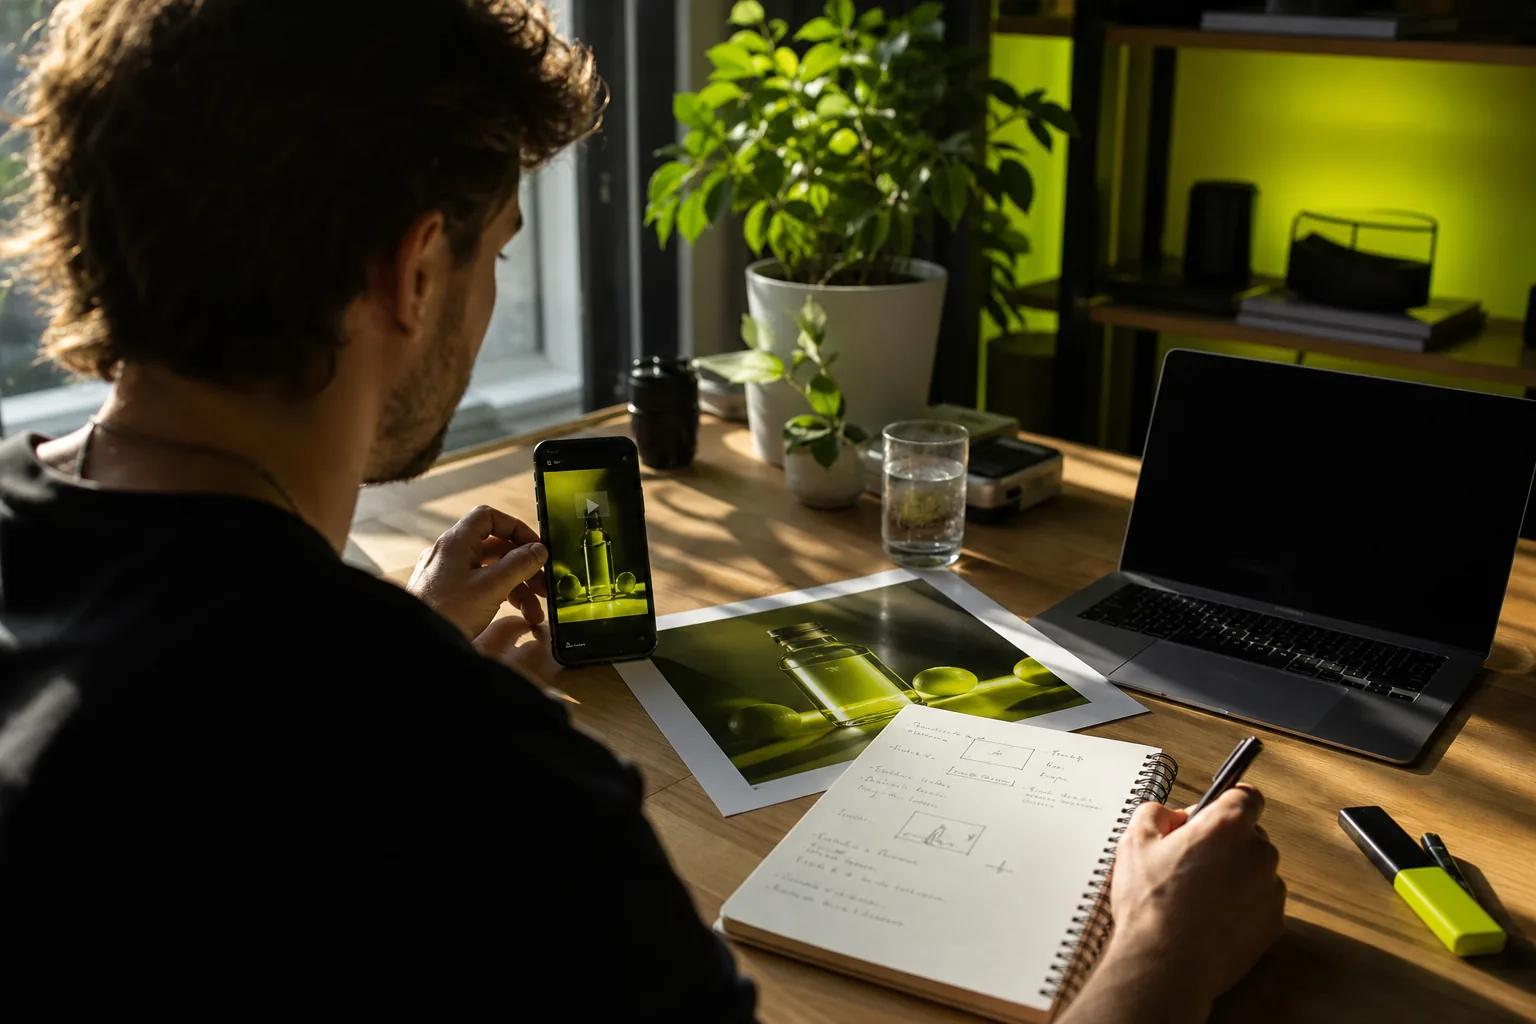
A useful prompt reads like a short shot brief. Name the subject first. Then describe what it does, where it is, and how the camera moves. Add a lighting or style cue only if it helps shape the look.
For example: “A small desk lamp turns on beside an open book. Slow camera push-in, warm evening light, quiet room.” The subject and action are easy to picture. The camera cue asks for one move, not a tangle of directions.
Add sound details when they matter. Describe a soft rain hiss or a bright music cue. If a character should speak, put the exact line in quotation marks, such as: “The new blend is ready.” This gives the model words to attempt, rather than asking it to invent a script.
For a product video, start with a photo when the item’s look needs to stay close to a real reference. Use a sharp image with the whole item in frame. Crop it to the shape you plan to publish in, and check that the label or key feature is visible.
Wan Studio supports image-to-video by using an image as the first frame. On Wan 3.0, you can start with text or a first-frame image. Wan 2.7 also supports reference images and video clips, which can help when the scene needs extra visual guidance.
Keep the prompt focused on movement when you supply a photo. There’s no need to describe every visible detail again. Say what should move and how. For reusable examples, see these AI image-to-video prompt tips.
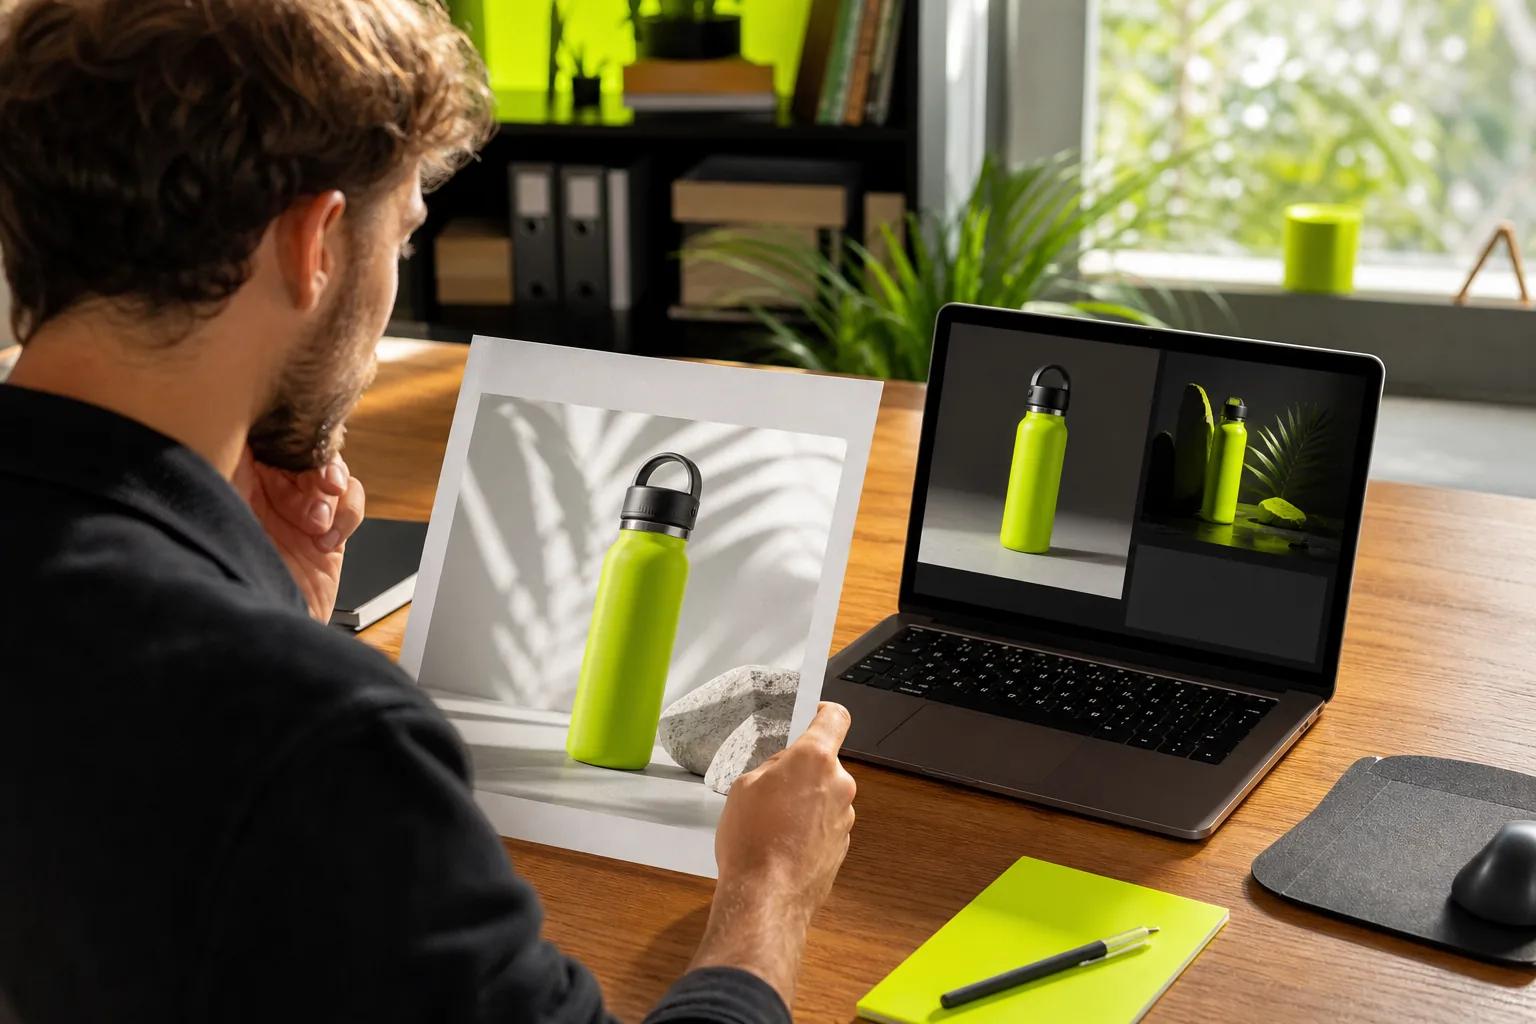
Pro Tip: Change one prompt detail at a time between drafts. If you change the action, lighting, and camera move together, you won’t know which change helped.
Milestone: You should have a focused prompt or a clean source image, plus the motion you want to see.
Step 3: Choose a Generator and Create Your First Clip
Choose a generator based on the input you have and the output you need. If you have a product photo, check for image-to-video. If you need a speaking character, look for a model with generated dialogue and lip sync. Clip length and resolution matter, too.
Wan Studio runs in a browser and turns prompts or images into video. Its free plan includes a couple of Wan 2.5 videos a month at 480p, with no card required. Paid plans start at $14 per month and include Wan 3.0 plus a commercial licence.
Wan 3.0 is the default model on paid plans. It can make clips up to 30 seconds, with 480p, 720p, or 1080p output. It supports adaptive framing or fixed ratios such as 9:16 and 16:9. Wan 2.7 is a better fit when you need reference inputs or video edit mode, and its clips can run up to 15 seconds.
For a first test, keep the clip short and the resolution modest. Wan Studio shows a live credit estimate before generation, and longer clips or higher resolution use more credits. If you’re only trying out the workflow, start on the Wan 2.5 model page.
Other free offers have different limits. Pika’s free plan, for example, includes no monthly credits, so you buy credit packs to generate. Synthesia’s free plan caps how many minutes of video you can make each month. These details show why a credit count alone doesn’t tell you how useful a free plan will be for your next post.
In Wan Studio, write the prompt, add your image if needed, then set the length, ratio, and resolution. Generate one draft. Watch it all the way through before changing anything. The first pass is a test of your brief, not a final grade on the idea.
Milestone: You should have a first clip in the right shape, with a clear idea of what you want to improve.
Step 4: Add Sound, Music, or Lip-Synced Dialogue
Decide whether the clip needs sound before you generate it. A quiet product reveal may work with a soft score. A short scene may need room noise or one spoken line. A how-to clip may be clearer with narration added later.
Wan 2.5, Wan 2.7, and Wan 3.0 generate native audio with video. That can include music, sound effects, or dialogue in the same generation. For dialogue, put the words in quotes in your prompt and name the speaker’s action. For example: “She looks at the camera and says, ‘Ready for the first step?’”
Native sound can reduce the need to build a separate audio track, but it still needs a review. Listen for words that don’t match your script. Check whether the mouth movement follows the speech. If a line is hard to understand, shorten it or try a new generation.
Sound should support the scene, not fight it. Keep a spoken line brief if the clip is short. Describe a sound that belongs in the setting, such as a door closing or rain outside. If music distracts from the message, remove it in your edit rather than forcing it into the prompt.
For a multi-shot scene, describe the beats in order and keep the character details steady. Wan 3.0 is designed to keep characters consistent across shots in a scene of up to 30 seconds. Still, check faces, clothing, and timing in the generated result before you use it.
Milestone: You should know whether the clip needs generated sound, a separate voice track, or no audio at all.
Step 5: Review, Refine, and Export for Each Platform
Review the clip once for the story, then again for details. Does the opening show the subject quickly? Does the action make sense? For a product spot, compare the generated shape and visible details with the real item.
Watch with sound on. Check spoken words and lip sync. Then watch with sound off to see whether the visuals still make sense. If you use captions in an editor, keep them away from faces and important product details.
When something is off, revise one part of the prompt. If the camera moves too fast, adjust that instruction. If the action is unclear, make it simpler. Wan Studio keeps generated files in its media gallery for 30 days, so download clips you want to keep.
Set the frame for the place you’ll post it. Use 9:16 for vertical TikTok, Reels, or Shorts content. Wan 3.0 also supports square and landscape ratios, along with other fixed shapes. If you start with a first-frame image, the output follows that image’s aspect ratio.
Wan Studio downloads MP4 files with sound. Before posting, play the saved file on a phone. Check the first and last seconds, confirm the audio plays, and make sure captions sit inside the visible area.
Rights matter if you plan to use the clip in an ad. Paid Wan Studio plans include a commercial licence; the free plan is for trying Wan out. Use images and reference material you have permission to use. Don’t make deceptive deepfakes or impersonate a real person.
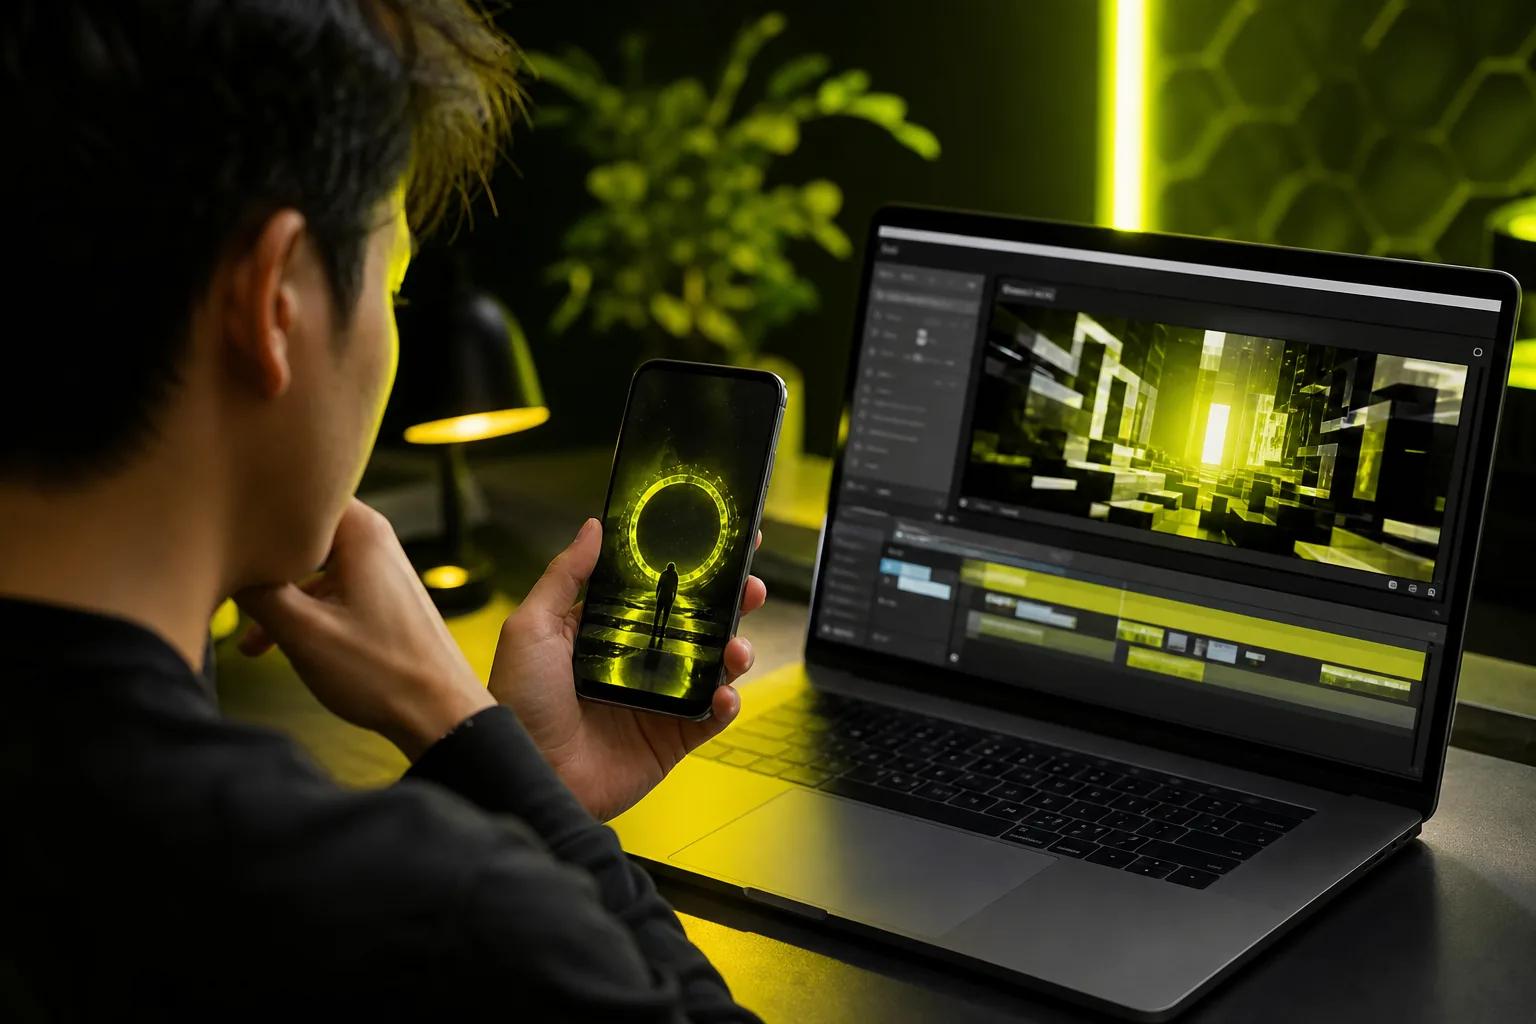
Milestone: You should have a checked file in the right format, ready for your own final review before posting.
FAQ
What is AI video generation?
AI video generation uses inputs such as text or images to produce moving video. Some tools also work with scripts or existing media. AI video can be used to create explainers, product showcases, and social videos without a traditional filming workflow.
Can I make AI videos for free?
Yes, some tools have free plans, but limits vary. Wan Studio’s free plan gives you a couple of Wan 2.5 videos a month at 480p, with no card required. Treat that plan as a way to test the process. Check the terms that apply before using any generated video for paid work.
How do I write a good AI video prompt?
Start with the subject and one action. Add the setting, a camera move, and a light or style cue if they help. Keep sound and dialogue instructions short. For a character’s spoken line, put the exact words in quotes. When you use a source image, describe what should move instead of repeating everything already visible.
Can AI video generators make dialogue and lip sync?
Some can. Wan 2.5, Wan 2.7, and Wan 3.0 generate dialogue and audio with the video. Put the line in quotes, then review the words and mouth movement in the result. Lip sync can vary between generations, so keep lines brief and regenerate if the speech does not match the scene.
Conclusion
Start with one short clip and one clear goal. Use a prompt for a new scene or a photo when the product’s look needs an anchor. Review the saved clip on your phone before you post it.