To make faceless TikTok videos, you need a clear idea and visuals that carry it without a talking head. Pick a repeatable format, plan each shot, then make a short draft and check it on your phone before posting.
We analyzed 33 comments and questions from Reddit and Quora about faceless TikTok videos and found that 36% mentioned niche and format decisions.
Step 1: Choose a Faceless Video Format and Audience
Start with a viewer, not a tool. Decide who the video is for and what they’ll get from watching. “Quick desk fixes for new remote workers” gives you a tighter direction than “productivity tips.” A focused promise makes it easier to choose scenes and write hooks that fit.
Next, choose a format you can repeat without showing your face. Hands-only demonstrations suit crafts, cooking, and product use. Screen recordings work for app tutorials. Voiceover with B-roll can explain a topic or tell a short story. Text-led clips can carry a quick tip or a visual joke.
For a small business, a product photo can anchor an image-to-video clip. Wan Studio lets you start with a text prompt or an image, then generate a short video in a browser. Its models can add sound, and Wan 2.5 and later support native music, effects, and dialogue. Review every generated detail before using it in a promotion.
If you want to plan a clip around a product or a simple story, this step-by-step TikTok AI video workflow can help you map the idea before generation.
Keep privacy in mind as you set up the format. Avoid showing personal mail, a street view from your window, or account details in a screen recording. If you use a character, make it clearly fictional rather than copying a real person. TikTok asks creators to label AI-generated content that contains realistic images, audio, or video, so label realistic synthetic scenes before publishing.
Milestone: You should have one audience, one content promise, and one no-face format you can make again.

Step 2: Write a Short Script and Plan the Shots
Give each video one job. It might show a product detail, explain one useful idea, or answer a question your audience often asks. Write that job as a single sentence. If you can’t explain the point simply, the script probably needs a tighter focus.
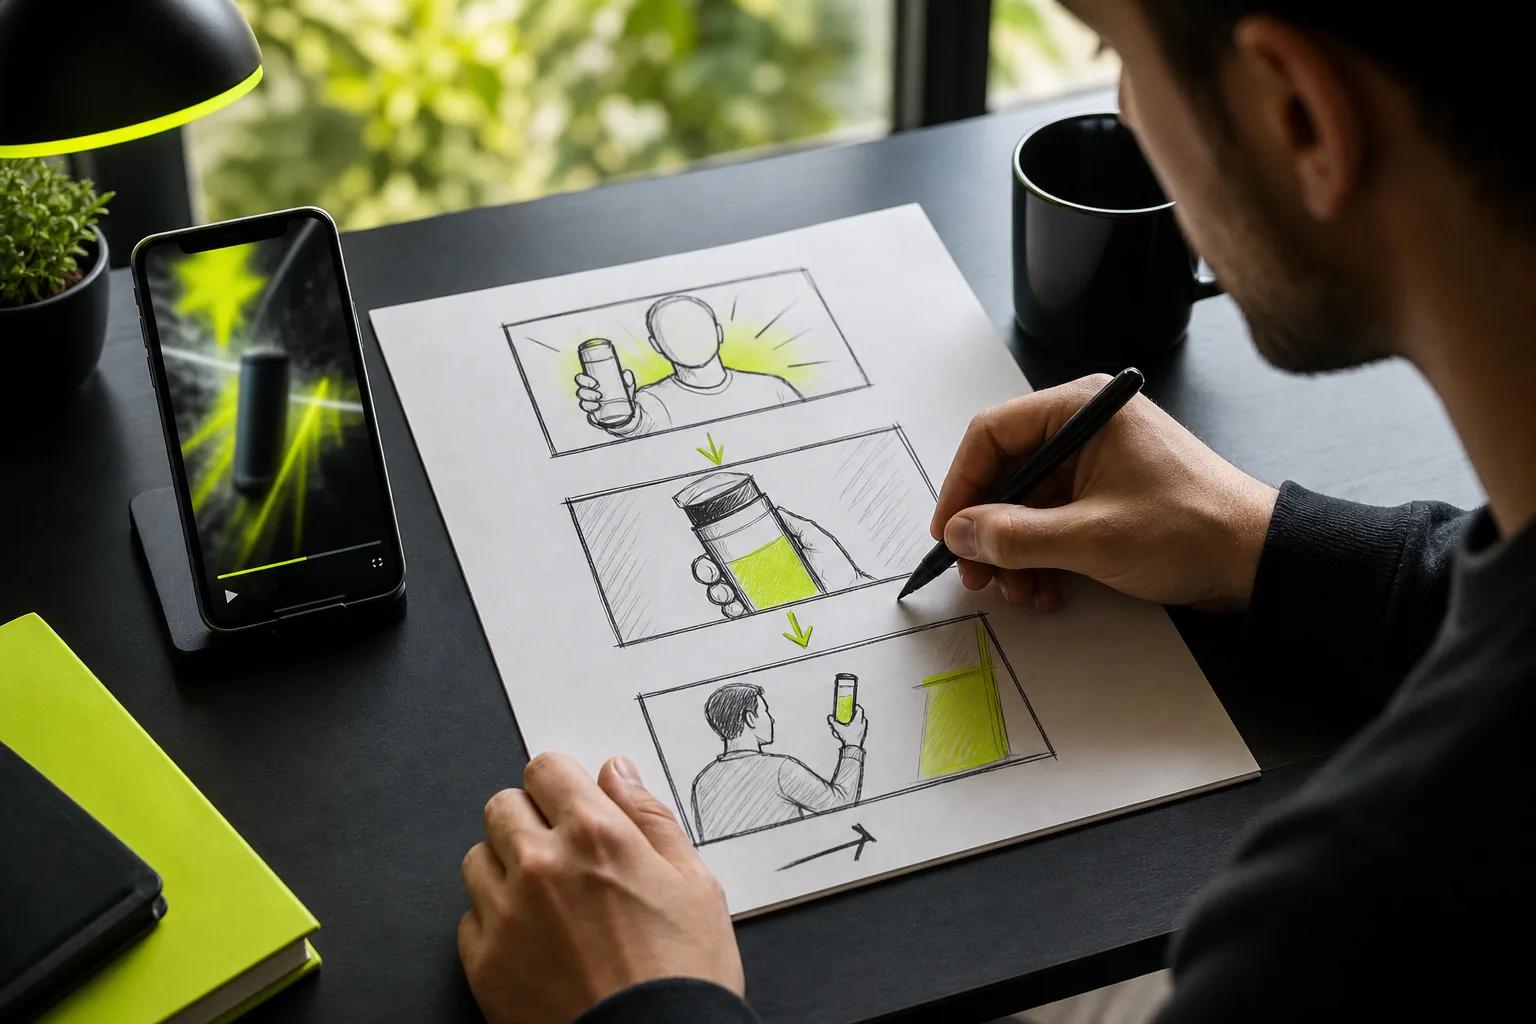
Build the script around three beats: a hook, the useful part, and a payoff. The hook tells viewers what they’ll get. The middle gives them the answer or shows the process. The ending lands the point, with a small prompt to save or follow only when it fits.
For example, a coffee shop could open with, “Here’s why your iced coffee tastes watery.” The middle shows ice melting in a cup, then demonstrates a simple change to the brew. The payoff names the change. That sequence works as hands-only footage, a product scene, or a mix of close-ups and captions.
Write for the time you have, but read the words aloud before you record or generate them. Cut repeated ideas and long setup lines. If a sentence sounds stiff when spoken, rewrite it in the way you’d explain the point to a customer. Keep one main idea in each scene so the viewer has time to follow.
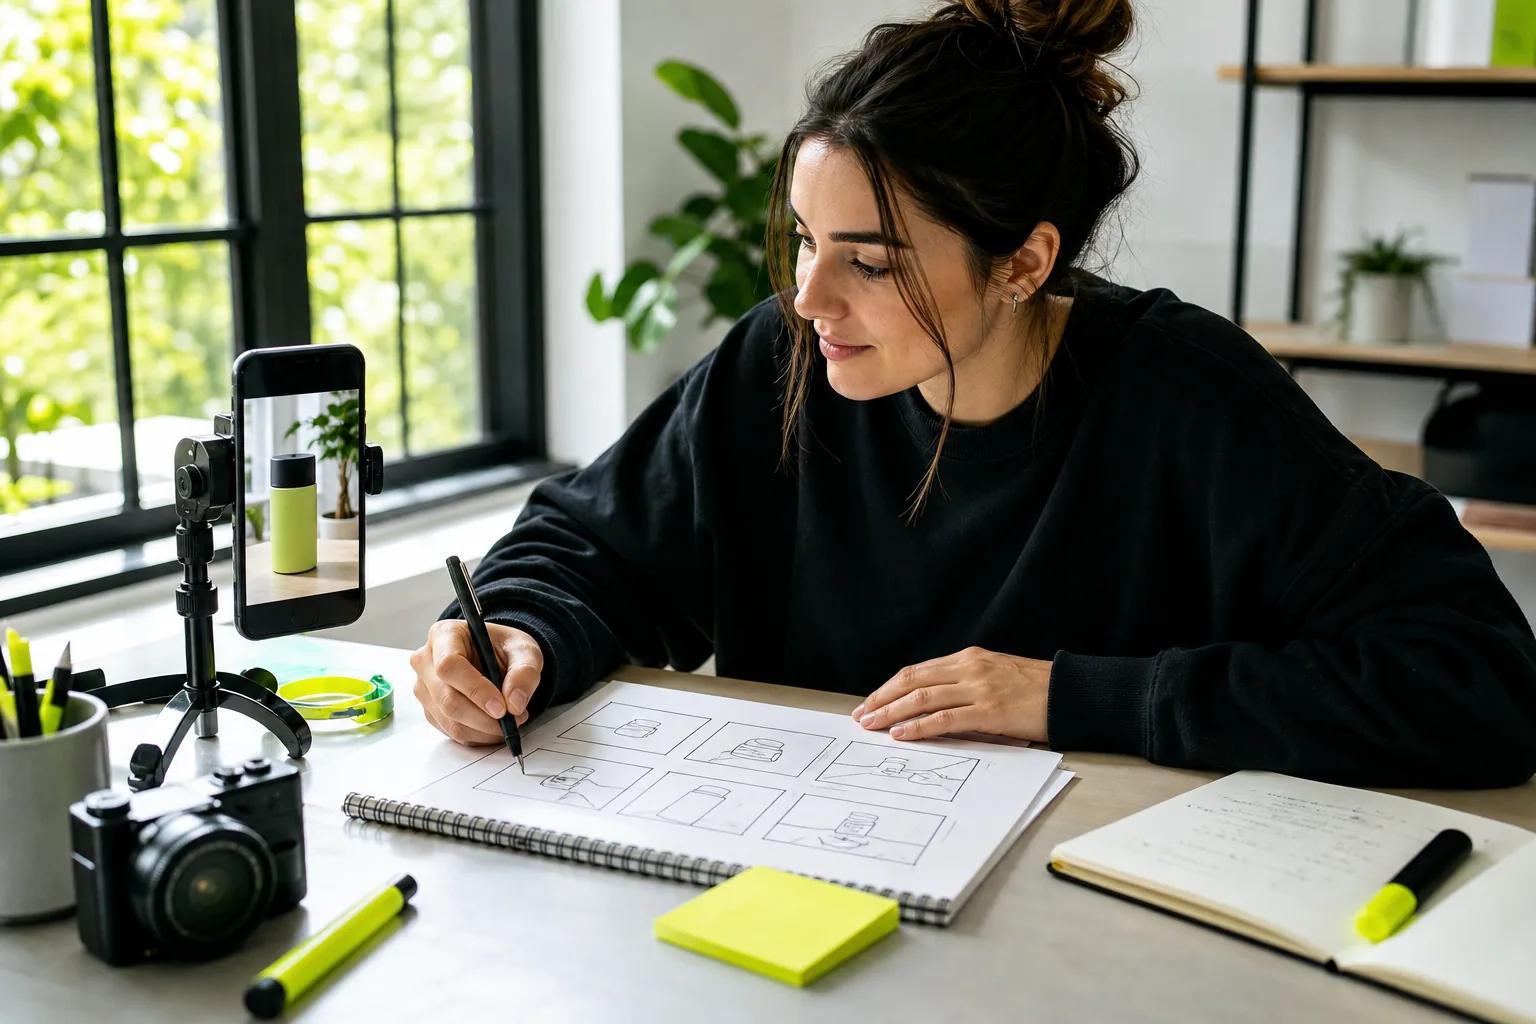
Now turn the script into a shot list. For each line, note what the viewer sees and what changes. A product video might start on the full item, move to a close-up of the feature, then show it in use. A story might use one new visual for each turning point. This is also a good time to decide if you’ll use your own footage, a screen capture, a still image, or generated video.
When you use Wan Studio, describe the subject and one main action in each prompt. Add a camera move or a visual style only when it helps tell the story. For spoken dialogue, put the exact line in quotation marks. A short prompt is easier to adjust if the first result misses your idea.
Use this guide to writing a short video script if you need help tightening a voiceover or planning the spoken lines before making scenes.
Milestone: You should have a script with a clear opening and payoff, plus a shot list that shows what appears for each line.
Step 3: Create the Visuals, Voice, and Sound
Match the visual source to the point you’re making. Use a real screen recording for an app walkthrough, since viewers need to see the actual steps. Use hands-only footage when the action itself is the proof. AI-generated scenes can help illustrate an idea or set a mood, while a product photo can give an image-to-video clip a clear starting point.
For a generated shot, name the subject, action, setting, and camera move. For example: “Close view of a ceramic mug on a kitchen counter. Morning light moves across the glaze as the camera slowly pushes in.” Keep the motion modest when the object’s shape or details must stay consistent.
Wan Studio runs in a browser and can turn a prompt or image into a short video. Wan 3.0 supports clips up to 30 seconds, with adaptive framing or fixed ratios such as vertical 9:16. Wan 2.7 supports reference images and video clips, which can help when you need more control over a scene. Model features differ, so choose the one that fits the shot.
Audio should do a job, too. A voiceover can explain a detail that isn’t clear from the picture. A quiet sound bed can set a mood. Wan 2.5 and later generate sound with the video, including music, effects, and lip-synced dialogue. That doesn’t mean every clip needs a speaking character. For a product close-up, a short voiceover or on-screen text may be clearer.
Test the draft before you spend time building the full edit. Listen for words that sound wrong or music that competes with the message. Check any spoken line against the mouth movement. Wan Studio’s free plan includes a couple of Wan 2.5 videos a month at 480p with no card required, which can be enough to test a prompt. Paid plans include a commercial licence; check the plan terms before using generated work in a paid campaign.
For reusable prompt patterns, see these text-to-video prompt examples and adapt the scene details to your own concept.
Milestone: You should have the strongest visual take for each shot, with voice and sound that support the message.
Step 4: Edit for TikTok’s Vertical Feed
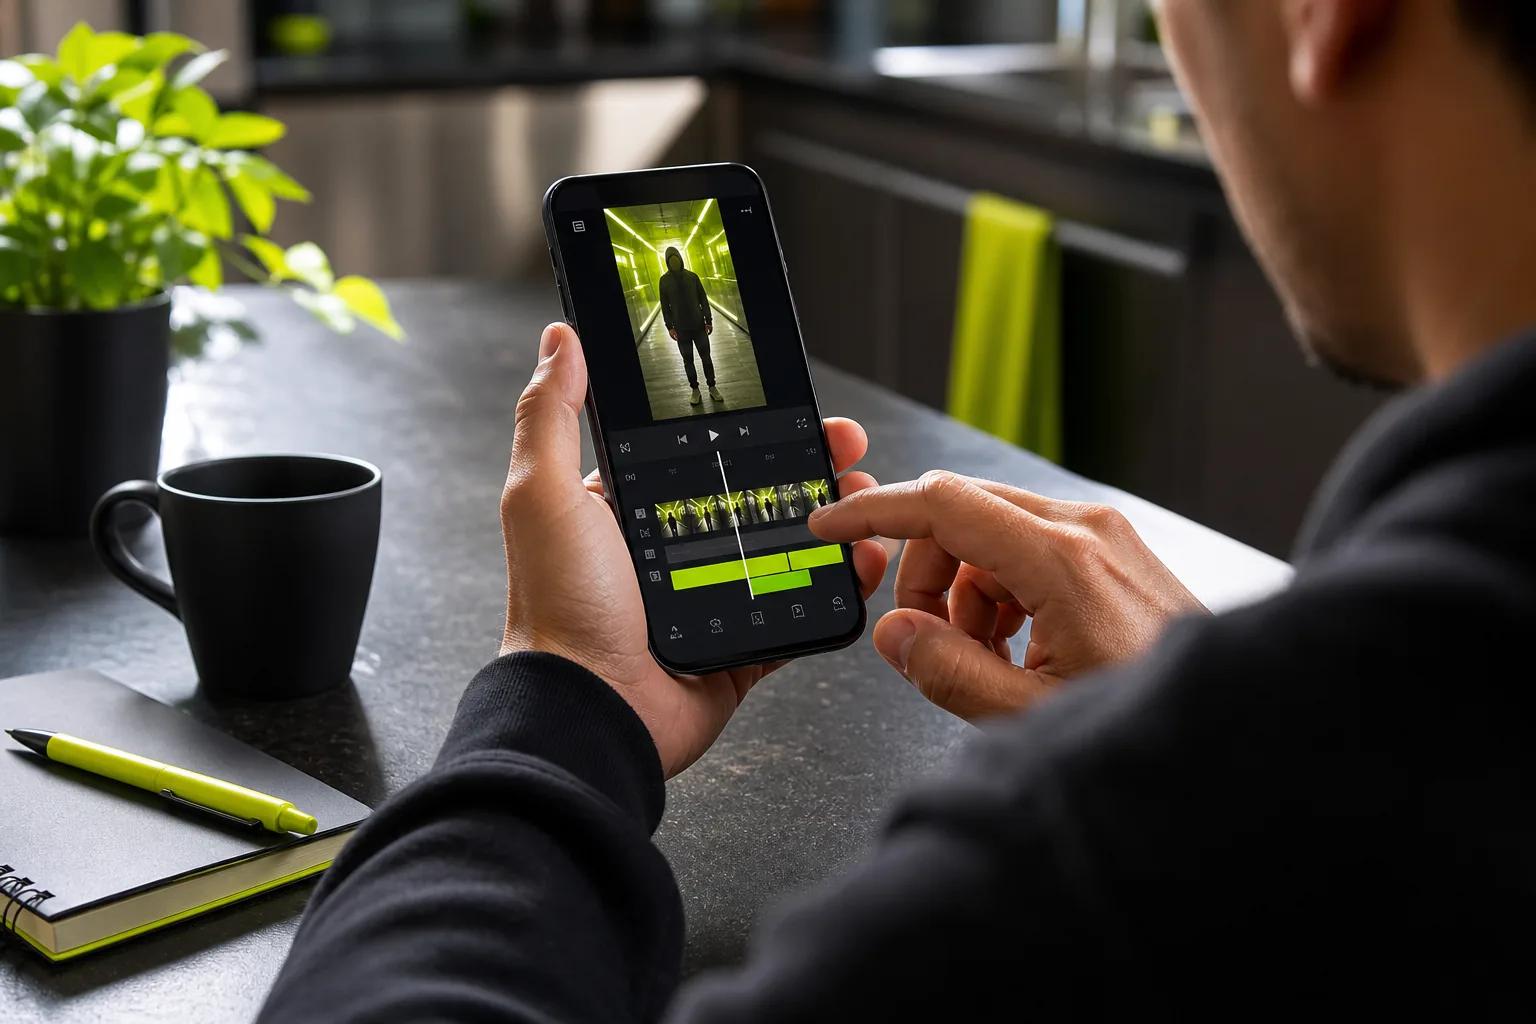
Bring the shots together in the order your script needs. Put the clearest image or action first, not a title card or a slow lead-in. Trim pauses before the hook and cut away once the point has landed. Each scene should earn its place by showing something new or making the idea easier to understand.
Set the project to a vertical 9:16 frame if that’s your target post. Keep the main subject near the center, with room around it for TikTok’s interface and captions. A key product detail or line of text can disappear under buttons if it sits too close to an edge. Preview the cut on a phone, not only on a desktop screen.
Captions help people follow along with sound off. Keep each line short enough to read at a glance. Check the words against the audio, since automatic captions can mishear names or cut off a phrase. Use a high-contrast style and avoid covering the action the viewer needs to see.
Then check the pacing. If the first shot stays still while the voiceover makes a promise, try opening on the visual proof instead. If the middle feels slow, remove a repeated point or shorten a shot. Don’t add a transition just to make the edit look busy. A clean cut often keeps the message easier to follow.
Sound needs a final pass. Listen on a phone speaker and make sure the voice stays clear. If music makes the words hard to hear, lower it or remove it. Watch the export from start to finish for a final check: subject in frame, captions readable, audio present, and ending intact.
Milestone: You should have a vertical cut that makes sense on a phone, even when watched without sound.
Step 5: Publish, Review Performance, and Refine
Before posting, watch the finished video once more as a viewer. Confirm the opening makes sense without extra context. Check captions and sound. Make sure the visuals support the claims in the script, especially if the video promotes a product or gives advice. Add any required disclosure for sponsored content or realistic AI-generated media.
Choose a caption that adds context instead of repeating every line in the video. Use relevant tags that describe the topic. Then publish and give the post time to collect useful signals. TikTok says its recommendation system uses user interactions and video information, including captions and sounds.
Review performance against the video’s goal. For a tutorial, saves may matter more than comments. For a product clip, watch time and profile visits may tell you whether the opening held attention. Look for where viewers stop watching if the analytics provide that view. A dip early in the clip points you toward the hook or first frame. A later dip may mean the middle needs a tighter edit.
Don’t change everything after one post. Make one new version with a different opening, then compare it with the first using the same goal. If a hands-only demo gets more saves than a narrated explainer, keep the useful format and try a new topic. If neither holds attention, rethink the promise before switching the whole niche.
Keep a simple record of the topic, hook, format, and result. After several posts, patterns may become easier to spot. Once a format feels repeatable, batch the next scripts or visuals. Wan Studio’s browser workflow can help you make prompt- or image-based clips without setting up a shoot, but your review is still what makes each post fit the audience.
Milestone: You should know what you’ll keep and what single element you’ll test in the next post.
FAQ
Can you make TikTok videos without showing your face?
Yes, you can make TikTok videos without appearing on camera. Use hands-only footage, screen recordings, product close-ups, text-led scenes, or voiceover with visuals. Choose a format that suits the idea: a software lesson needs a clear screen capture, while a product demo may work best with hands showing how the item is used.
What is the easiest faceless TikTok format to start with?
Text-led tips and screen recordings are easy starting points because they need little or no camera setup. Pick based on what you’re explaining. Use a screen recording for a tool walkthrough, or put a short tip over a simple visual. Make one post first, then repeat the format with a new topic.
Can AI make a faceless TikTok video?
Yes, AI tools can make video scenes from prompts or images, and some models can generate sound with the video. Wan Studio supports prompt- and image-based video creation. Its Wan 2.5 and later models include native sound and dialogue, but you should review the visuals, words, and lip sync before posting.
How do I keep a faceless TikTok from feeling generic?
Give the account a specific promise and add your own point of view. Use examples that fit your audience rather than broad stock scenes. Keep a recognizable format, but change the story or useful detail in each post. A hidden face doesn’t mean the video needs to hide who it’s for.
Can I use AI-generated videos for a business TikTok?
Yes, but check the terms for the tool and plan you use before posting a commercial video. Wan Studio’s paid plans include a commercial licence, while its free plan is for trying the service. Also review TikTok’s disclosure guidance when realistic AI-generated content could be mistaken for real images, audio, or events.
Conclusion
Start with one repeatable format and a script that makes a single promise. Make a short draft, review it on your phone, then test one change in your next post. If you want to try a prompt- or photo-based clip without filming, start with Wan Studio’s free plan and check the result before you publish.