How to create YouTube Shorts without turning one small idea into a full-day shoot? Start with one clear point, then build a vertical clip around it. You can film in the YouTube app, edit an existing video, or use a prompt or product photo in Wan Studio when you don’t have footage.
We analyzed 58 comments and questions from YouTube, Quora and Reddit about creating YouTube Shorts and found that 14% mentioned tips for channel growth.
Shorts can now run up to three minutes, though a shorter cut is often easier to shape around one useful idea. These steps take you from the first hook to a published video you can learn from.
Step 1: Choose a Short Idea and Define Its Hook
Pick one thing the viewer should learn, notice, or do. A small business could answer a common customer question, show a product detail, or give a quick tip. A creator might share one shortcut from a longer tutorial. If your idea needs several points to make sense, split it into more than one Short.
Now write the first line before you draft the rest. Lead with the result or the problem, not a greeting. “Your product photo can become a moving ad” gives the viewer a clear reason to stay. Pair that line with an opening image that shows the product or action right away.
Give the Short one job. Is it meant to explain something, show a product in use, or send viewers to a longer video? A single goal helps you decide what to leave out. For more on shaping a short video around a script and visual plan, see How to Make YouTube Shorts With AI.
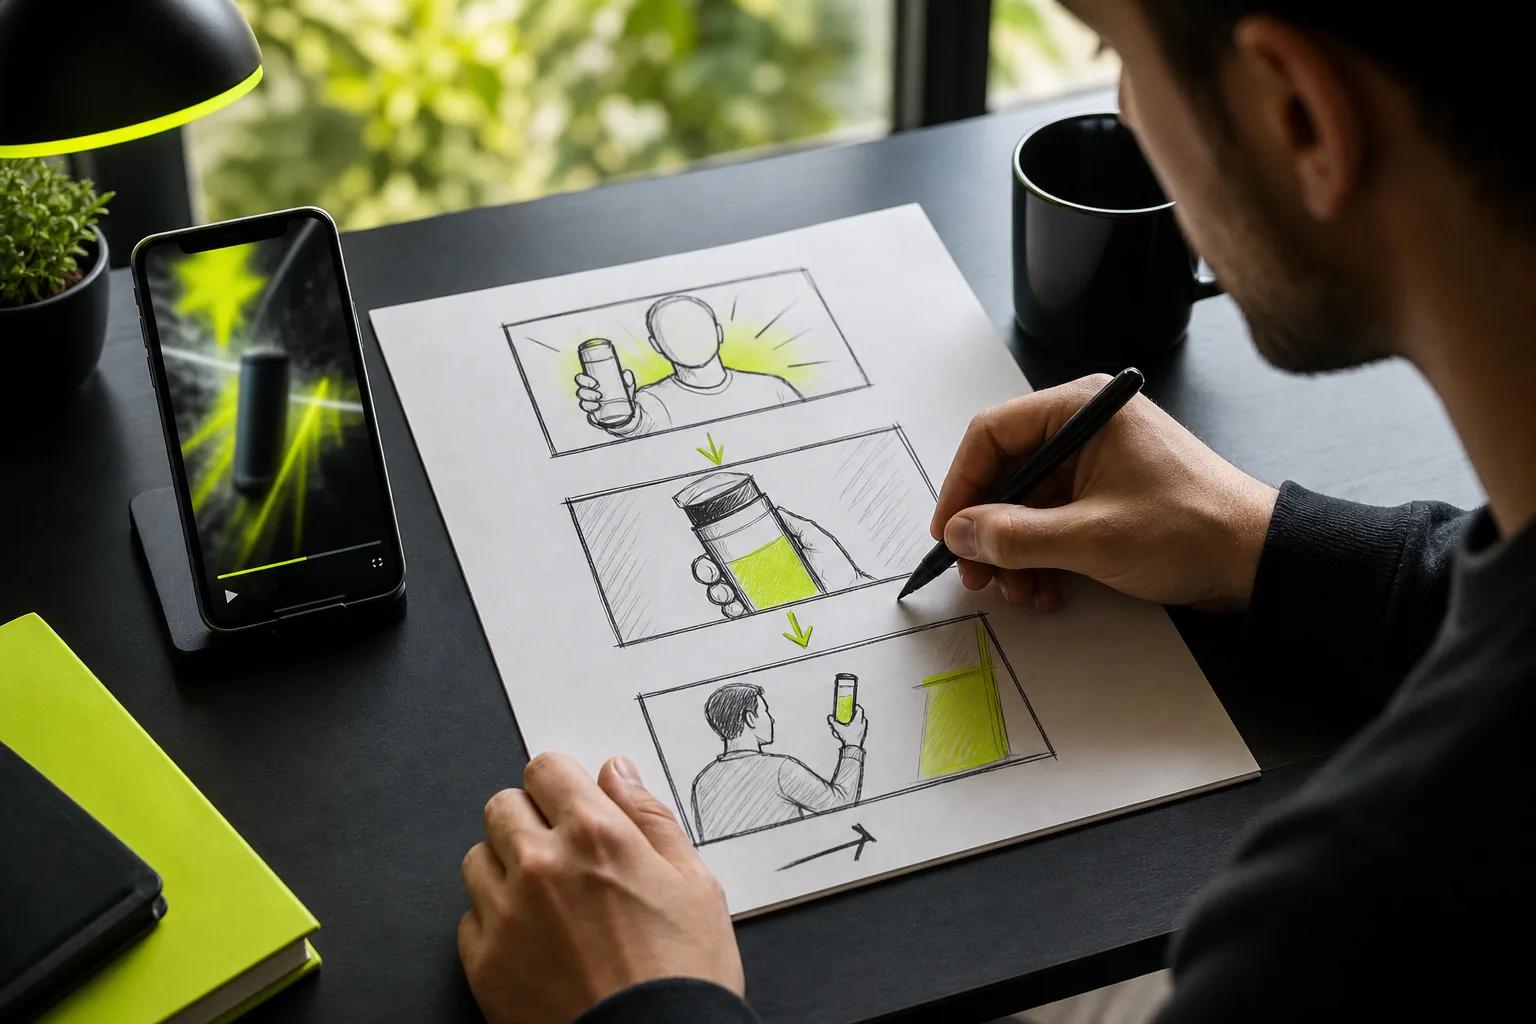
Think in beats. Each beat should add a new detail, image, or change in action. A 20-second product Short might open on the finished item, show one close-up, then reveal it in use. Leave space for the viewer to understand each shot. Fast cuts don’t help if the main point gets lost.
Write three possible opening lines and say them aloud. Keep the one that sounds clear without extra setup. If you want a loop, make the last idea lead naturally back to the first image. Don’t force it; a clean ending is better than a confusing loop.
Step 2: Write a Short Script and Plan the Shots
Write only what the viewer needs to follow the idea. A useful structure is hook, proof, payoff. For a how-to clip, show the result first, explain one step, then show what changed. For a product clip, name the feature while it’s visible on screen.
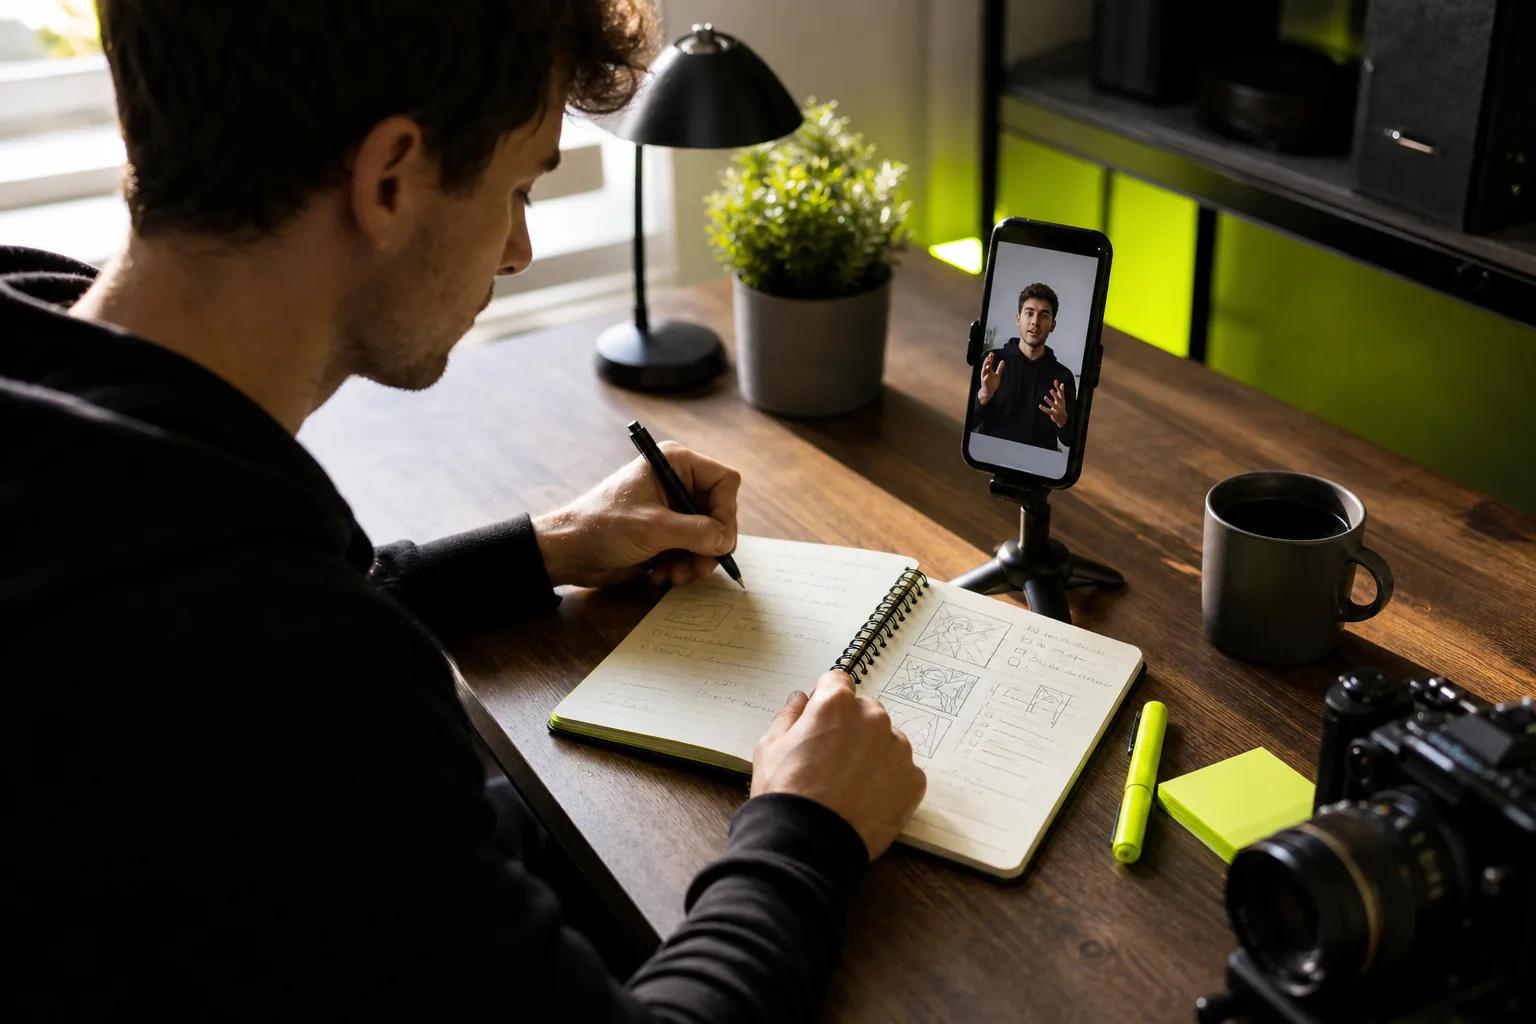
Plan the spoken words beside the image. A two-column note works well: put narration on one side and the shot or on-screen text on the other. This makes it easier to spot a line that has no visual support. Read the script out loud and time it. If you rush to fit every word, cut a point instead.
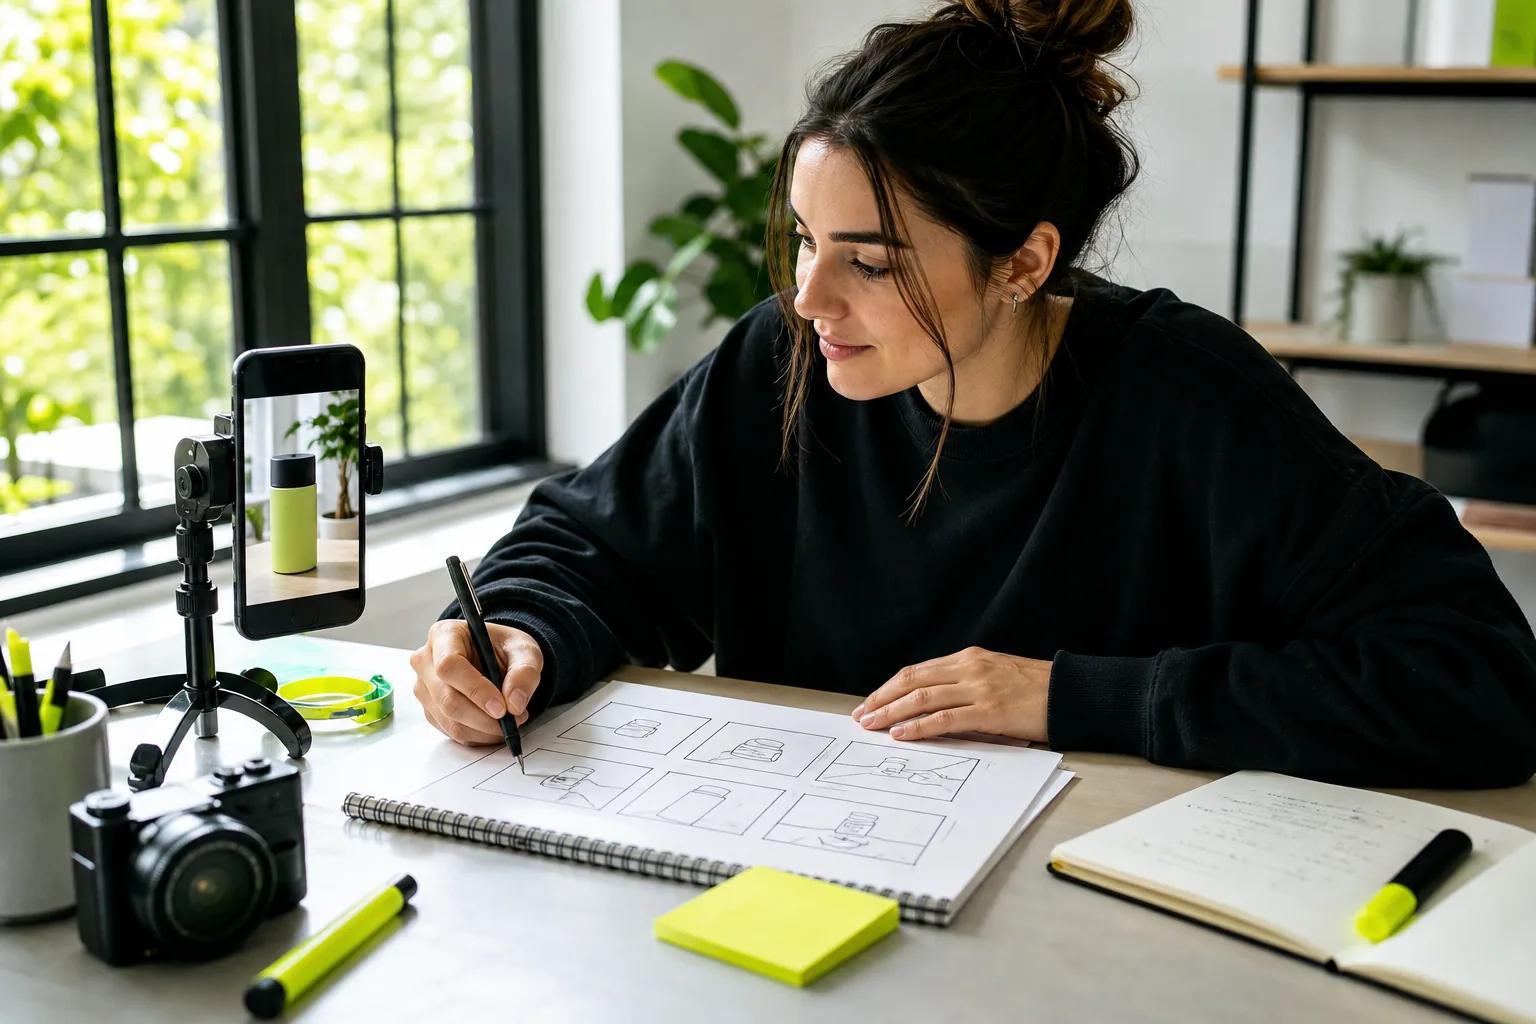
Next, list the shots in order. Keep each shot focused on one action. A simple sequence could be a wide view of the item, a close-up of its key detail, and a final view showing how it’s used. If you’re filming a person, note where they look and what they do with their hands. For a more detailed panel-by-panel plan, use this video storyboard guide.
For an existing long video, find one complete moment rather than cutting at an arbitrary time. Look for a clear answer, a satisfying demonstration, or a short story with its own start and finish. Then crop to a vertical frame and check that the speaker, product, or action stays visible. A horizontal clip may need a fresh crop for each shot.
When you have no footage, Wan Studio can turn a prompt or image into a short video. Describe the subject, action, camera move, and sound. For a product, an image can anchor the first frame; for a character line, put the words in quotation marks. Wan 3.0 can generate clips up to 30 seconds with native sound and lip-synced dialogue. Preview the result before using it, especially when a spoken line needs to match the scene.
Keep the plan flexible. You might need to change a line after filming, or drop a shot that doesn’t read on a phone. The script is there to hold the idea together, not to lock you into every word.
Step 3: Create or Capture Your Vertical Video
Record vertically when you can. A 9:16 frame fills a phone screen, while a square video can also qualify as a Short. Keep the main subject near the center and leave breathing room near the bottom and right side, where app controls may cover details.
To record directly in the YouTube mobile app, tap Create, then choose the in-app recording option. Record one segment or several. Stop between segments if you need to change the angle or reset a line. Review each take before moving on, so you don’t build the edit around a shot with muffled sound or a missed action.
YouTube says Shorts creation tools can make videos up to three minutes long. Square or vertical videos can also be uploaded as Shorts. Check the current YouTube Shorts overview if you’re planning around the length limit, since upload rules and in-app tools can differ by workflow.
For an existing long-form video, upload it in the YouTube app and use the trim screen to choose the moment you want. If the source video is longer than three minutes, choose Edit into a Short and trim it down. Reframe the selected moment so the speaker or action stays in view. Add a new opening if the original clip takes too long to get to the point.
If you’re filming on a phone, face a window or another soft light source. Brace the phone on a stable surface if you don’t have a tripod. Get close enough for clear speech, then record a short test. Listen back through the phone speaker. Room echo can be easy to miss while you’re standing in the room.
For a generated clip, Wan Studio runs in a browser and lets you start with text or an image. Choose 9:16 when you know the clip is for Shorts. Its free plan includes a couple of Wan 2.5 videos per month at 480p, with no card required, so it can work for a first test. If you need more control over references, Wan 2.7 lets you attach images or clips and tag them in the prompt.
By now, you should have a vertical clip with one clear subject and a beginning that makes sense without extra context.
Step 4: Edit the Short, Add Sound, and Make It Easy to Follow
Trim pauses, setup time, and repeated points. Put the strongest moment first. Then watch the full clip once for the story and again for small errors, such as a cut that hides the product or a caption that arrives too late.
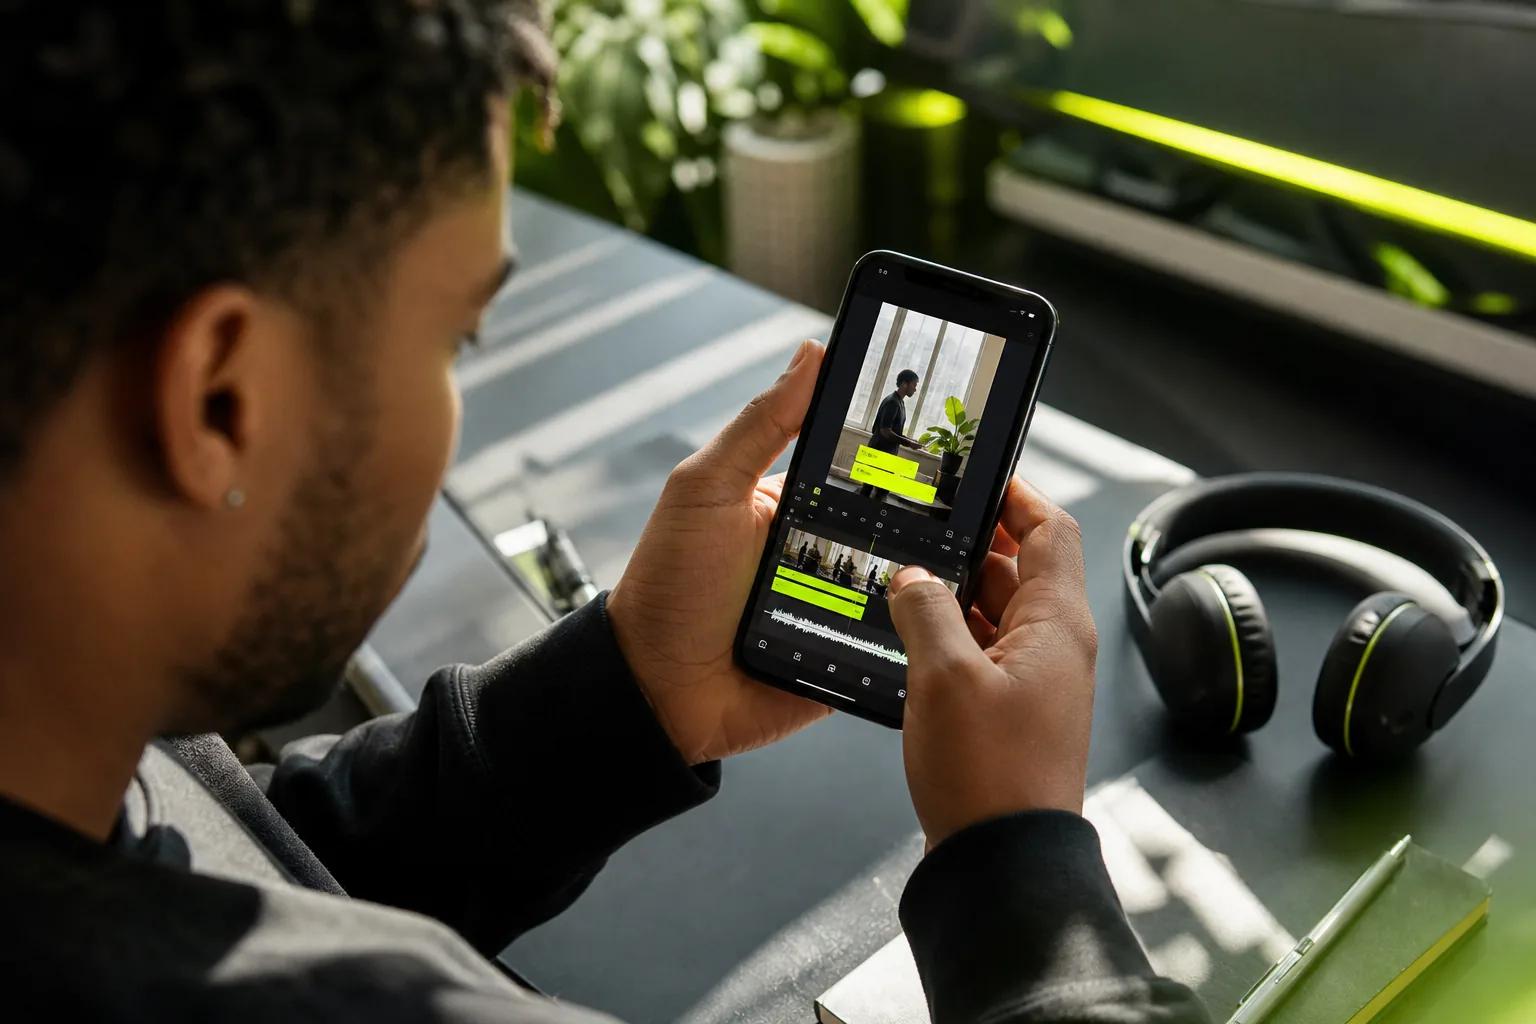
An editing app can let you add sounds, text, voiceover, and filters, and set when text appears using a timeline. Use text to clarify a fast step or highlight a key phrase, not to repeat every spoken word.
Keep captions short enough to read at phone size. Place important text away from the bottom edge and right-hand controls. Play the edit on a phone before you publish. A line that looked tidy on a large screen may be hard to read once the player buttons sit beside it.
Choose sound with care. If your editing tool offers a sound library, select the part you want to use. Lower the music if it competes with speech. If you use audio from elsewhere, make sure you have the rights to use it on YouTube.
You can also edit in a separate app, then upload the finished file. CapCut is one option for cutting footage and styling captions; an in-app editor is handy when you want to add a sound from its library during creation. The right choice depends on where you need to work. Either way, preview the final clip in the Shorts player before it goes public.
For an AI-made clip, inspect the sound and mouth movement before you post. Wan Studio’s Wan models generate sound with the video, and spoken lines can include lip sync. Results can vary, so check the dialogue, face movement, and any product detail that matters to your message.
Step 5: Upload, Optimize, and Learn From the Results
In the YouTube app, tap Create and choose Upload a video. Select a square or vertical clip. Trim it if needed, then move through the editor to the details screen. Add a title, choose the audience setting, and set privacy before you tap upload.
Write a title that names the topic in plain words. Put the main phrase near the start if it fits naturally. A useful title tells people what the clip answers, such as “How to clean a coffee grinder” or “One way to style a linen shirt.” Don’t cram in extra keywords that the video doesn’t cover.
Add a short description if it gives helpful context. You can point viewers to a related longer video or a page that supports the Short. Add #Shorts if it fits, but don’t rely on the hashtag to explain the video. Clear subject matter matters more than a stack of tags.
Choose a cover frame that shows the subject. If you can select a frame in the app, avoid a blurry transition or a moment with a half-closed mouth. Check how the cover looks on your channel page after publishing. A readable face or product can make the clip easier to recognize among your uploads.
After it’s live, look at the results in your channel analytics. Compare your Shorts with your own recent uploads rather than chasing a universal retention target. YouTube has separate view counts for starts or replays and “Engaged views,” which show viewers who chose to keep watching. Study the opening when people swipe away early. If they stay but leave before the payoff, tighten the middle or shorten the setup.
Use one change per new upload when you’re testing a format. Try a different first shot while keeping the subject and message steady. Then compare the same measure across the clips. For a business Short, you might also check whether viewers visit the related page or ask about the item in comments.
Wan Studio can help when you need a clip from a prompt or product photo instead of a new shoot. Start with a short draft, review the motion and sound, then download the MP4 when it works for your post. You can explore the studio’s AI video creation workflow if you want to build the visual before editing it for Shorts.
Give each upload a clear purpose and a fair review. One post is a starting point, not a verdict on your whole channel.
Frequently Asked Questions
How long can a YouTube Short be?
A YouTube Short can be up to three minutes long when it’s square or vertical. You can also keep it shorter if the idea needs less time. Pick a length that lets you deliver the point without a long lead-in. The YouTube app may show a trim screen when you upload a video that fits the Shorts format.
What aspect ratio should I use for YouTube Shorts?
Use a vertical 9:16 frame when you want the video to fill a phone screen. YouTube also accepts square videos as Shorts. Keep the main subject clear within the frame, and don’t place key words near the edges where player controls may cover them.
Can I turn a long YouTube video into a Short?
Yes, you can select a segment from an existing video and edit it into a Short. In the YouTube app, upload the clip or choose the option to edit a longer video into a Short, then trim it to the moment that stands on its own. Reframe the shot and add a hook if the original opening takes too long.
Do I need to add #Shorts to the title?
No, you don’t need the hashtag to make a qualifying vertical or square video a Short. Use a clear title that tells viewers what they’ll see. You can add #Shorts when it feels useful, but avoid filling the title with tags or terms that don’t match the clip.
Conclusion
Start with one idea and make the opening easy to understand on mute. Record in the YouTube app, repurpose a strong moment, or use Wan Studio when you’re starting from a prompt or photo. Draft one Short today, preview it on your phone, and use its results to shape the next one.