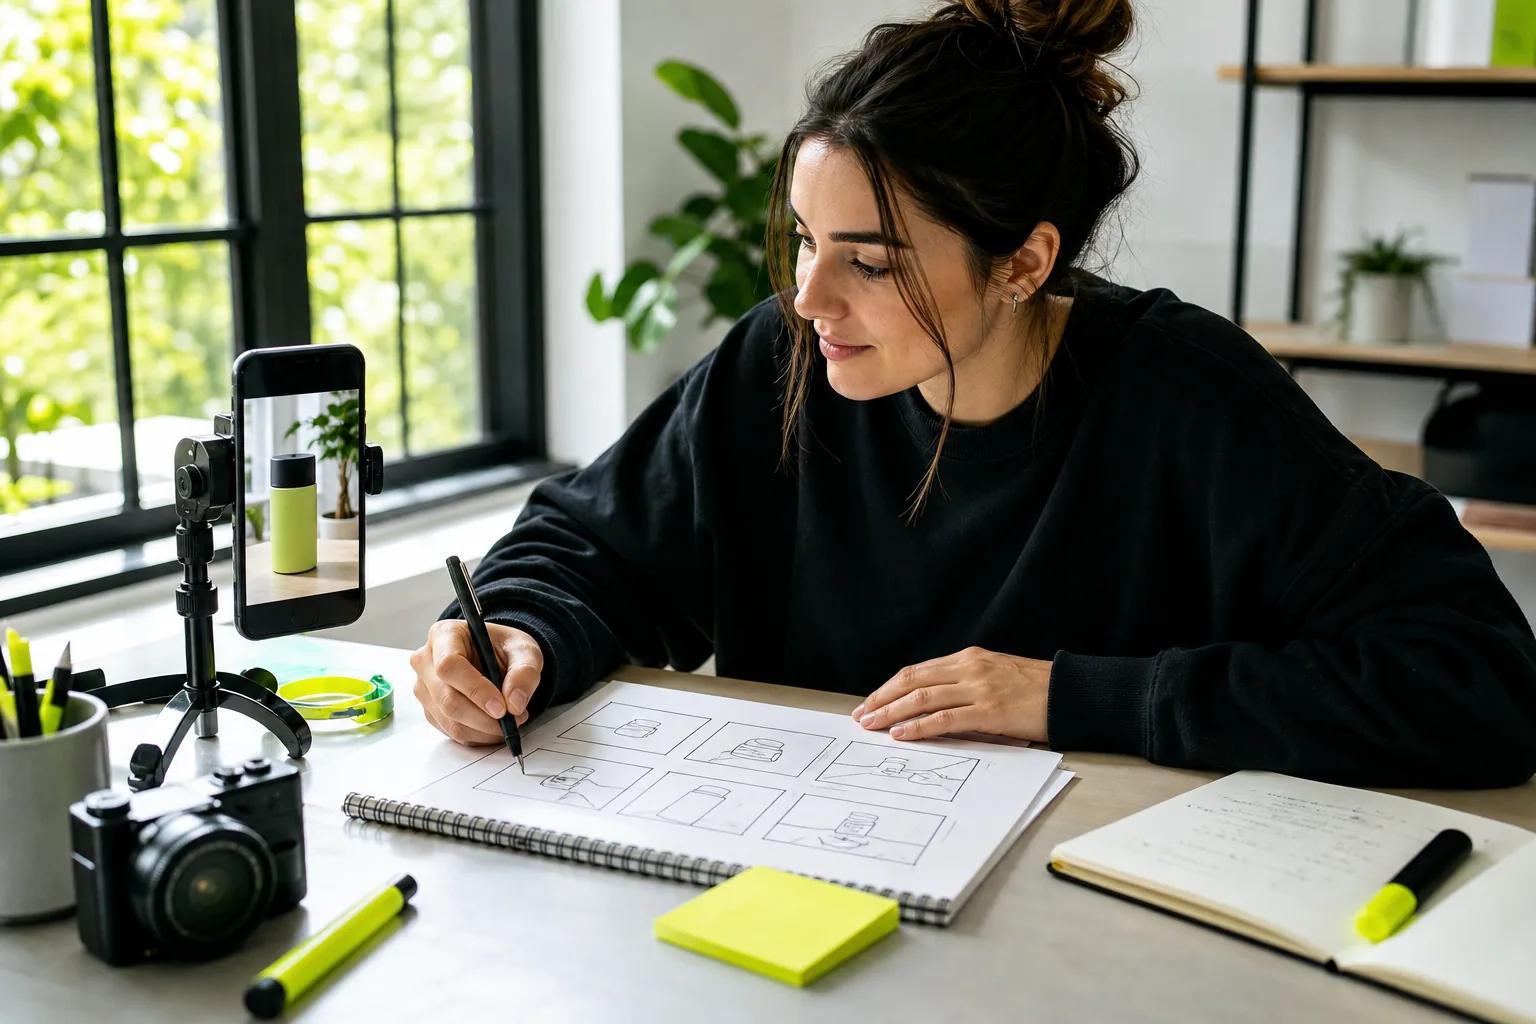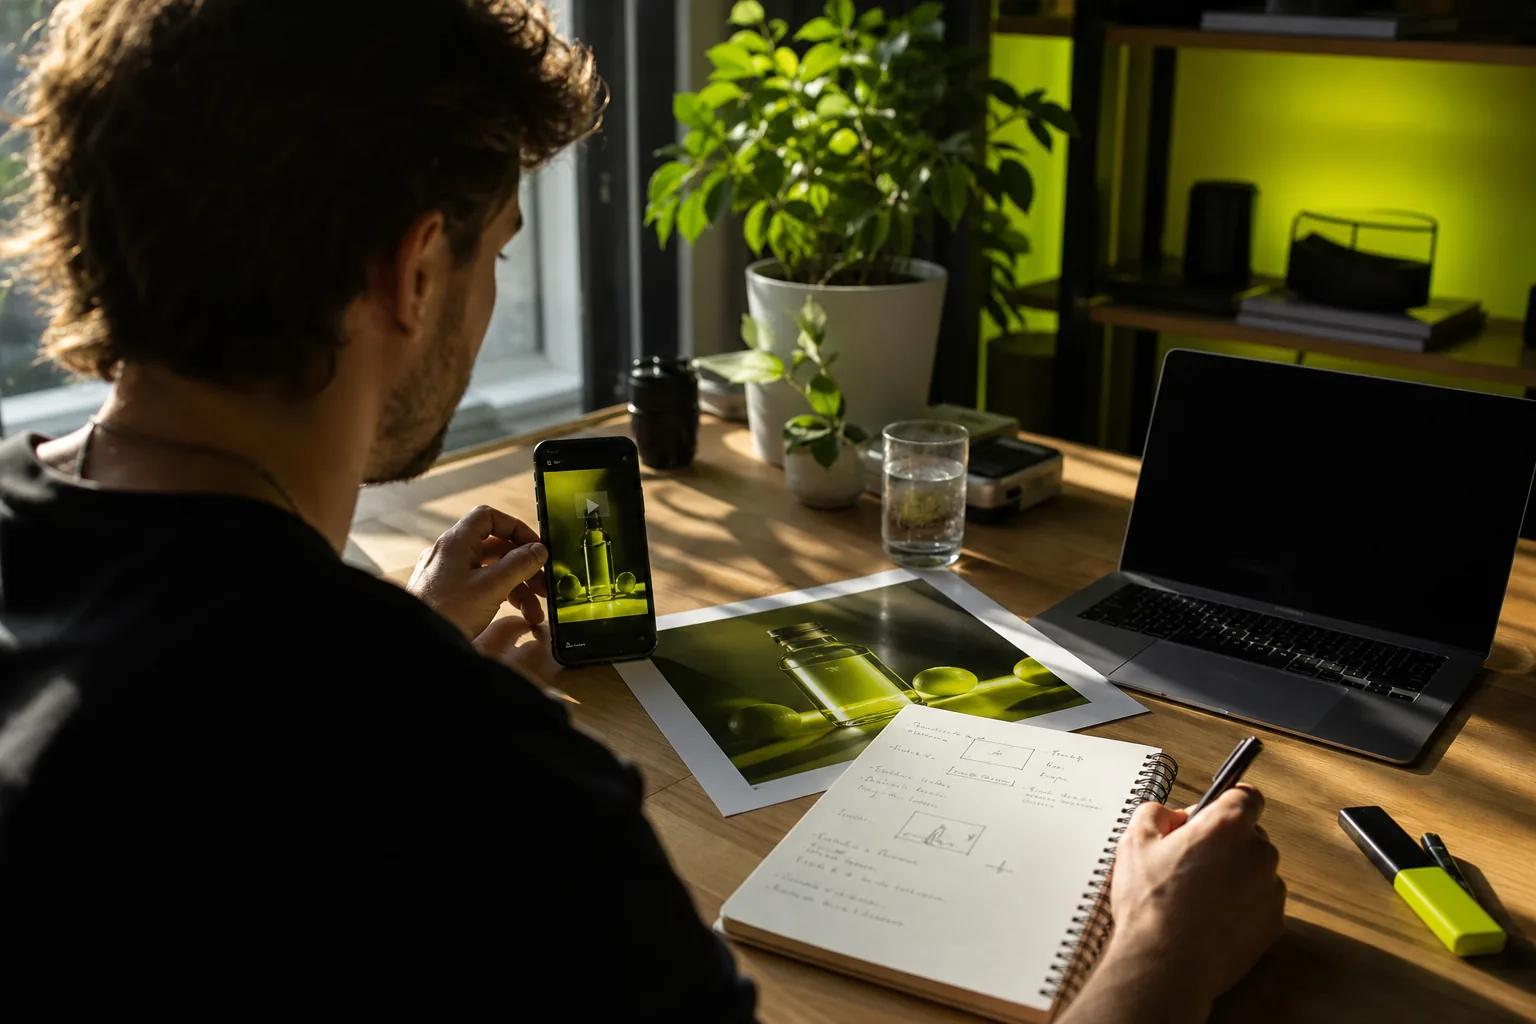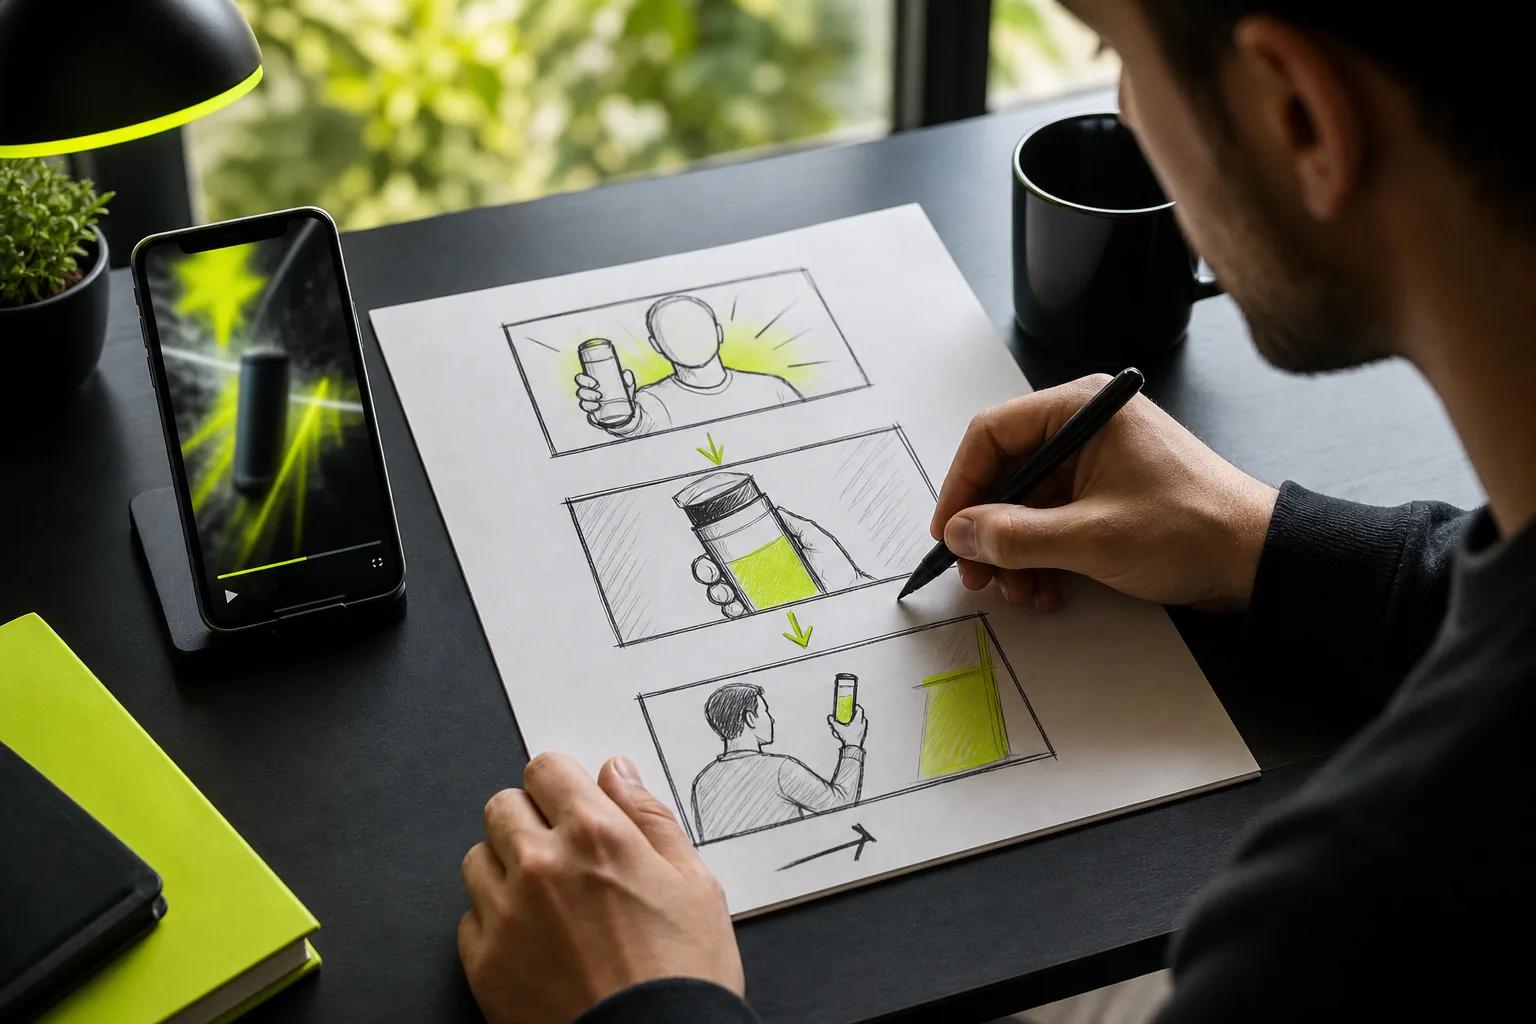
A still photo can feel alive with one small, well-chosen movement. If you’re learning how to make a photo move, start with a clear image, describe what should change, then review the result before you post it.
We analyzed 46 comments from YouTube and Reddit about making photos move and found that 20% mentioned no video export option.
This walkthrough uses Wan Studio for image-to-video generation. You’ll also get a simple manual masking method for a classic cinemagraph, plus tips for social exports.
Step 1: Choose a Photo and Decide What Should Move
Pick a sharp photo with one clear subject and some depth. A portrait with a loose strand of hair, a landscape with visible clouds, or a cup with steam gives the motion model something plausible to animate. A flat image with no clear subject can leave the model guessing.
Choose one main movement. For a portrait, that might be a blink or a gentle breath. For a landscape, try drifting clouds while the trees stay still. For a product photo, a slow camera push can add depth without asking the object itself to change shape.
Before you upload, check the crop. Leave room around the face or item so a camera move won’t cut off an important edge. Use the sharpest copy you have. Motion can make blur and compression more noticeable.
A cinemagraph is a still image with one area that moves, often made to loop. It’s different from a full AI-generated clip, which can add motion across the scene. For a broader image-to-video workflow, see our guide on how to turn a photo into a video.
If you need only one small area to move, a mask gives you more control than asking an AI model to animate the whole frame. In Photoshop or another editor with layers and masks, place a short video layer above the still image. Add a mask to the video layer, then reveal only the area that should move, such as water or a candle flame. Keep the rest of the photo visible as the still background.
Check the mask edges at full size. A hard edge can make the moving area look pasted on, so soften it slightly where that fits the scene. This method takes more hands-on work, but it’s useful when a logo, face, or product detail must remain unchanged.
By now you should have: one clean source image and a single movement goal.
Step 2: Write a Prompt That Describes the Motion
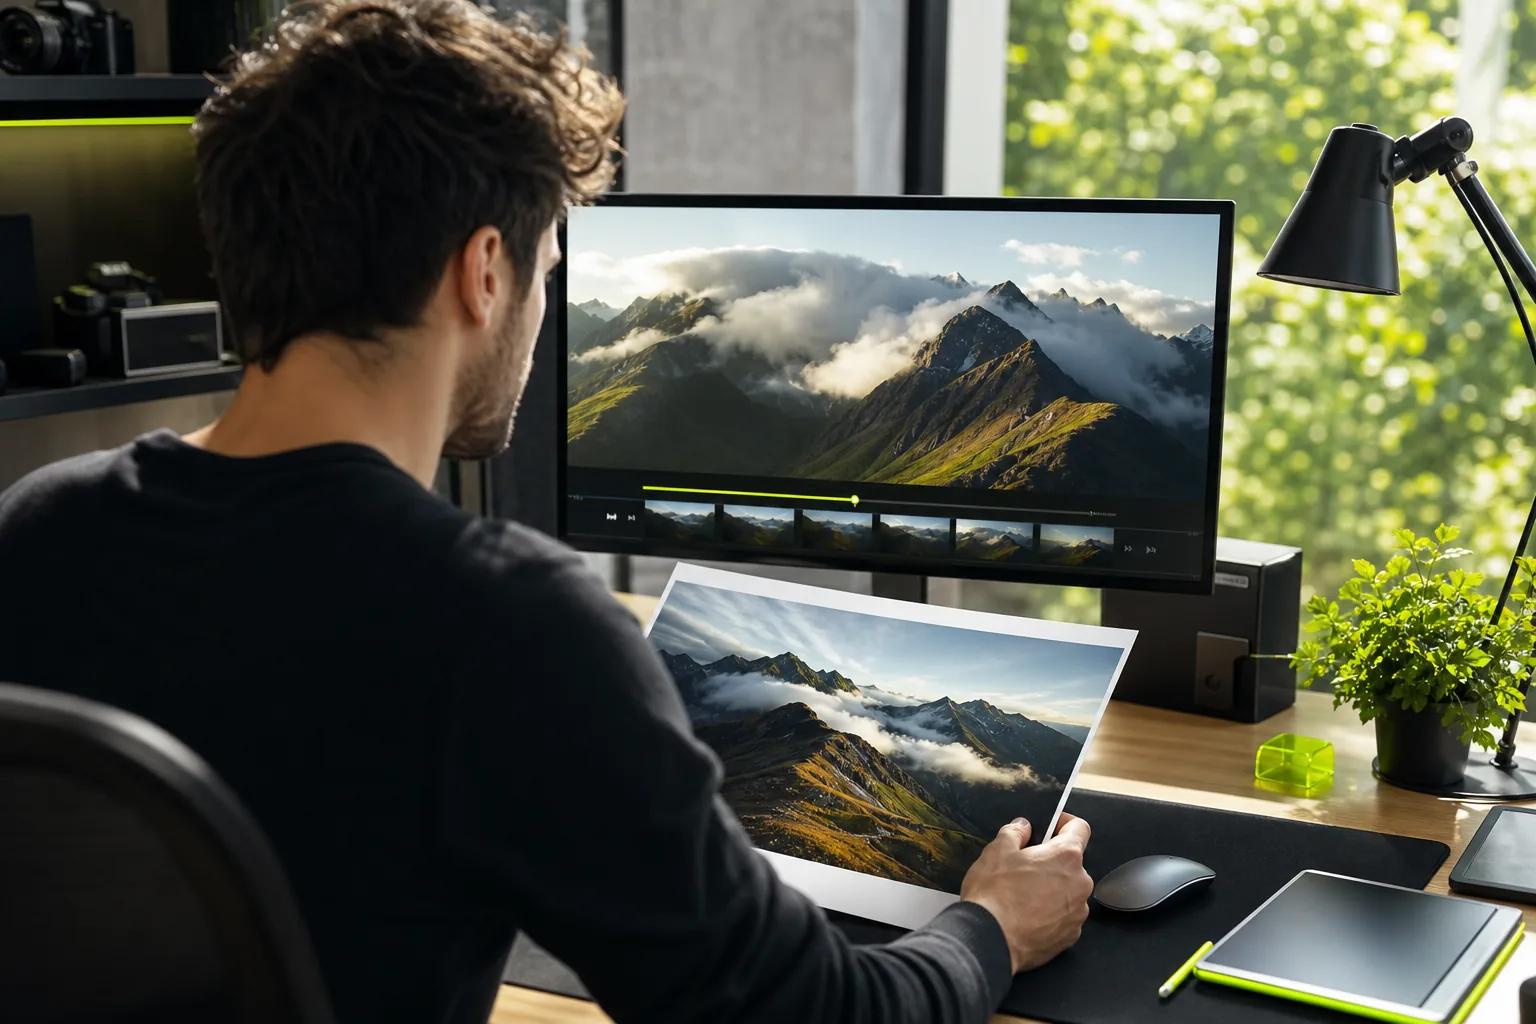
Your prompt should tell the model what moves, how it moves, and what the camera does. The uploaded photo already shows the subject and setting, so don’t spend most of your prompt describing details that are already visible.
Try this structure: “Slow camera push toward the subject. [One small action]. [Light or mood cue].” For a portrait, you might write: “Static camera. She blinks once and takes a soft breath. Warm afternoon light stays steady.” For a landscape: “Slow pan across the lake. Small ripples move on the water as clouds drift overhead.”
Keep the action modest. A photo has no hidden depth for the model to inspect. A fast orbit or a large head turn can expose that limit and make faces or objects change. If the camera should stay fixed, say so. If a product must keep its shape, state that plainly.
Think of the prompt as a short shot brief, not a full script. A useful starting point is around 20 to 40 words. Add one camera direction and one main subject action. Then include a detail that sets the mood, such as soft window light or a light breeze.
For an image-to-video prompt, begin with the motion rather than repeating every object in the photo. Pair camera movement with scene action and atmospheric detail. The same structure helps you assess the result: did the intended object move, and did the camera behave as asked?
Wan Studio supports sound with its Wan models. Since Wan 2.5, music, sound effects, and lip-synced dialogue can be generated with the video. If you want a person to say a line, put the exact words in quotation marks and keep the line short. For a quiet product shot, describe the sound you want, or leave sound out of the idea.
Change one instruction at a time after each draft. If the camera drifts too far, revise that cue without also changing the subject action. That makes it easier to see which words helped.
Step 3: Animate the Photo in Wan Studio
Wan Studio runs in a browser, so you can begin with a photo and a prompt without downloading editing software. The free plan includes a couple of Wan 2.5 videos each month at 480p, with no card required. Paid plans start at $14 per month and include Wan 3.0.
Sign in to Wan Studio and open the video prompt area. Choose image-to-video, then add your source photo as the first frame. When you use a first-frame image, the output follows that image’s aspect ratio, so begin with a crop that suits the place you plan to share it.
Select the model based on the job. Wan 2.5 is available on the free plan and supports image-to-video. Wan 3.0 is included with paid plans and can make clips up to 30 seconds, with output options up to 1080p. Wan 2.7 is another paid option when you want to use reference images or set a first and last frame.
Enter the motion prompt from the last step. Keep the first test short and use a lower resolution while you judge the idea. The studio shows a live credit estimate before generation. Longer clips and higher resolutions use more credits, so save a sharper or longer render for a direction you already like.
Generate the draft, then wait for the finished clip to appear in your library. Play it with sound if your prompt includes dialogue or ambience. If you’re new to the controls, visit the image-to-video prompt guide.
Wan Studio’s free plan is a way to try the image-to-video workflow. If you plan to use clips commercially, paid plans include a commercial licence. Save any file you want to keep: generated media stays in the library for 30 days.
Milestone: You should now have a short draft made from your photo, with the motion direction in place.
Step 4: Review the Motion and Refine the Clip
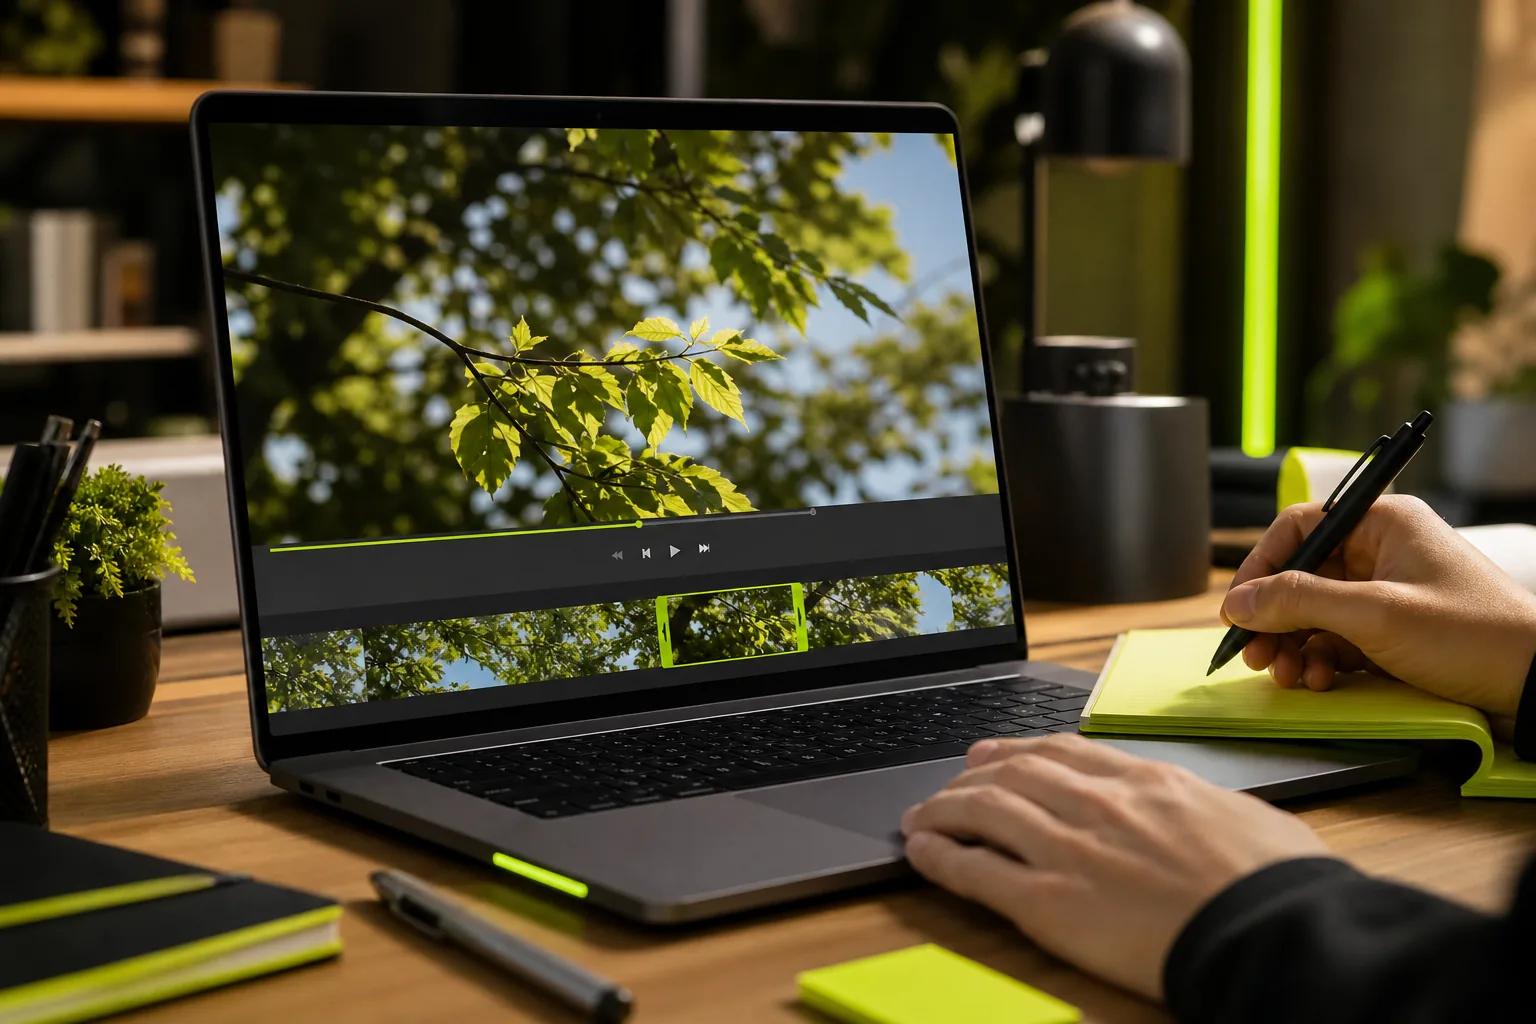
Treat the first generation as a draft. Watch it once at normal speed to judge the overall feel. Watch it again and look closely at the face, hands, product edges, lettering, and background. These are places where an image can shift in ways you didn’t ask for.
Compare the result with your original goal. If a bottle bends or a logo changes, reduce motion and make the preservation rule clearer. If the whole scene moves when only the water should, name the water as the moving subject and say the surrounding scene stays still. Avoid adding a long list of instructions to fix one issue.
When a clip is close but not quite right, adjust one prompt detail and generate another short draft. For example, change “camera moves in” to “very slow camera push” while keeping the rest of the prompt the same. This gives you a useful comparison instead of a new result with several unknown changes.
If the motion looks good only in the first half, trim the clip to the strongest part in a video editor. Don’t keep a weak ending just because the model generated it. A shorter, clean clip often works better in a feed than a longer clip with a distracting final moment.
For a classic cinemagraph, return to the layer-and-mask method from Step 1. Keep the still image as the base and reveal only the moving footage through the mask. That’s a good choice when you need strict control over which pixels change. AI image-to-video is usually faster when you want the scene itself to feel more active.
Also check the sound. Listen for a spoken line that’s unclear or out of step with the mouth movement. Wan can generate synchronized sound and lip-synced dialogue, but the result still needs a human review before it goes into an ad or a public post.
Step 5: Add Supported Sound and Prepare the Video for Social
Before you export, decide where the clip will appear. A vertical 9:16 frame suits phone-first posts such as TikTok, Reels, and YouTube Shorts. A square frame can fit a feed post, while a wide frame suits landscape video. Set the format before generation when you can, rather than cropping away important parts afterward.
Wan Studio downloads videos as MP4 files with sound. Use a short clip for a single visual point, such as steam rising from a cup or a slow camera move across a product. If you add dialogue, check the words and mouth movement. If you choose music or ambience, make sure it supports the image instead of competing with it.
Keep the file size in check by trimming extra seconds and choosing only the resolution you need. A short draft at 480p or 720p is useful for reviewing motion. Use 1080p for the final version when the destination calls for it and your plan supports that output. Avoid making a clip longer or sharper just because those settings are available.
For a website, MP4 is a common video choice. GIF can work for a small looping animation, but it may create a larger file than a video for the same scene. WebP animation is another option when your site setup supports it. Web pages can provide video content with fallback text for browsers that don’t support the video element.
If you embed the clip on a WordPress or Shopify page, use the site’s built-in settings or theme tools to delay loading video that sits below the first screen, when those controls are available. Keep a still image as a fallback for people who can’t play the video. Add concise alt text to that image so screen-reader users can understand what it shows; don’t rely on motion alone to carry the message.
Check the exported file on a phone before posting. Make sure the subject stays in frame, sound plays, and any added captions are easy to read. Keep a copy outside the Wan Studio library if you want to retain it beyond the 30-day storage period. For vertical posts, see how to make AI videos for TikTok.
One final check: confirm that you have permission to use the photo, especially when it shows another person. Then publish the version that tells the story clearly, not the one with the most motion.
Frequently Asked Questions
Can I make a photo move for free?
Yes, Wan Studio has a free plan with a couple of Wan 2.5 videos each month at 480p, and you don’t need a card to try it. Use that plan to test a photo and a short motion prompt. Paid plans start at $14 per month and add more video generation options.
How do I make only part of a photo move?
Use a layer mask in an editor when you need one exact area to move. Put a short video above the still photo, then use the mask to reveal only the moving section. For AI generation, name the single element that should move and ask the rest of the scene to stay still.
What kind of photo works best for animation?
A sharp photo with a clear subject and visible depth is a strong starting point. Faces, water, clouds, foliage, and cloth all suggest natural motion. Leave some space around the subject, then choose one movement that fits what the image already shows.
Should I export a moving photo as a GIF or MP4?
Use MP4 for a social video or a clip with sound. GIF can suit a brief, silent loop, while animated WebP may work on sites that support it. Keep a static image available as a fallback, and test the exported file where you plan to publish it.
Conclusion
Start with a clear photo and one restrained motion cue. Use Wan Studio to make a short draft, inspect it closely, then refine the prompt before rendering a final version. Pick one image you already have, write a single sentence about what should move, and test it.